A forum for discussing wooden boats and boat building
You are not logged in.
- Topics: Active | Unanswered
#26 17 Apr 2015 3:14 pm
- Ian
- Employee

- Registered: 24 Nov 2014
- Posts: 103
Re: Petrel stitch-and-glue kayak
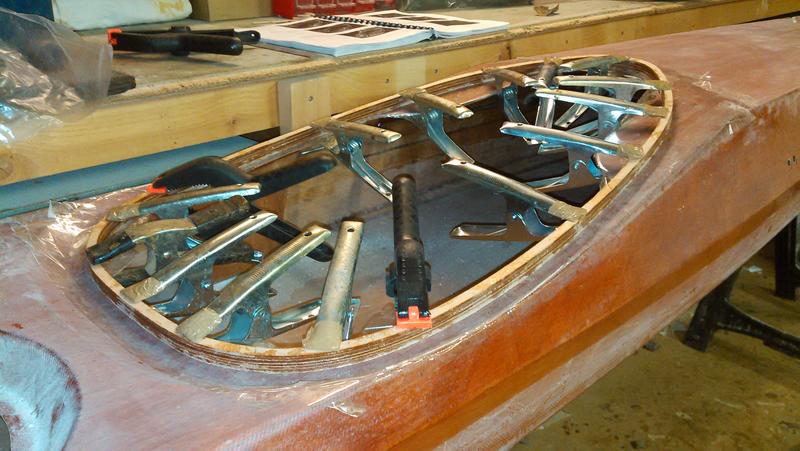
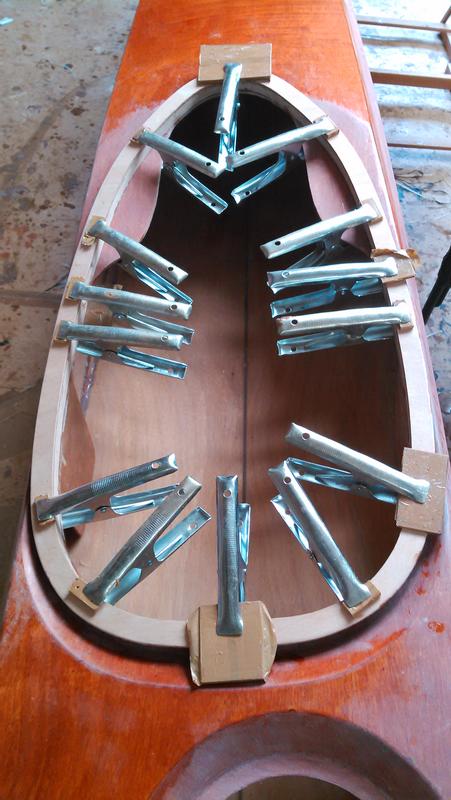
I laminated the pieces of the coaming ring in place, using plastic tape to stop it sticking to the deck. After sanding the outside edge smooth, I stained and glassed the outside, under the lip.
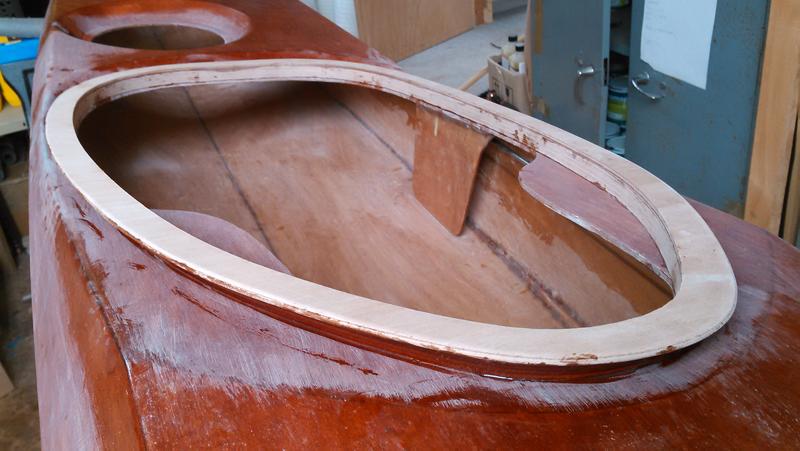
I stained and glassed the top and inside of the coaming after I had glued it in place and rounded it over, otherwise the stain would have been sanded off. Rather than trim the glass on the thigh braces an inch from the coaming and fair in the edges, I just glassed the whole of the thigh braces; it saves a little bit of sanding and the extra layer of glass can't hurt.
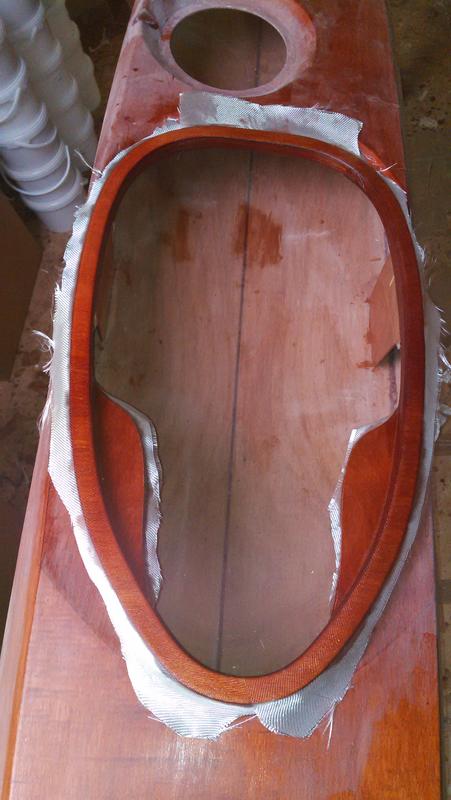
I put patches of fibreglass over the scuppers, where I had been unable to make the deck glass conform to the shape. It was easy to do with a small patch.
Offline
#27 17 Apr 2015 3:28 pm
- Ian
- Employee
- Registered: 24 Nov 2014
- Posts: 103
Re: Petrel stitch-and-glue kayak
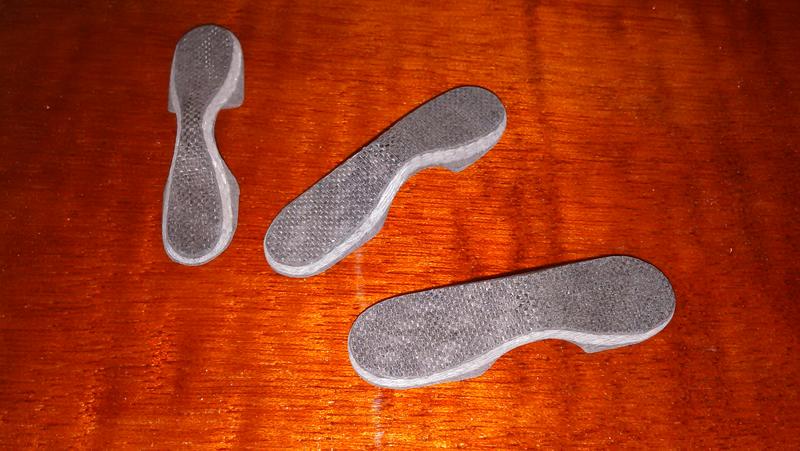
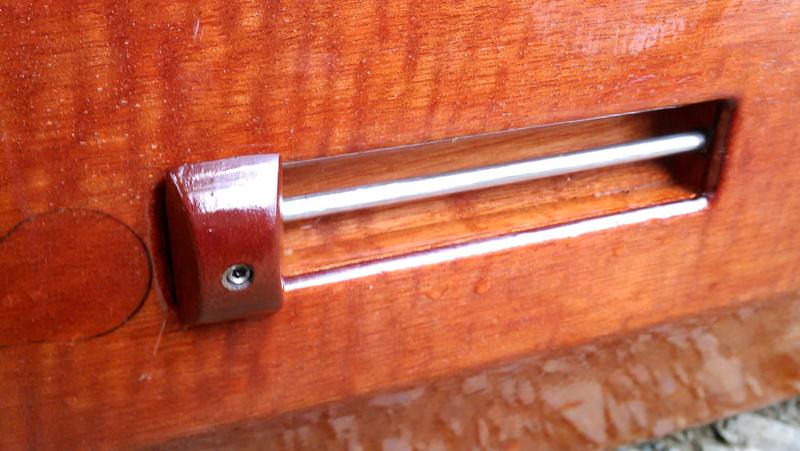
Here are some eye-straps Phil and I made from carbon fibre with glass fibre sandwiched between. They can be epoxied in place without any screws and they are very strong. This first batch was experimental -- they are mounted out of sight inside the hatches of my boat as an attachment point for lanyards that will prevent the hatch lids getting lost.
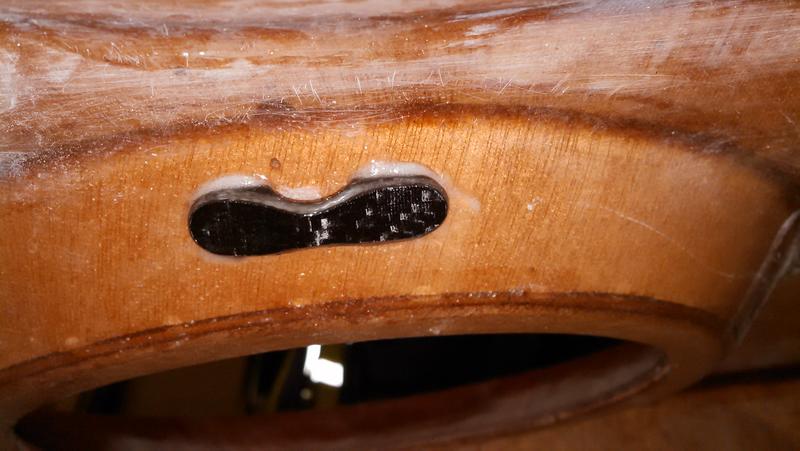
Here is one of them glued in place and coated with epoxy. Excuse the excess glue; I had to reach in and glue them out of sight.
Offline
#28 20 Apr 2015 5:15 pm
- Ian
- Employee
- Registered: 24 Nov 2014
- Posts: 103
Re: Petrel stitch-and-glue kayak
I had to cut two holes in one of the bulkheads to fit around the deck fittings, which protrude under the deck right where the bulkhead is. Once the bulkhead was in place, I filled the holes with thickened epoxy. You can also see the hole I drilled for the skeg control cable, which I will seal once the cable is in place.
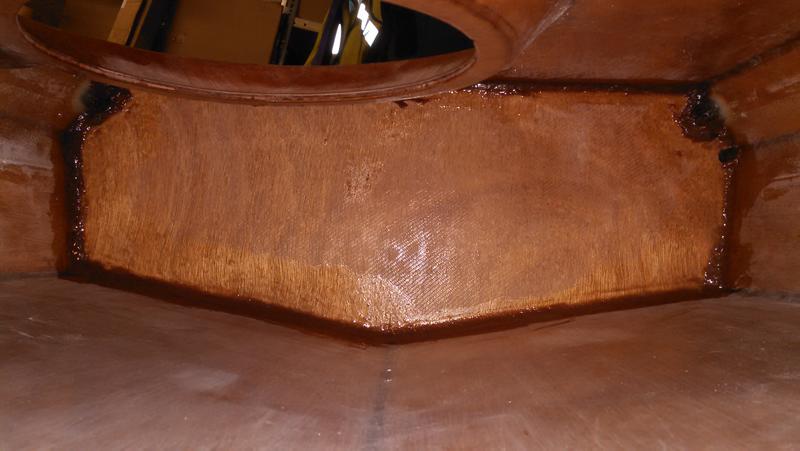
I gave the opening of the skeg box two layers of fibreglass:
After sanding and another fill coat, the boat just needs some careful sanding before varnishing.

Offline
#29 22 May 2015 2:59 pm
- Ian
- Employee
- Registered: 24 Nov 2014
- Posts: 103
Re: Petrel stitch-and-glue kayak
I made this little hook for a shock-cord paddle holder to go in front of the cockpit. The shock cord is part of the standard deck-rigging; you just stretch part of it over the paddle shaft and onto the hook to temporarily hold the paddle flat across the deck. It should come in useful for taking photos.
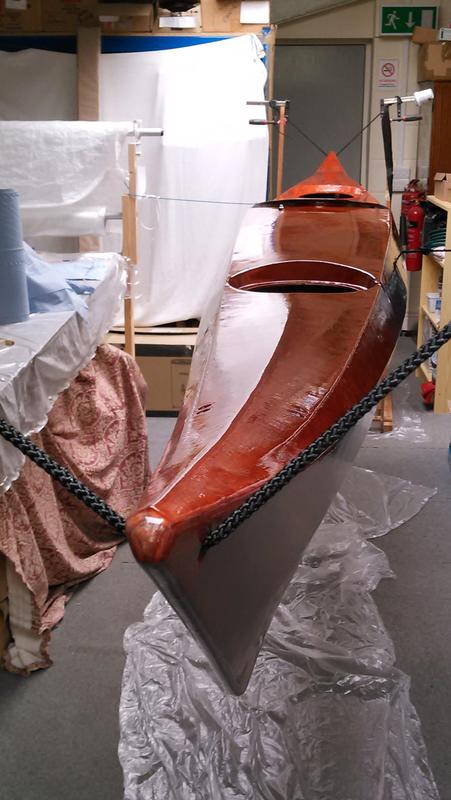
I varnished the boat on Sunday. First, I thoroughly cleaned the boat and the area I was going to do the varnishing in, then suspended the boat from ropes through the carry-handle holes. I attached a couple of ropes to the deck fittings to stop the boat swinging around. Suspending the boat like this enabled me to varnish both deck and hull at once.
I followed the designer Nick Schade's method of varnishing (the video on his website is very useful). I still got a few small drips, which I think I could avoid now I've had some practice, but they aren't very noticeable so I'm going to leave them, for this year at least.
I used Epifanes PP varnish which dries very quickly, so I was able to apply three coats in one day. I'll probably sort out those drips and give it another coat or two next winter.
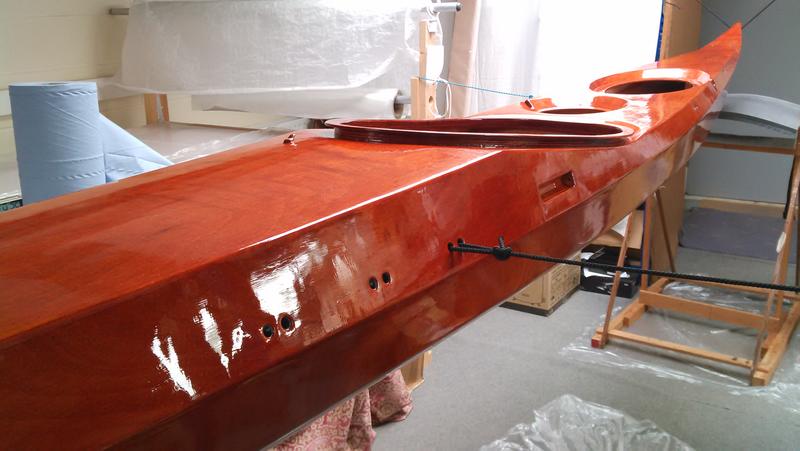
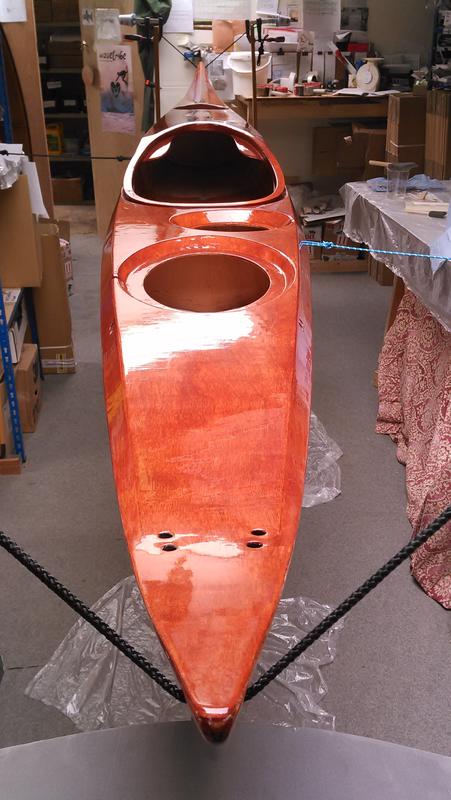
These photos were taken after the first coat of varnish:
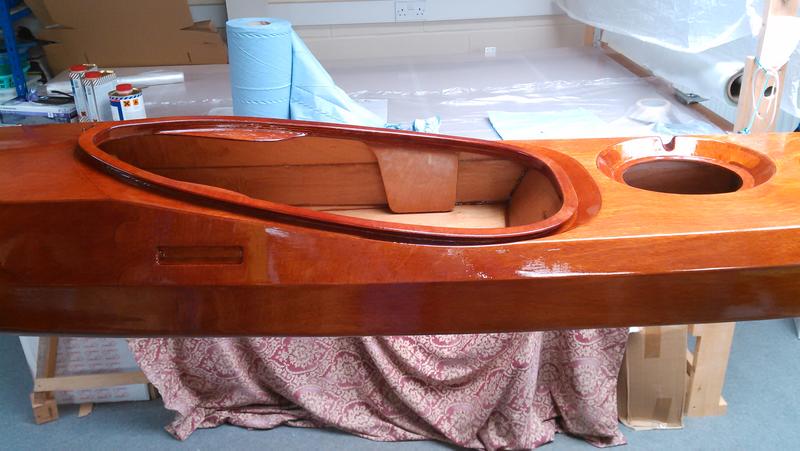
I gave the inside of the cockpit one coat to protect it from UV and to make it shiny.
I have done some more work on the skeg too. I glassed both sides and stuck the four spacers on at the same time.
I also fitted the seat and footbraces.

I plan to install the hatches this evening and launch the boat this weekend. The skeg isn't quite ready, but that can wait.
Offline
#30 26 May 2015 12:17 pm
- Ian
- Employee
- Registered: 24 Nov 2014
- Posts: 103
Re: Petrel stitch-and-glue kayak
Rigging the boat was straightforward thanks to the fittings already in place. The rigging and hatches certainly make the boat look finished.
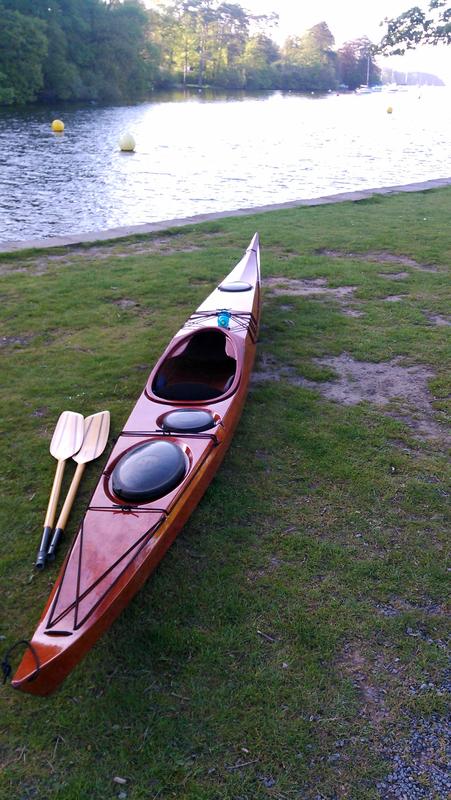
I launched it on Saturday, but the skeg is not finished yet and I still need to add padding on the thigh braces. I'm also going to make some toggle handles, but the skeg is my priority right now; I want to finish it before our kayak demo at Colwyn Bay this Saturday.
Offline
#31 29 May 2015 12:43 pm
- Ian
- Employee
- Registered: 24 Nov 2014
- Posts: 103
Re: Petrel stitch-and-glue kayak
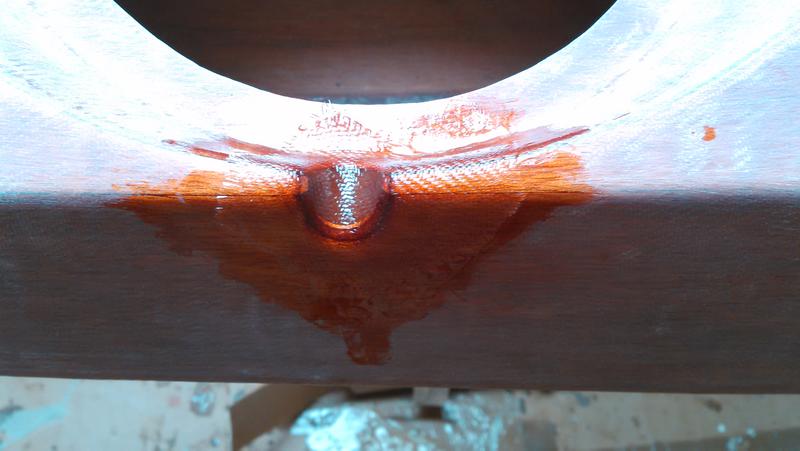
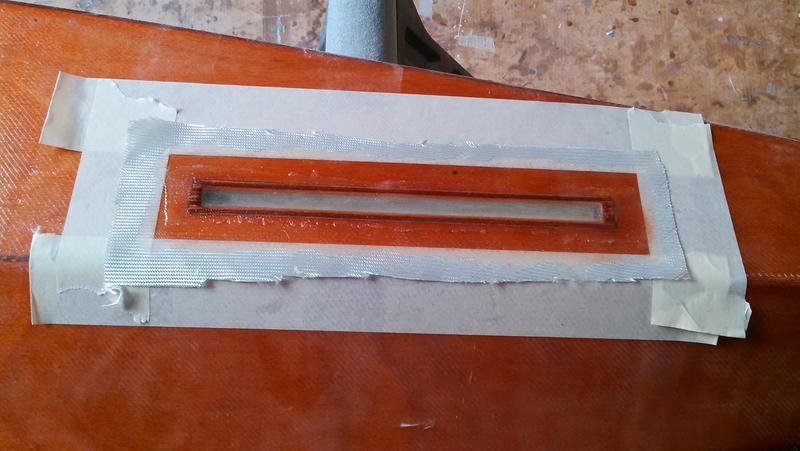
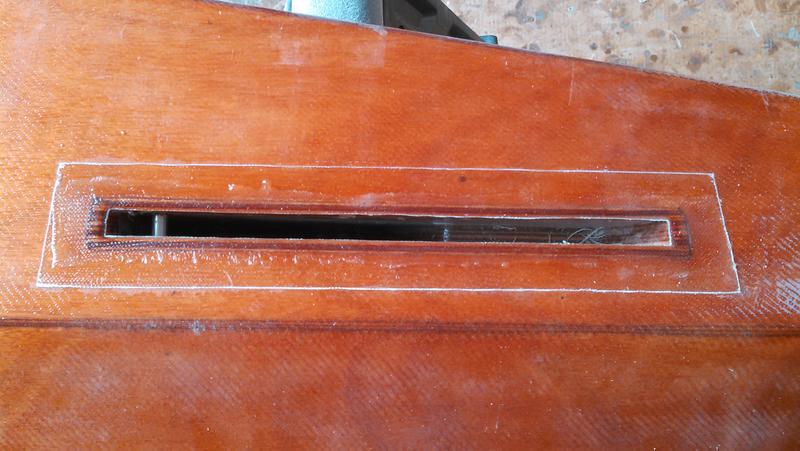
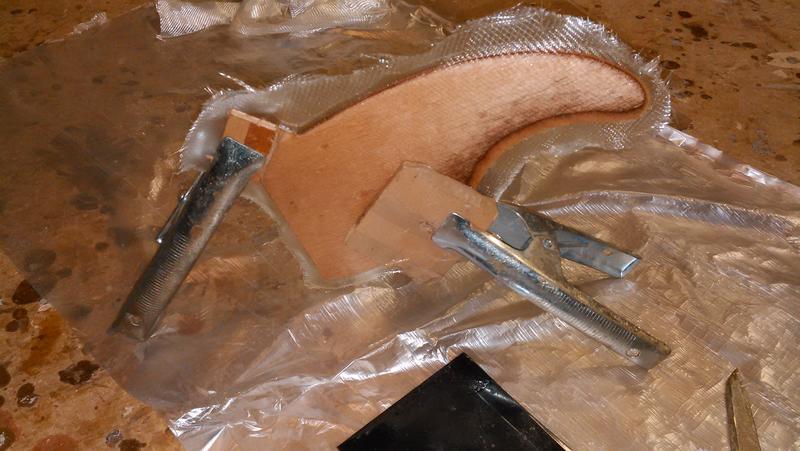
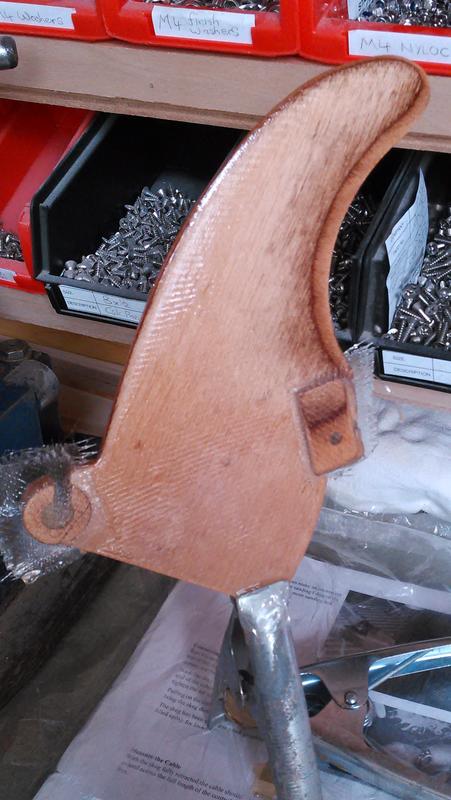
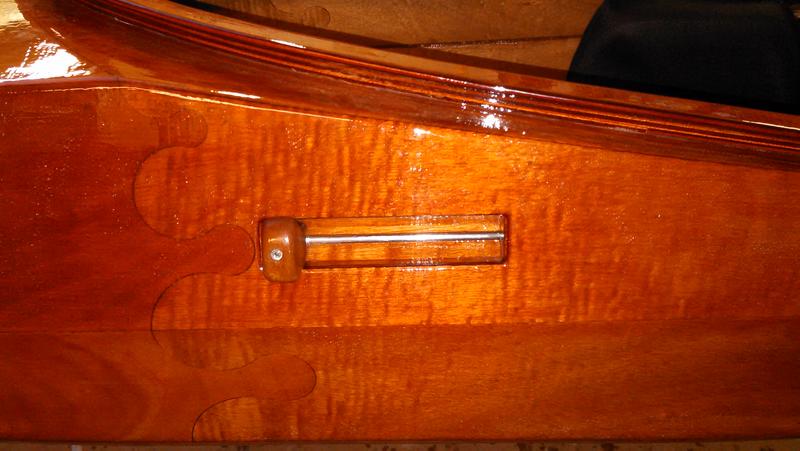
The control slider for the retractable skeg takes some work; it has to be drilled with two holes that intersect in the centre, then those holes get filled up with epoxy to seal the wood, then smaller holes are drilled through the epoxy. Finally it is cut and rounded to a nice shape. Here is the final product, supported on a piece of wire (wrapped in plastic tape) while it gets a seal coat of epoxy. I cut the thread for the set screw by screwing it in while the epoxy was still slightly soft (after about a day curing), because I didn't have a tap the right size.

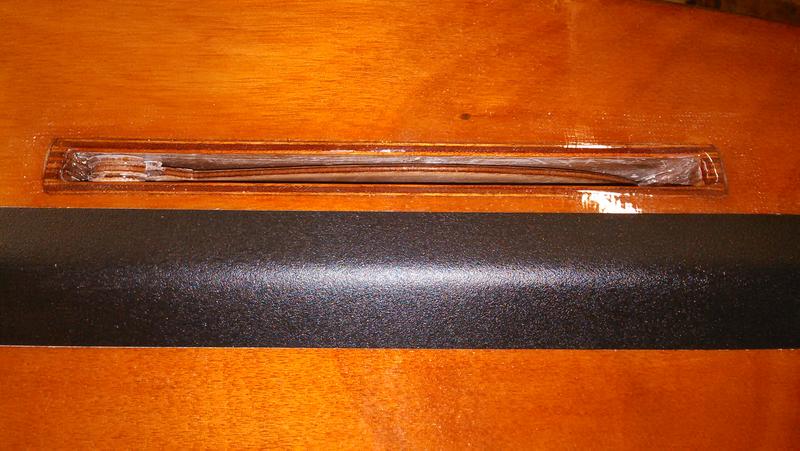
The skeg fin also required holes drilling, filling with epoxy and drilling again. Here, I gave the fin a final seal coat of epoxy and stuck small pieces of fibreglass onto the skeg spacers.
The cable caught on the end of the skeg control box when I tried to push it through, so I put a piece of masking tape over the end, twisted to a point, to help it. I aligned the set screw hole on the slider knob with the hole in the slider tube by shining a bright light down the set screw hole so I could see it was aligned before putting the screw in.

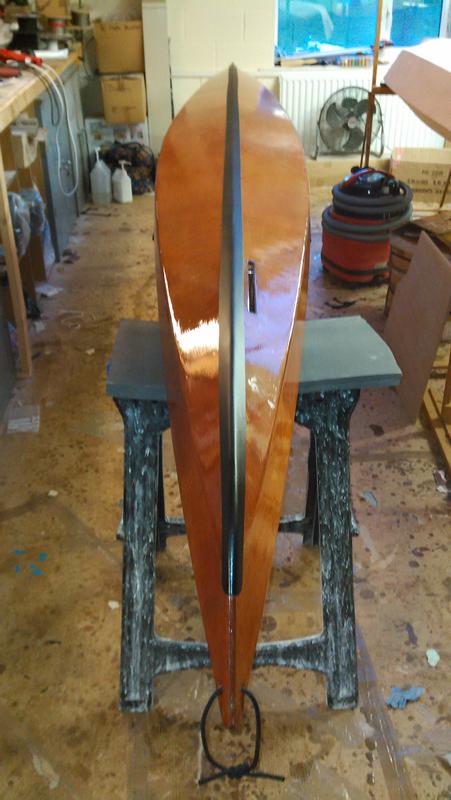
As you can see in the last couple of photos, I added a strip of KeelEazy to protect the keel from wear. It was quite easy to put on and it can apparently be easily removed by heating it when it needs replacing. We've added it to many of our demo boats to delay the need to revarnish.
Offline
#32 11 Sep 2015 2:50 pm
- Ian
- Employee
- Registered: 24 Nov 2014
- Posts: 103
Re: Petrel stitch-and-glue kayak
A belated update.
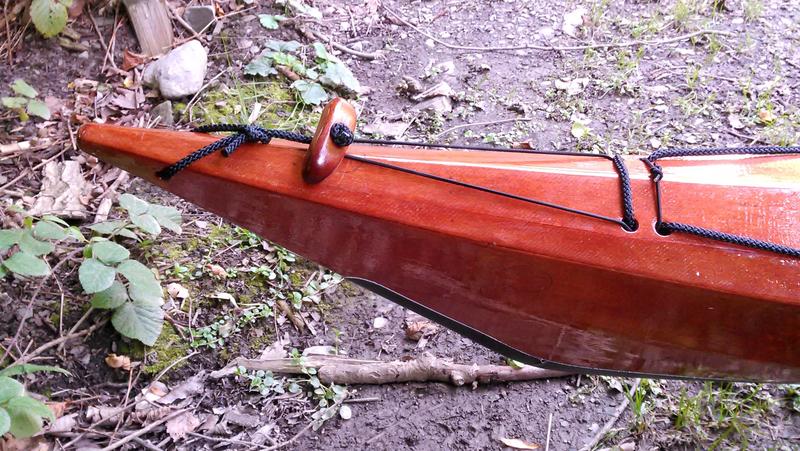
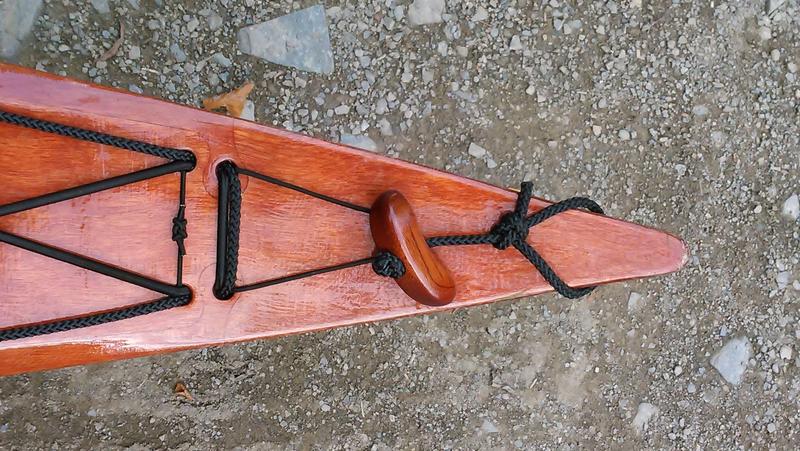
I made these wooden toggle handles out of a piece of Sapele. They are much easier on the fingers than rope loop handles.
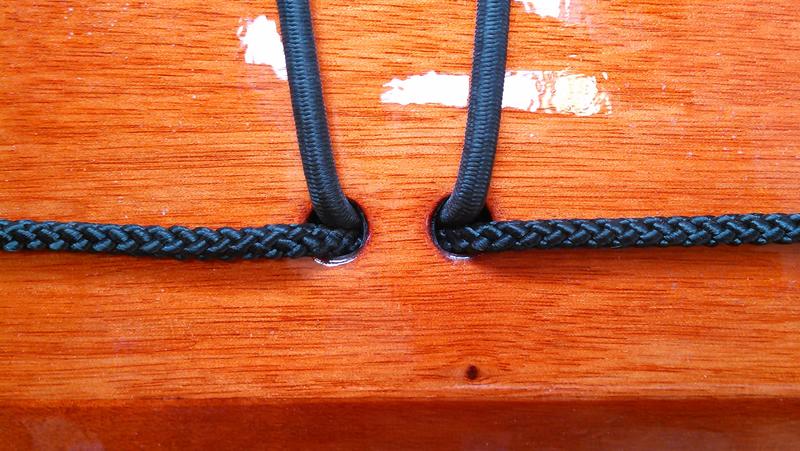
I added loops of thin shock cord to hold the handles up on the deck so that they don't knock loudly on the sides of the hull. The shock cord passes through the deck fittings and is tied in a loop, but it isn't actually tied to the handles, just stretched over them. They stay on the handles in use, but I can easily unhook them when I have the boat on my car roof so I can use the handles as attachment points for ropes tying the ends of the boat down.
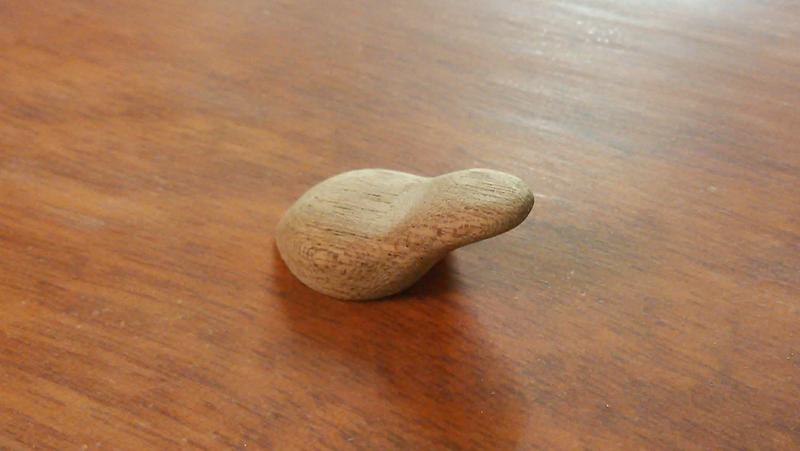
My skeg control knob was short-lived. It kept slipping loose, so I tried tightening it a bit more and this happened:

It turned out I hadn't drilled the hole in the slider tube large enough and the set-screw wasn't going in fully and clamping the cable properly.
I hadn't been totally happy with the shape of it anyway (it was rushed a little), so I made a new one which I think looks a lot more elegant (it has edges, rather than being so heavily rounded). Yes, I know it's subtle but I like all the little details to be just right.
Offline