A forum for discussing wooden boats and boat building
You are not logged in.
- Topics: Active | Unanswered
Pages: 1
#1 12 Nov 2011 7:31 pm
- algieb
- Member
- Registered: 12 Nov 2011
- Posts: 10
Sport Tandem
Hi Everyone,
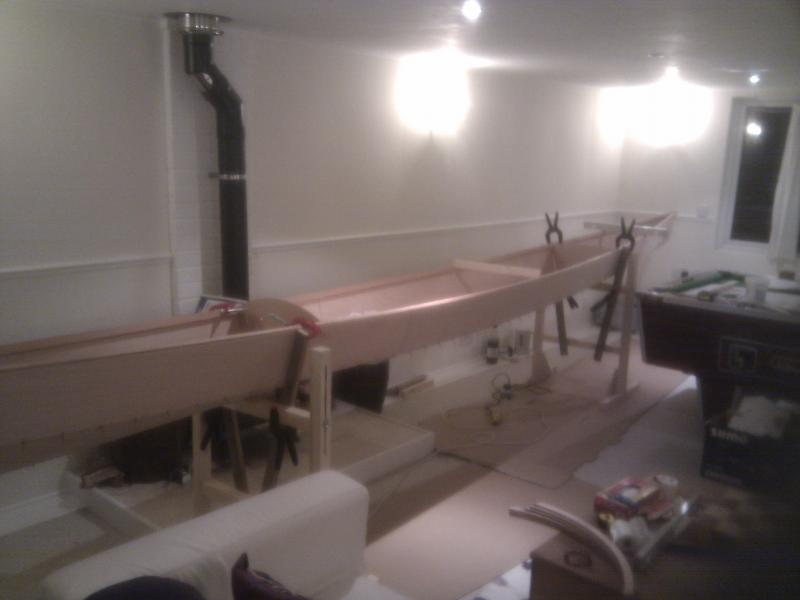
Received the kit a couple of weeks ago and have been waiting for planning permission for my garage / workshop to come through but can't wait to get started. Was going to start in the new year once the garage is hopefully completed but feel the need to get on with it.
Instead I am going to get things underway in my office where space is not ideal and getting anything on the carpet will result in the wife-to-be probably no longer being my wife-to-be....
I have been warned!.
Anyway, the plan is to incorporate the sails and trimaran features once we are happy we've got the basics right which will be fabulous.
Just unpacked today and glued the bottom panels together and will get the sides hopefully done tomorrow night.
Can only work on it at weekends as I work away during the week so will take quite a while I think.
We currently have an inflatable Colorado kayak which we have had some great laughs in but really looking for something special now and I think this fits the bill.
I will try to keep this up-to-date and I will no doubt have lots of stupid questions as this is my first build so please forgive me when I ask something obvious/cretinous/hopeless.
Offline
#2 27 Nov 2011 6:49 pm
- algieb
- Member
- Registered: 12 Nov 2011
- Posts: 10
Re: Sport Tandem
Didn't get much time last weekend or this but have managed to move things on a bit.
Last weekend I got the sheer clamps attached but with a bit a hassle. I had everything nicely in position and checked I had the overhang consistent the entire length and left the epoxy to cure while I was away for the week.
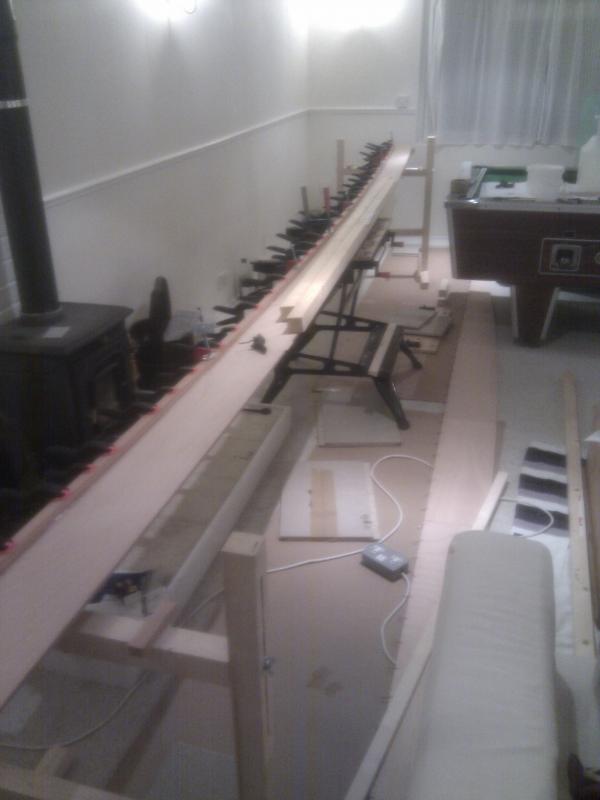
When I got back this weekend, a minor disater and much swearng when I realised that 7 clamps had simply broken sending plastic shards all over the room, but more importantly one sheer clamp had shifted by a couple of ml for a length of about 3 feet on the startboard side by the rear cockpit.
There is still enough protruding to get an effective joint but annoying none-the-less.
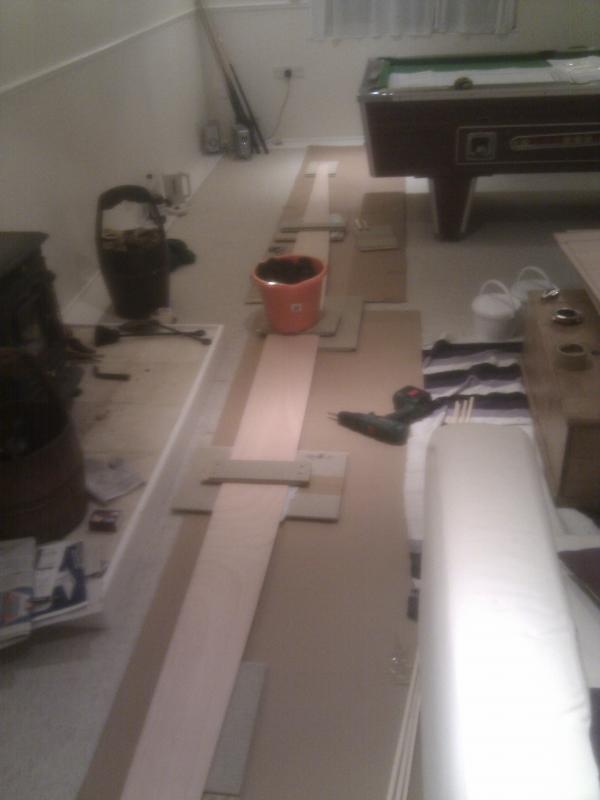
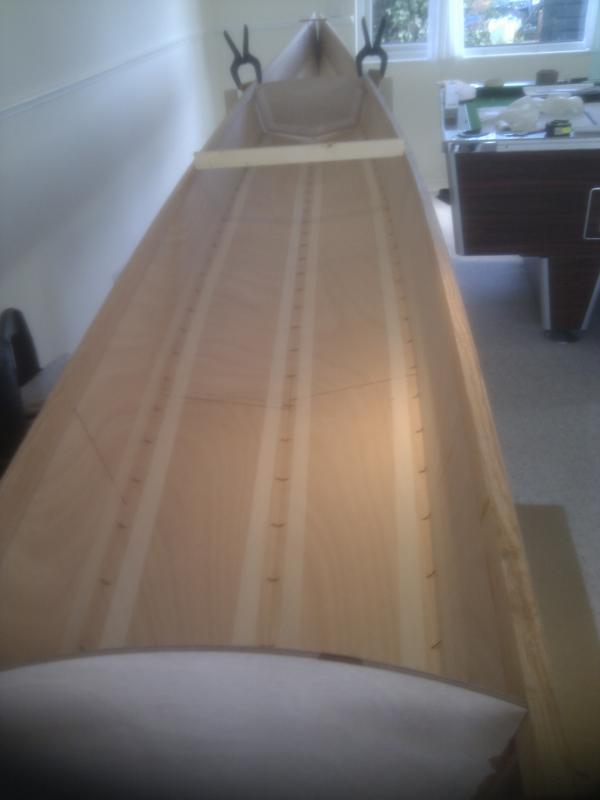
I had already copper wired the bottom sections together so all I had to do now was wire the ends of the side panels together and get connecting them. I'd knocked up the height adjustable saw horse the weekend before and laid everything out across them and the workmate. I found the little Dremel knock off from Maplins great for drilling the wires and can't believe the amount of use this has given me for a cheapo tool.
Room is getting a bit limiting trying to get past the sofa and the pool table but still manegable.
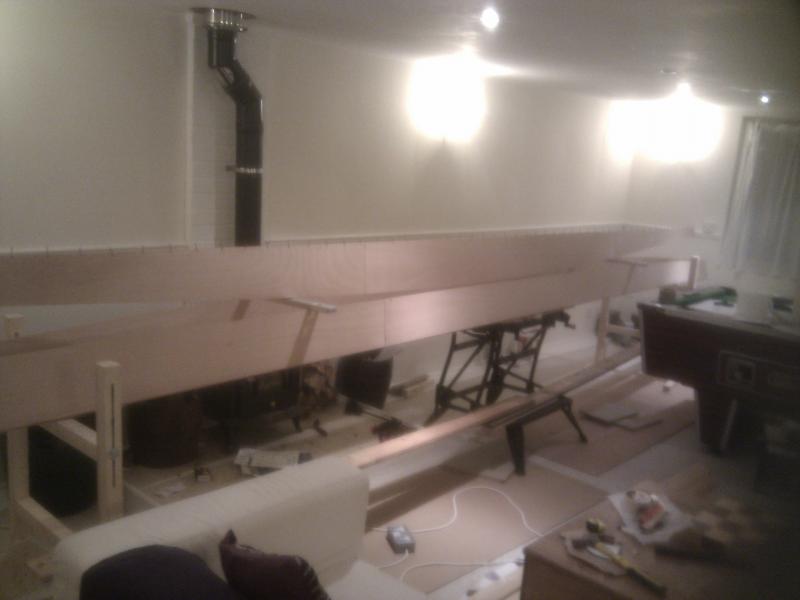
Once I had stitched the sides to the bottom I turned it over and was amazed at the integrity of the structure straight away with only the copper wire holding it together. I lifted it up straight away onto the sticks and removed the workmate giving me some more room and was amazed to find that I didn't need to adjust the twist on the boat at all. Not a jot. Miracles do happen after all.
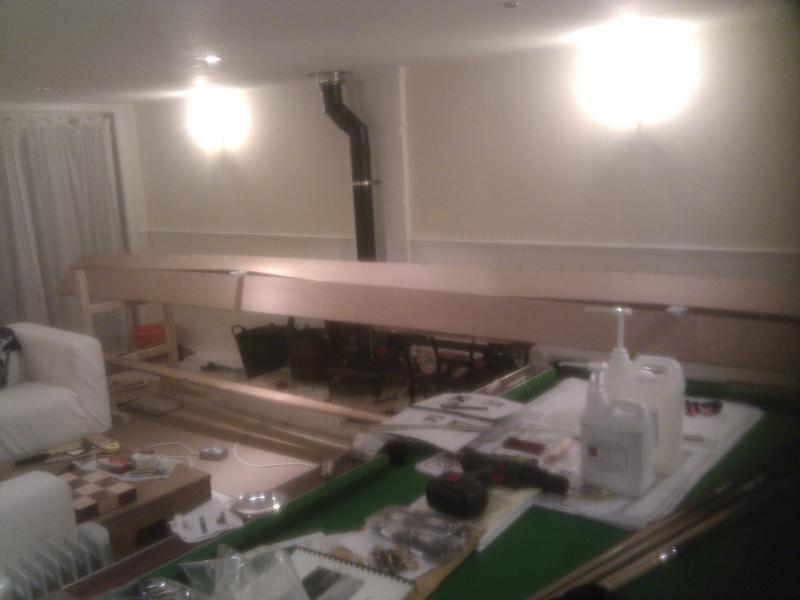
This morning then I had a few hours before joining the village planting up the new village green to get things moving with the first of the epoxy.
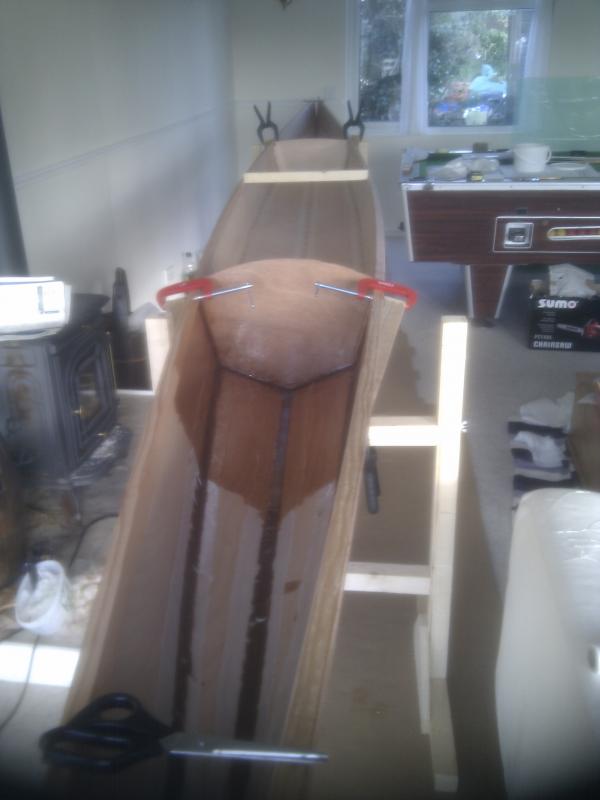
I taped up the joints with masking tape to hopefully keep things relatively tidy and prepared some mix with the sawdust filler.
The fillets seemed to go ok but the closer to the bow I went the straight the panels became and actually getting enough epoxy on there to be of any use became a concern. I should have used a slightly fatter spreader as the one i used had about a 3 inch diamater and left some areas a bit thin. I simply built these a little bit.
The area right inside the bow was extremely difficlut due the tight space and the sheer clamps getting in the way. I had cut the sheer clamps so they has to be trimmed to join the sides together thinking it would be neater but it actually mmakes life more difficult.
I ended up pouring some thickened epoxy like an end pour and let it drift dow nand spread it as best as I could.
As soon as I was done I removed the masking tape and it looked ok apart from a couple of areas where I had a couple spots go astray which made a mess after cleaning them up.
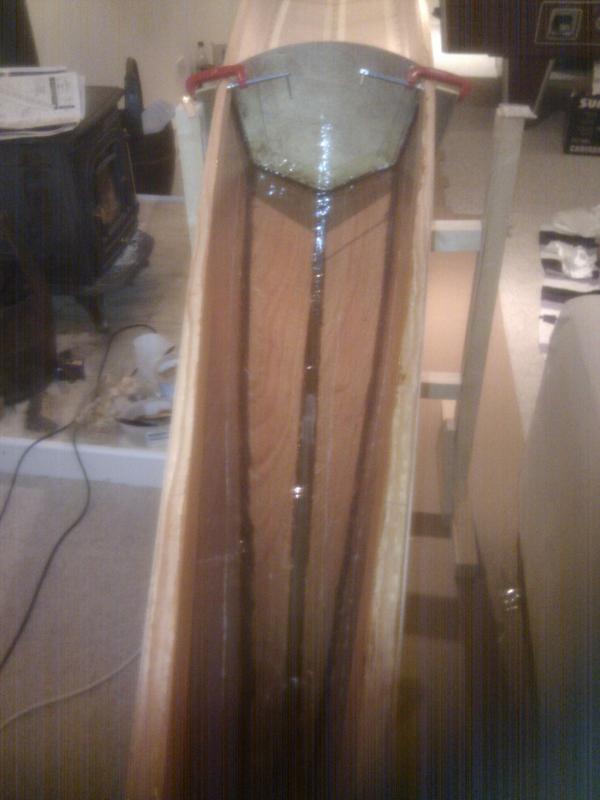
I then started to apply the clear epoxy but hadn't realised the temperature was bit low and the mix was very difficult to work with and I didn't realise how long it it had taken to get to this stage and had to leave after only applying the first quarter of the clear epoxy.
I've just come back in and applied the rest of it having left the epoxy on the electric radiator on a low setting to ensure it was easier to use.
This went much more smoothly and the front storage compartment is now coated.
I am now going to be away for 2 weeks which is a bit frustrating but may be able to call back though on Saturday morning to get the rear storage compartment at least filleted, taped and epoxied.
Last edited by algieb (28 Nov 2011 9:30 pm)
Offline
#3 27 Nov 2011 6:57 pm
- algieb
- Member
- Registered: 12 Nov 2011
- Posts: 10
Re: Sport Tandem
One thing I will need to get thinking more clearly about is the transport of this beast.
I have an 03 Ford Focus C-Max for general running about and the roof rails are quite close together. No problem for the current infaltable when lashed to the roof, but this is going to be quite different as the kayak is about 7.5 feet longer than the car.
Has anyone either got a good home made solution for spreading the attachment points for these longer boats or any details of kit they have bought?
I was going to clamp a 10 foot length of thick walled round aluminium bar to the roof rails and attach the cradles at either end and the middle to distribute the load and then have 2 fixed length rods going from the eye bolt at the front and the towing bar at the back to connect to the front and back of the kayak. Thought was that this would help take some of the weight and lift depending on speeds / wind involved.
It is only about 10 minutes drive to where we will mainly go at Keyhaven and Lymington but we would liek something robust so we can take it when we go further on camping trips etc.
Any thoughts gratefully received.
Offline
#4 26 Jan 2012 5:59 pm
- Paul
- Employee

- From: Gatebeck Cumbria
- Registered: 4 Aug 2011
- Posts: 134
Re: Sport Tandem
We do exactly what you propose for the longer boats. We use either home made vees or j bars for the cradle and cover them in foam to avoid scratching the boat. This system works very well on long journeys so you should not have any problems with your short trip to the water.
How is the build coming along?
Offline
#5 26 Jan 2012 9:56 pm
- Phil
- Employee

- Registered: 8 Jun 2011
- Posts: 74
Re: Sport Tandem
Hi!
I move the shop Sports Tandem around frequently on the roof of my VW Polo. For longer jorneys it gets tied on at the front and the rear as well.
What some people do, is fabricate a longitudinal beam, typically alluminium, with some sort of vertical supports from it. Some also just lash a ladder to the roof bars.
Your car is quite big, and I would stretch your roof bars as far apart as you could and work from there...always following manufacturers instructions of course!
Phil
Offline
#6 1 May 2012 7:42 am
- algieb
- Member
- Registered: 12 Nov 2011
- Posts: 10
Re: Sport Tandem
Thanks for the thoughts chaps. Sorry been out of the running for a while. Busy work, too much time in hospital visits and getting married on Saturday. Will be back on the build end of May as also moving house during May so not been able to touch it for several months.
Paul, how do you find the Sport Tandem on the water? We're only quite light 175 and 115 lbc respectively so it should motor I think.
We're also going to be doing the trimaran conversion if I can get time later in the year - but just want to paddle it for this summer.
It's all bubble wrapped and forlorn at the moment waiting for me to get my act together.
Next job is fixing the deck then got the external fibre to apply. Hopefully won't take too long.....
Will put some pictures up for update as soon as I am going again.
Offline
#7 1 May 2012 1:08 pm
- Paul
- Employee
- From: Gatebeck Cumbria
- Registered: 4 Aug 2011
- Posts: 134
Re: Sport Tandem
Congratulations on the marriage and I hope that all goes well on Saturday.
The Sport Tandem is very fast but it is more tippy than our other double. It is for racing. We usually say that it is for experienced paddlers rather than for those just learning to paddle but, in reality, it is merely a question of practice. I find that all new boats feel very unstable when I first try them and am amazed to find how the stability improves as the boat gets used to me. You are a light crew which will reduce the turning moment. I recommend that when no-one is looking and the weather is warm you deliberately try to capsize the boat: this will re-assure you. With outriggers this boat will be hugely exciting and stable. Phil has been wanting to fit outriggers to his Sport Tandem for years but has never found the time.
Offline
#8 10 Aug 2015 6:34 pm
- algieb
- Member
- Registered: 12 Nov 2011
- Posts: 10
Re: Sport Tandem
I've been working on and off on this but mainly paddling it and have since built and implemented the sailrig MK3.
In the last few months I have been sailing it a lot and making various updates as we learn from each try.
I am going to be putting a lot more info together onto a web site to keep things simple - will take a while but have quite a few photos and some videos as we started getting things to work.
Offline
#9 2 Nov 2015 10:43 am
- algieb
- Member
- Registered: 12 Nov 2011
- Posts: 10
Re: Sport Tandem
After a very long hiatus there are loads of updates which I link to here:
http://smalltrimarans.com/blog/clc-doub … i-sailrig/
and a recent update here
http://smalltrimarans.com/blog/clc-spor … r-testing/
The jib and trampolines hugely improve the performance, stability and ease of sailing. The tramp are just quick and dirty test beds made from leftover wood. I will at some stage make them up from something nicer/better perhaps foldable stainless frames.
The main things to address at the moment are:
to balance the mast by adding a mizzen or moving the mast back a foot or more
and
improve the leeboard mounting bracket to spread the greater loads
Offline
#10 4 Nov 2015 11:27 pm
- algieb
- Member
- Registered: 12 Nov 2011
- Posts: 10
Re: Sport Tandem
I've uploaded a video from last weekend - extremely low winds but testing the jib rigging on the test trampolines and just hoping for some decent winds this weekend.
https://www.youtube.com/watch?v=4E8jH7c1F1A
Will be adding a small mizzen to balance things before i move the mast further back - hopefully provide some extra speed and of course some extra comedy.
Looking to do the Junior Outrigger next when the manual becomes available.
Offline
#11 9 Nov 2015 10:32 pm
- Paul
- Employee
- From: Gatebeck Cumbria
- Registered: 4 Aug 2011
- Posts: 134
Re: Sport Tandem
Wonderful video, so relaxing. My boss assumed I was working as I watched it. I look forward to more.
Offline
#12 3 Jan 2016 1:36 am
- algieb
- Member
- Registered: 12 Nov 2011
- Posts: 10
Re: Sport Tandem
Popped out for a quick spin the other day in between storms. Was too windy getting the jib up but we had a nice potter about. We normally use adapted windsurfing rigs in higher winds but reefed the MK3 and enjoyed it.
Getting some decent speeds very easily now but need to address some modifications to finish things off
Still move back mast and jib
Upgrade leeboard and the mounting - am also considering some small skegs on the amas as it doesn't seem to need much leeboard for pointing. This might work better with moving the mast back to keep everything in line
Change the aka profiles to flare up and out then back down to the amas
Fair in the aka/ama bulkhead mounting as the drag when they submerge is horrendous
Improve the rudder - make a much higher aspect as doesn't seem to have the power to cope currently
Adapt for single handed sailing - longer tiller that can be controlled from either side
Get a cover and support to keep water out of front cockpit when out on the tramps. Same needed for rear if single handing
Sand and varnish again and paint inside as looking a bit battered after a pretty hectic season
Offline
#13 11 Apr 2016 2:47 pm
- algieb
- Member
- Registered: 12 Nov 2011
- Posts: 10
Re: Sport Tandem
We have completed the first part of moving the mast back to get better balance with the boat.
Here is a short walk around before we took it out for testing on Saturday:
Youtube Walk Around
Huge weather helm obviously as it is but the power is better balanced longitudinally now, not driving the bow down so much which is what I was after.
I am now going to put on a temporary spar between the trmapoline decks so we can find the perfect position for the leeboard.
One other issue with the leeboard is the added complexity of it - the putting on and taking off and the pressure on the brackets and board.
If keeping it I will need to beef up the brackets and board considerably as they bend a lot and I think will fail sooner rather than later.
As an alternative I might investigate putting long, shallow skegs on the bottom of the ama's - I will try and rig up some test skegs and if it works go that route.
Any thoughts on issues of using skegs as per the Warren Light Craft approach:
Hopefully get some good sailing/paddling video soon if the weather improves.
Offline
#14 16 May 2016 6:06 pm
- algieb
- Member
- Registered: 12 Nov 2011
- Posts: 10
Re: Sport Tandem
Latest video having moved the mast and leeboard back 18 inches.
Only using teoprary frames but the balance is a lot better, turning quicker and tacking more reliable.
A huge improvement.
Will now just get onw ith using it for the summer while making my new outriggers for the ISO dinghy conversion project.
Offline
Pages: 1