A forum for discussing wooden boats and boat building
You are not logged in.
- Topics: Active | Unanswered
Pages: 1
#1 25 Apr 2018 5:48 pm
- Yambo
- Member
- Registered: 17 Jul 2014
- Posts: 36
WoodDuck 14 and CLC Sailrig
I wasn't intending to do a build log for this winter's project, I just wanted to get on and build but Paul at Fyne Boats told me they'd like to see some photo's so I thought I could probably cobble something together from some photos I have. I'm a lousy photographer though so most of the photos that you'll see have been taken by my 'apprentice', Anton. He's a Ukrainian lad living in the village and he wants to maybe build a kayak next winter. He fancies the Shrike http://cnckayaks.com/project/shrike/ (free plans!) and thought working with me would help him. The blind leading the blind!
OK, this is not my first boat build. In 2014 I built a CLC Skerry,
2016 a CLC Chesapeake 17LT
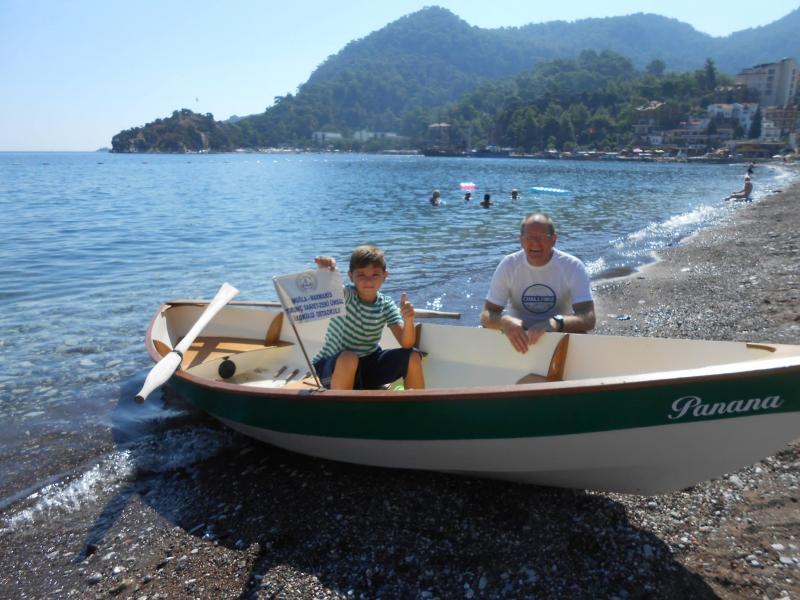
and last winter a couple of SUPs, yep, you've guessed right CLC Kaholo 14s. No pictures, sorry. I like CLC's boat range, their plans and manuals are fine and there's plenty of support if needed. I build from plans, simply because I can't afford kits. Oh, OK, I could afford a kit I suppose but I live in SW Turkey and a kit, plus shipping and some import taxes I'm not going to afford. I live in a small village called Turunç, about 9 kms south of Marmaris by boat but about 22 kms and a big hill by road. This puts a lot of people off so although the village is a holiday resort it's never crowded. Winters are quiet and usually quite wet so I tend to make things in the winter months and use them in the summer months. My house is 2 minutes walk from the beach and I've seen dolphins in the bay from my bedroom balcony.
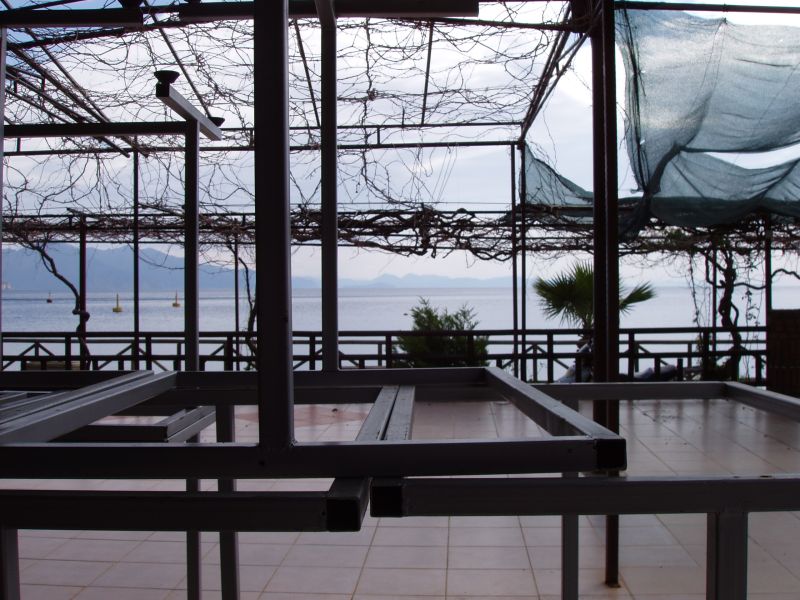
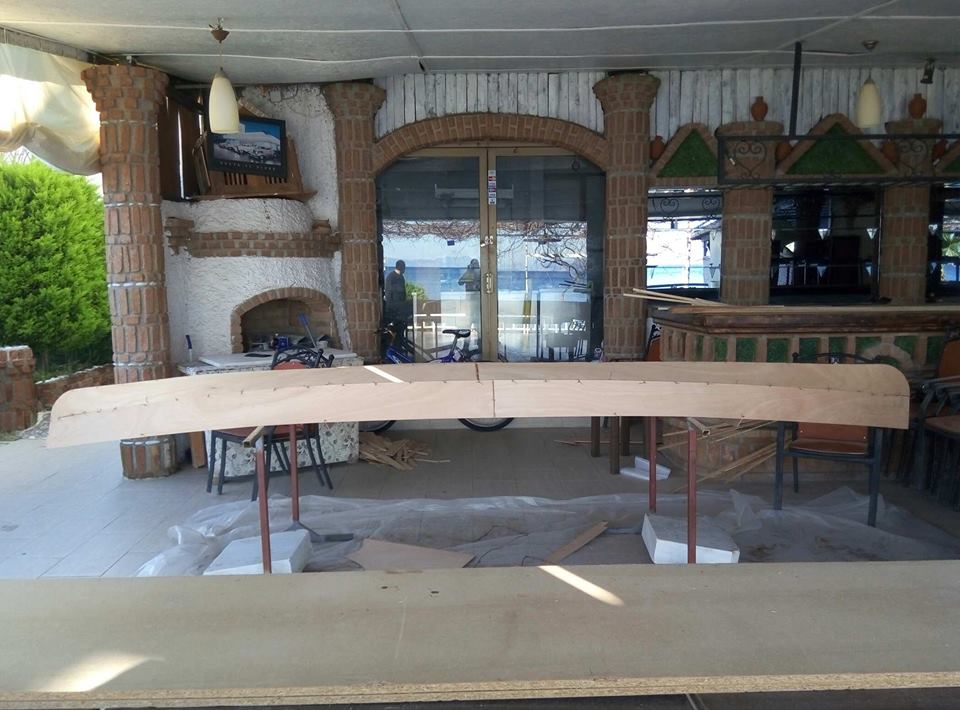
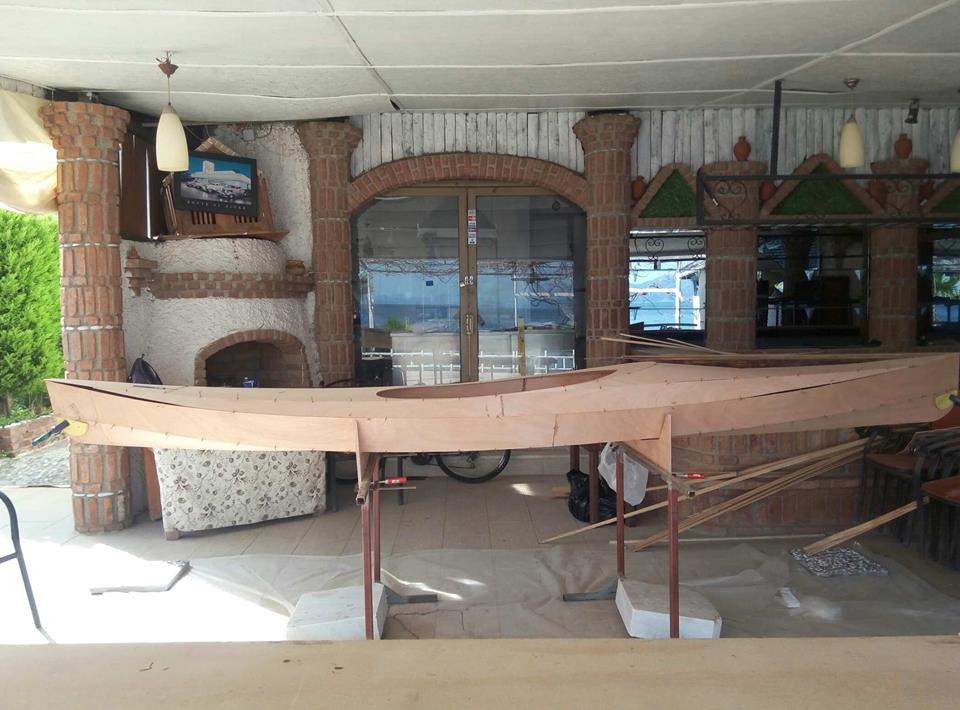
Unfortunately what I don't have is a workshop or even a garage. What I do have though is a friend with a restaurant on the sea front which he lets me use as a workshop. It's open but covered and as long as I clean up after myself and do some odd jobs for him as needed, all is good. Here's the view from the workshop.
This winter's project then was a trimaran or more accurately a kayak with a CLC sailrig. My original plans were to make the sailrig and fit it on the Chesapeake 17LT and to also build a S & G Night Heron but I was loathe to cut a hole in the deck of the 17LT. John Harris, the CEO of CLC Boats steadfastly maintains that his choice of boat for the sailrig would be a WoodDuck 12 so I dropped the idea of using the 17 and building the Night Heron and decided I'd build a WoodDuck and build all the necessary additions for the sailrig as I went. For me the WD 14 would be a better option so I dropped CLC an email and asked their opinion on using a 14. No problems, it seems. That's the plan then.
By this time I'd already got the sailrig plans from Fyne Boats and started building the amas and I picked up the WD plans when I was in the UK for Christmas and New Year and when Paul decided he'd like some photos of the build. Back here in Turkey I bought more plywood and cleared some space. There are drawbacks to living in what some people call a paradise though and one, for boat builders, is the lack of 8 x 4 sheets of decent marine ply. Plywood here comes in 2.2 metres x 1.7 metre sheets and isn't BS 1080 standard. Laying out for hull and deck panels usually takes a bit longer and the ability to do decent scarph joints is helpful. But that's life and people have the world over made boats with what's available so I usually just crack on. I normally put thicker fibreglass on my boats though because of the lower quality plywood but also because the beaches are all stony around here and a bit of extra thickness and weight is worth it.
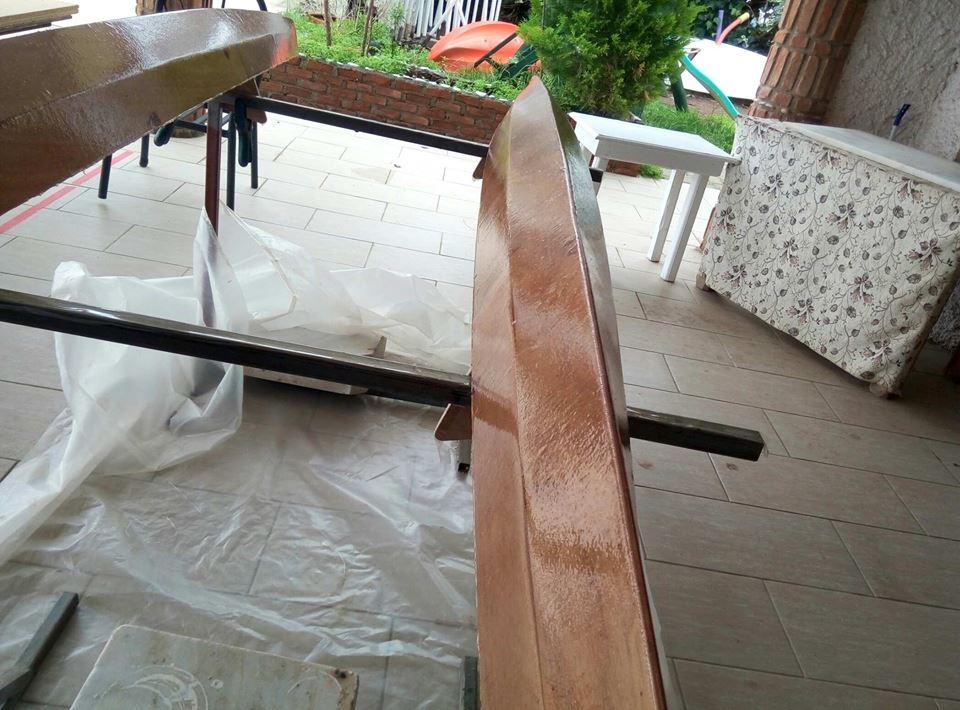
I started with the sailrig amas, the outriggers. They went together fairly easily and I took pains to ensure they were pretty much identical, especially the 4 bulkheads. Here they are getting their fill coats.
It was around this time that I went looking for some timber to make the akas from but this post is long enough with too few pictures so I'll carry on in a day or so.
Offline
#2 3 May 2018 2:38 pm
- Yambo
- Member
- Registered: 17 Jul 2014
- Posts: 36
Re: WoodDuck 14 and CLC Sailrig
The first piece of timber I bought for the akas turned out to be very poor when cut into strips so the akas went on the back burner for a while. This wasn't a problem as I'd bought two long pieces of chipboard to use as a bench and they were still in use. They were in use for marking out, cutting and joining the WoodDuck 14 panels which went reasonably smoothly. All of the panels have at least one scarph joint. I'm quite blase about cutting scarph joints these days and with this thin ply (4mm) I did most of them with the random orbital sander.
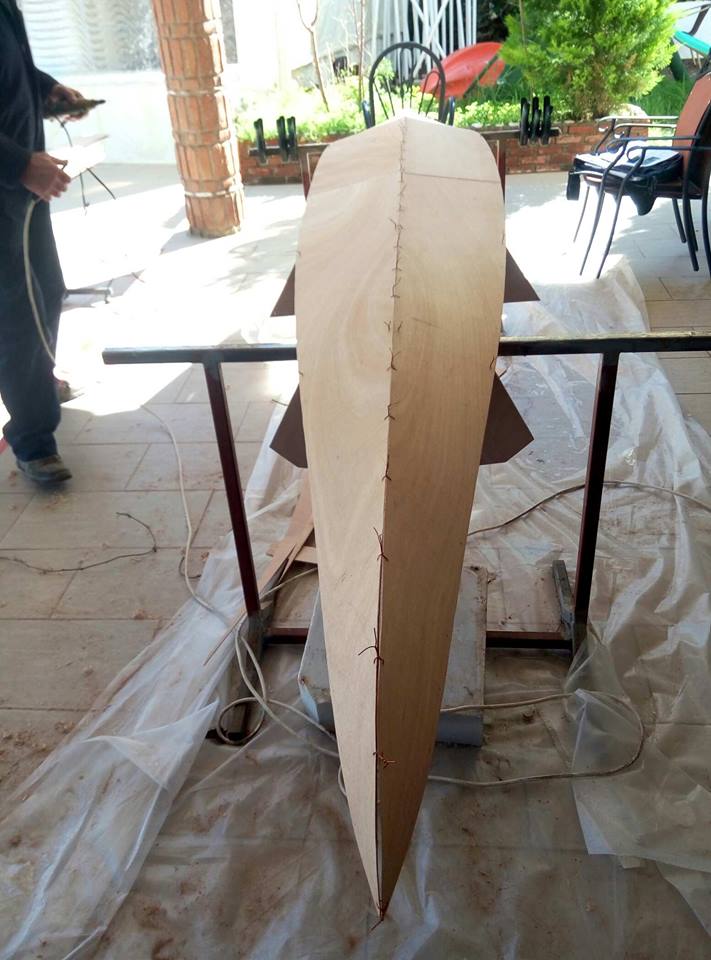
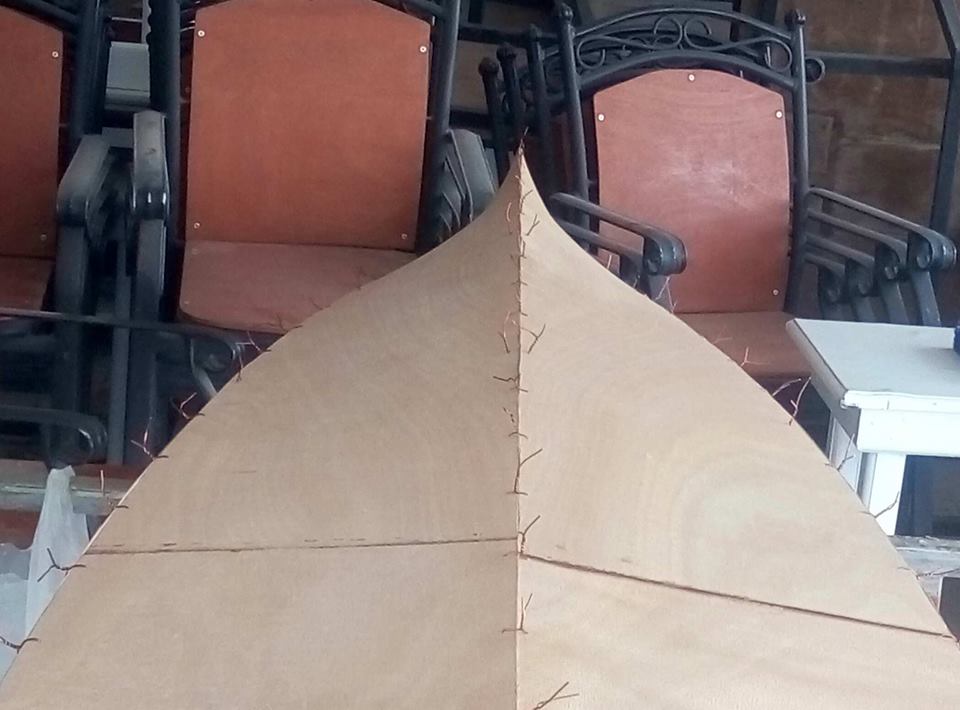
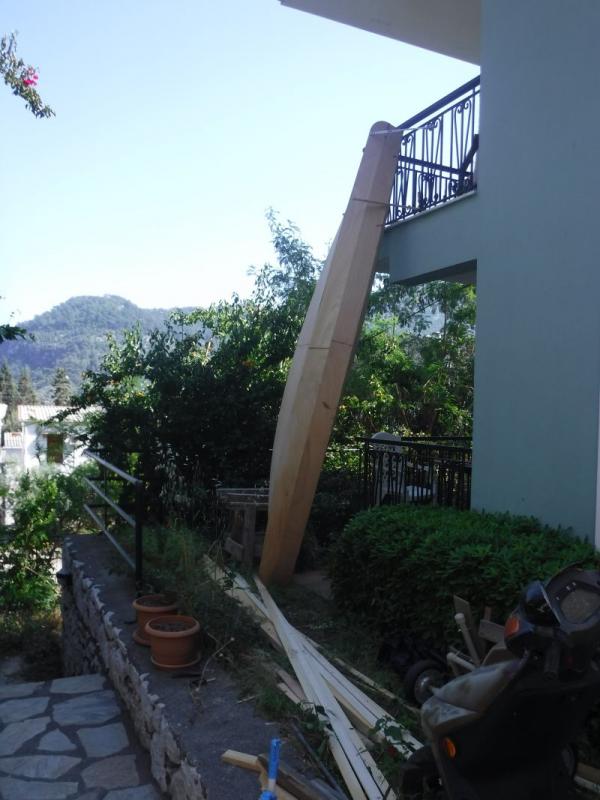
The hull went together very easily but as I was wiring the top together I had a bit of a disaster. i lifted one of the sheer panels from its resting place on the restaurant bar and started fitting it but when I was moving the second one it snapped right next to the scarph joint. It was still held together by the outside veneer so I tried fitting it with the intention of putting a doubler behind it later but the pressures of it being bent into shape destroyed that idea and the remaining veneer. I ended up cutting another one which turned out fine.
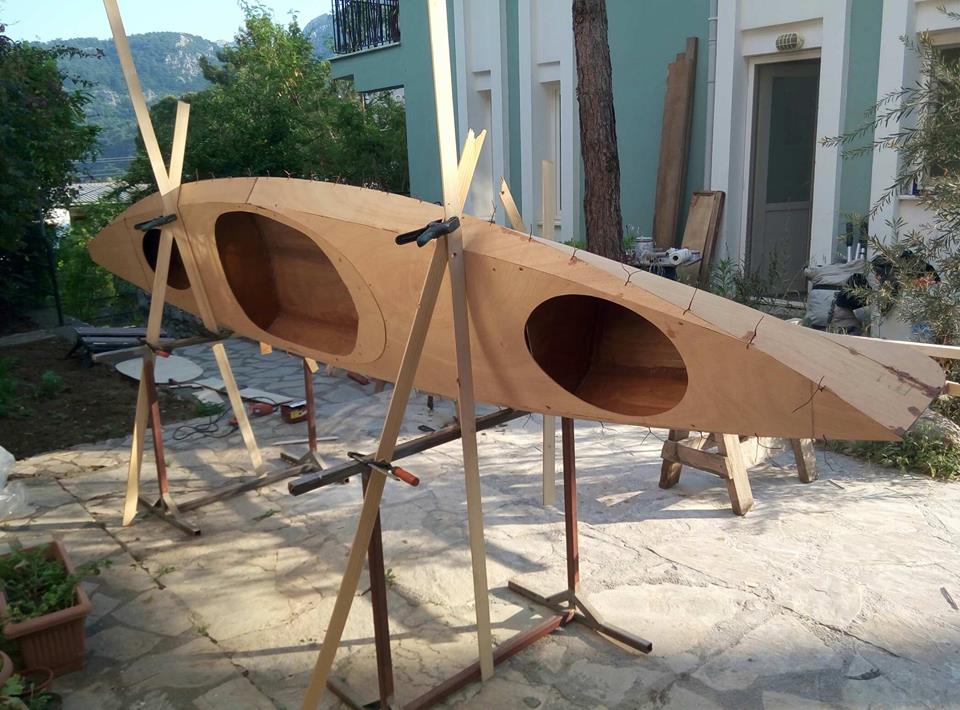
It wasn't long before I had a stitched up kayak. Here's the hull
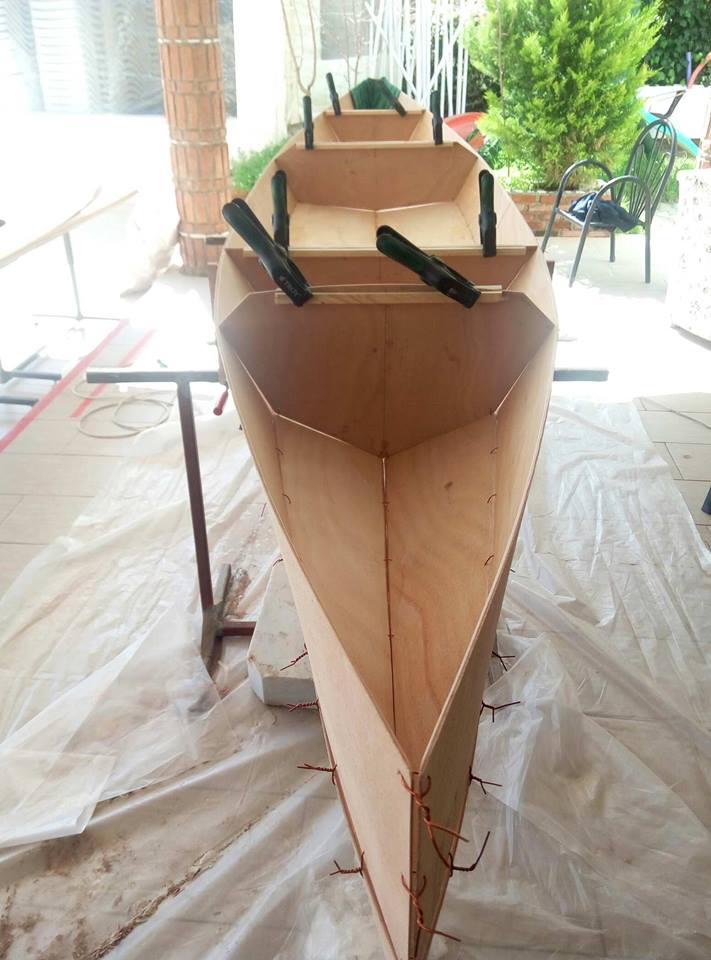
and here's the inverted deck.
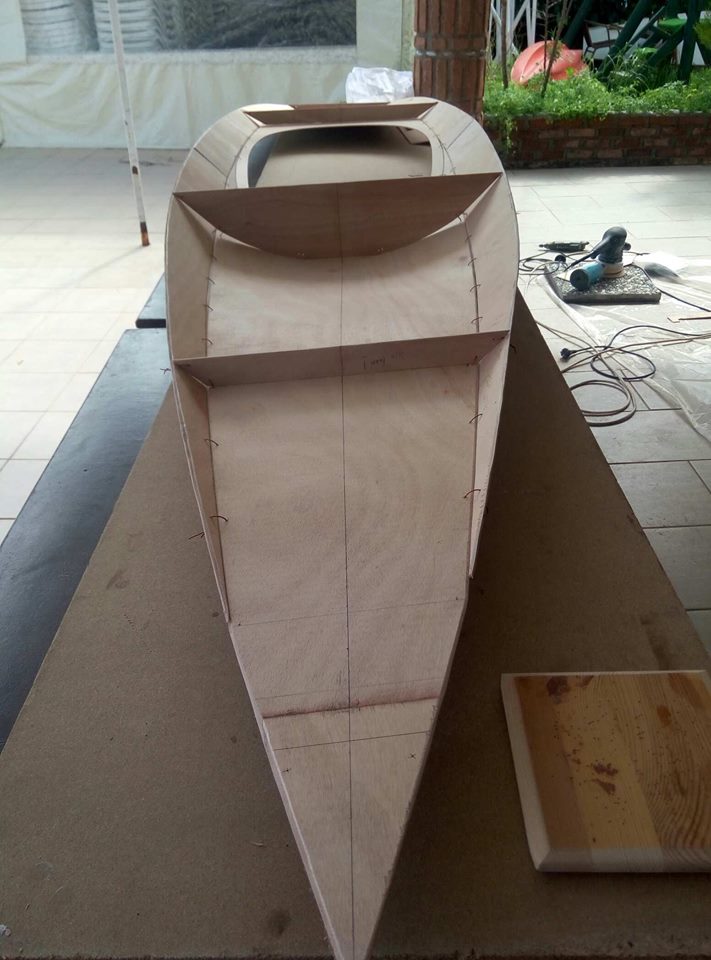
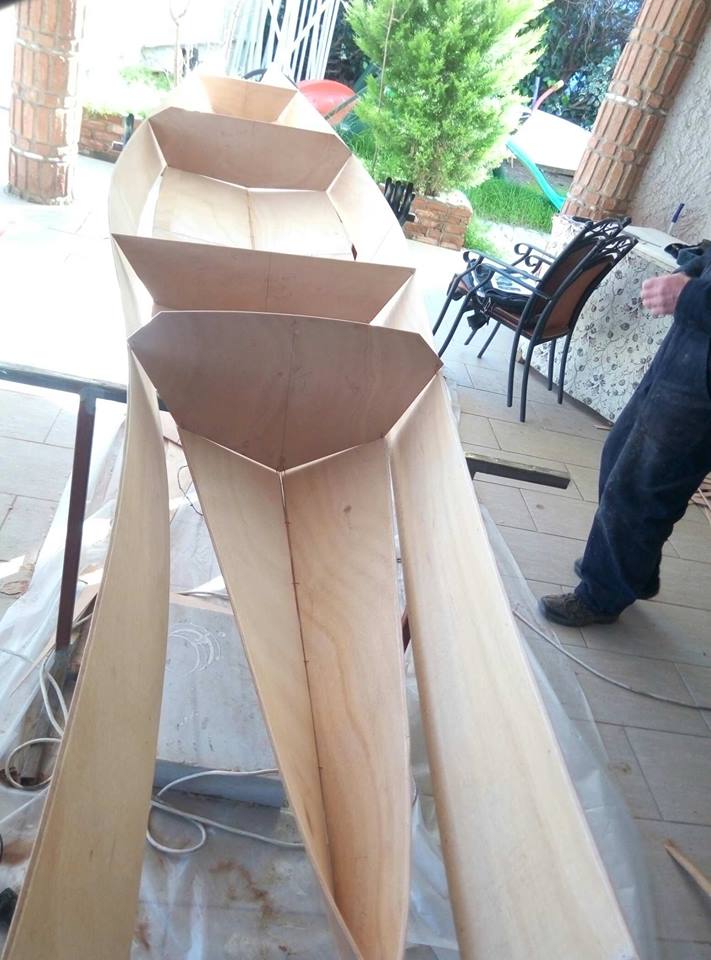
and the whole thing wired up.
Tacking the panels together was done as suggested in the build manual, apply the tacks then wire everything together so it sets up in the shape you want. As all the edges of the panels are bevelled tacking up was very simple and clean. It's then a simple matter of then removing the stitches and gluing up all the seams and taping them with fibreglass tape.
Time, tide and tourists wait for no man so as the holiday season was getting closer it was time to vacate the restaurant and move up to my house and utilise the space where I built the Skerry.
Offline
#3 3 May 2018 8:36 pm
- Gleam
- Member
- From: Nr Kendal
- Registered: 8 Jan 2018
- Posts: 9
Re: WoodDuck 14 and CLC Sailrig
Nice one Yambo, some lovely curves to the hull, and what a setting ![]()
Offline
#4 7 May 2018 12:13 pm
- Yambo
- Member
- Registered: 17 Jul 2014
- Posts: 36
Re: WoodDuck 14 and CLC Sailrig
Thanks Gleam. I not responsible for either the curves or the setting but I agree, they're both good.
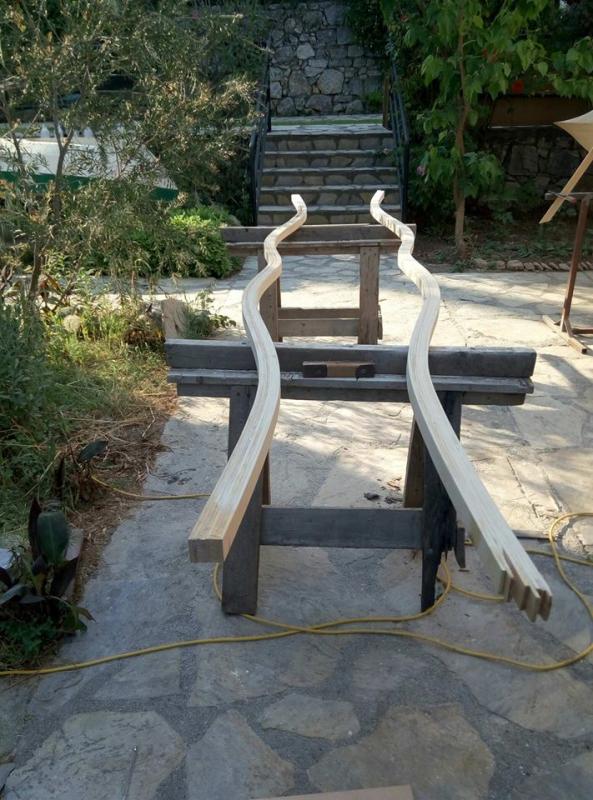
At the beginning of March my friend drove me up to Muğla, the provincial capital and I bought a big lump of spruce, about 4.8 metres long. Back in the village the local carpenters sliced it into 6mm strips, stopping when I had enough good clean strips and about 6 or 7 spares. The two big sheets of chipboard now became the mould for the akas. I'd drawn up the plan for the mould full size on AutoCad and had it printed off and it was a simple matter to spread the plan out on the chipboard and cover it with a new sheet of polythene. The correct number of correct sized blocks were taped up with packing tape screwed to the chipboard.
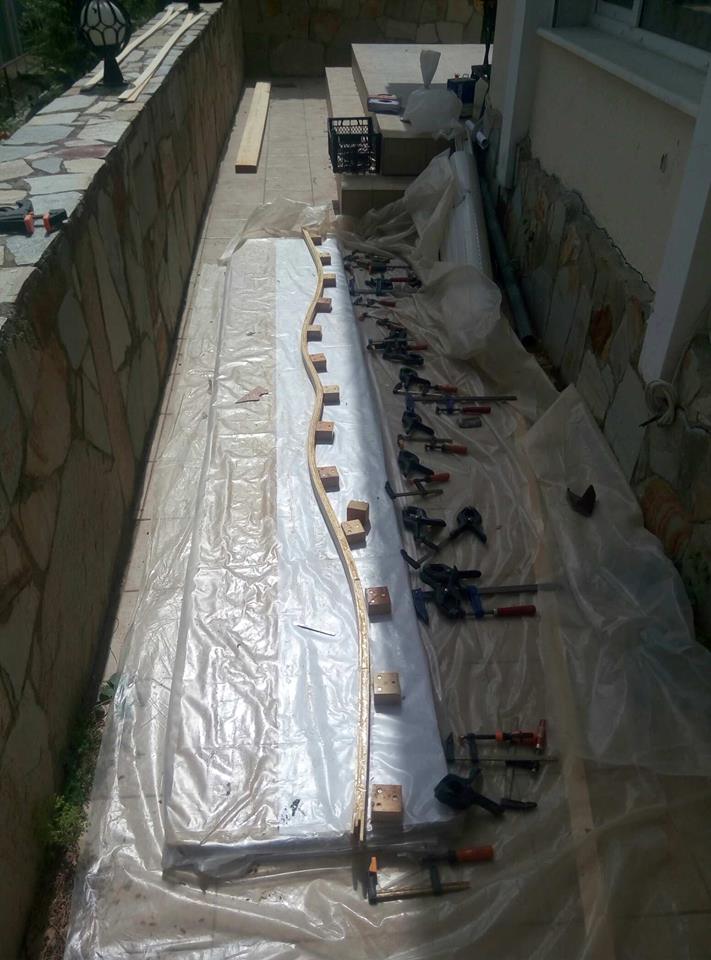
Each mating surface of the strips was wetted with neat epoxy then glued together with epoxy thickened with fibreglass microfibres. The guys at Fyne Boats had suggested that clamping up all 8 strips in one go might be difficult so with this advice in mind we just put 4 strips together, left them in the mould for 3 days, added 4 more and left them to sit for another 4 days. Four at a time was a good move - although I have lots of clamps (one never has enough!) they weren't going to be good enough to clamp up 8 strips of spruce. After two weeks we had 2 akas and the world was a happy place.
The amas got their final sanding and are currently patiently waiting for me to find a big enough clear area to square the amas and akas and drill some holes for bolting them together. In the meantime I was busy on the hull.
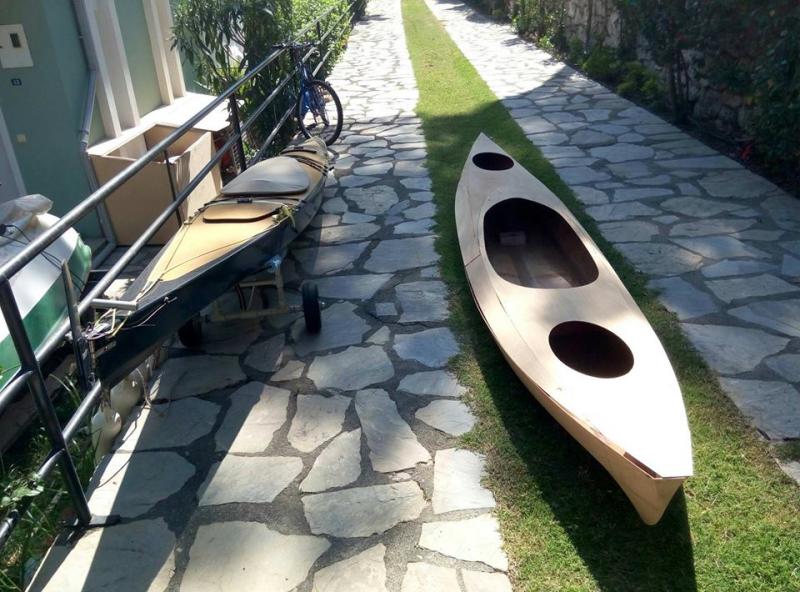
Before fitting the deck we moved the boat off the trestles so that I could get my apprentice to sit in it and I could measure up for the footbrace studs. These are the ones sold by Fyne Boats that are fibreglassed into the hull. The boat looks a bit porky sat next to the Chesapeake but of course, it's purpose is slightly different.
I also took the opportunity to reinforce the rear deck where a fitting will go for the main sheet block. It was then time to cut a couple of holes for the hatches before fitting the deck. This was done in two stages, I tacked up the seams first then filleted and taped the seams one side at a time.
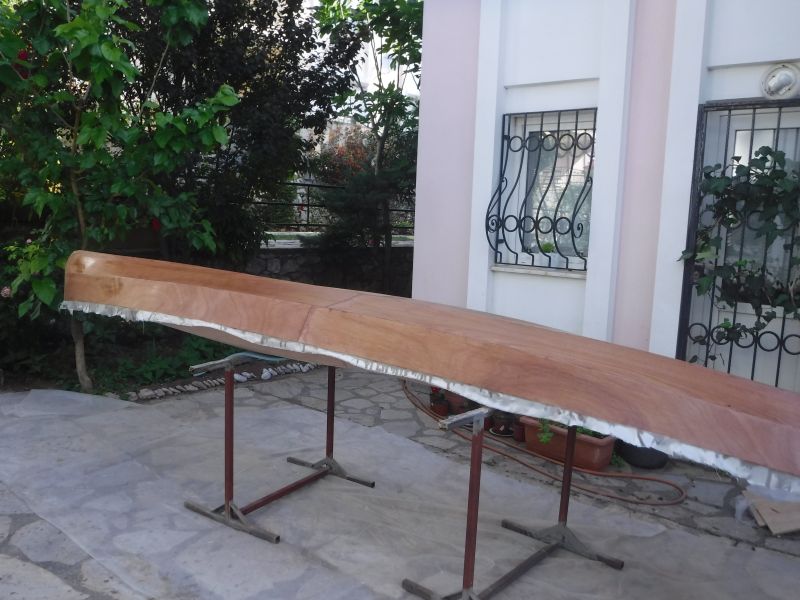
With the hull glued up I poured epoxy into both bow and stern (the stern end pour is surrounding a big, shaped lump of wood as I'll be mounting a rudder on the little transom) fitted the hatch sills and spacers and fibreglassed the hull. the easy way to do an end pour.
The manual (always) seems to suggest fibreglassing the hull then adding the fill coats before fibreglassing the deck but my preferred method is to fibreglass the whole boat, in 2 stages (hull first, then deck) then do the fill coats. Here the hull has been fibreglassed and ready to be trimmed.
I made one silly mistake when covering the deck. The deck fibreglass should overlap the fibreglass on the side panels and to make a neat edge it a good idea to run some tape along the side panel where you want the fibreglass to finish. The epoxy won't stick to the tape and you can trim it easily, remove the tape and Bob's your uncle. I would normally use brown packing tape for this but realised the previous evening that I hadn't got any. I did have some 2" clear tape though and as it was going to be an early start the next morning decided to use that. There was no way I was going to get any better tape anyway. Using the clear tape is a mistake though as it's very difficult to see under the fibreglass which means it can be difficult trimming to the edge especially if you're a little late in the epoxy setting up process. I was.
However, the fibreglass was trimmed, all traces of the tape were eventually removed and the sticky residue also removed (WD 40 is good for this). I'm now in the process of filling the weave of the fibreglass on the hull. It should be done by now but the early May rain arrived just as I'd applied the second fill coat. It's showery for the next day or so but filing the weave shouldn't take long as soon as I can be certain of 6 or 7 hours for the epoxy to set up.
In the meantime I have to make spacers for the akas, finish off the leeboard and rudder and a few other bits and pieces. And I have a wedding to go to on Wednesday. I do like Turkish weddings!
Offline
#5 17 Jul 2018 7:47 pm
- Yambo
- Member
- Registered: 17 Jul 2014
- Posts: 36
Re: WoodDuck 14 and CLC Sailrig
Finishing everything went quite smoothly. With all 3 hulls, glassed, fill coated and sanded the hatch bits and pieces were fitted and I made the 5 pieces for the coaming - 4 half shape spacers and the coaming ring. I have made the cockpit a bit smaller than the plans as the distance between the akas is 48 inches and the WD 14 cockpit is 49.5 inches. making the cockpit smaller meant I only had to make the front aka spacer fit the deck curve and not have to fit around the coaming. Before gluing the coaming bits together I clamped them in place and drilled some small holes where the half spacer pieces met and used wooden toothpicks as locating dowels. Trying to get these bits lined up when all they want to do is move around on wet epoxy is not good fun and can be messy but with the toothpicks in place it was a simple matter to slap the glue on, put them in place and pin them there.
With a couple of friends we did a dry fit of the akas using my Chesapeake 17 LT as a base boat and carefully drilled the ama bulkheads. I reinforced these holes with stainless steel tubes then trimmed the ends of the akas and drilled them. These holes were also lined.

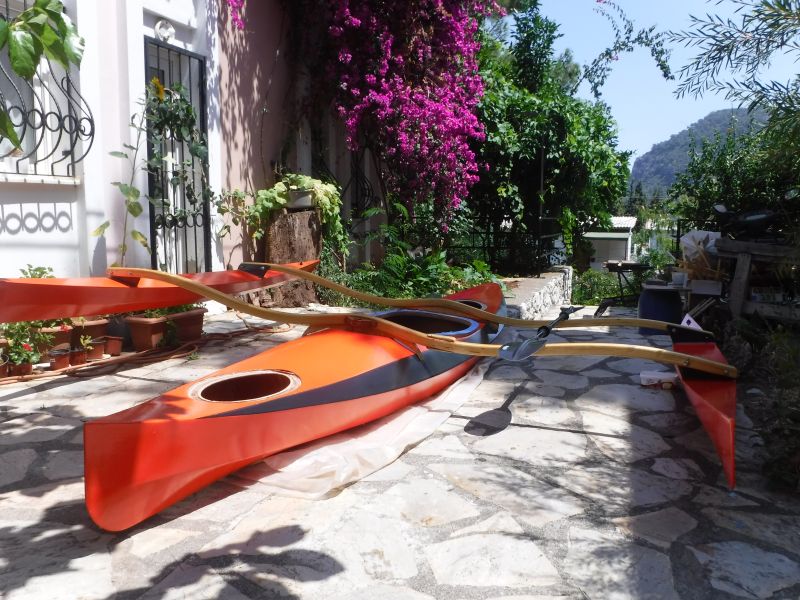
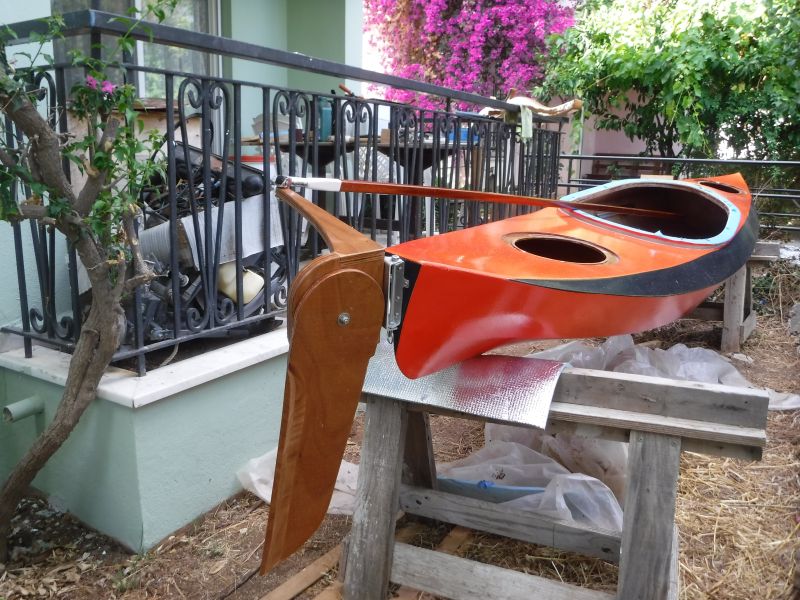
There remained quite a bit of work to do. Two coats of epoxy barrier coat were applied then the hulls painted. I live in a village called Turunç which is the Turkish word for the Seville orange and the Turkish word turuncu is orange in English so the boat is painted in 'International Orange' with black trim. Another dry fit to make sure everything was lined up (not sure what I'd have done if it wasn't) then it was time to start fitting out.
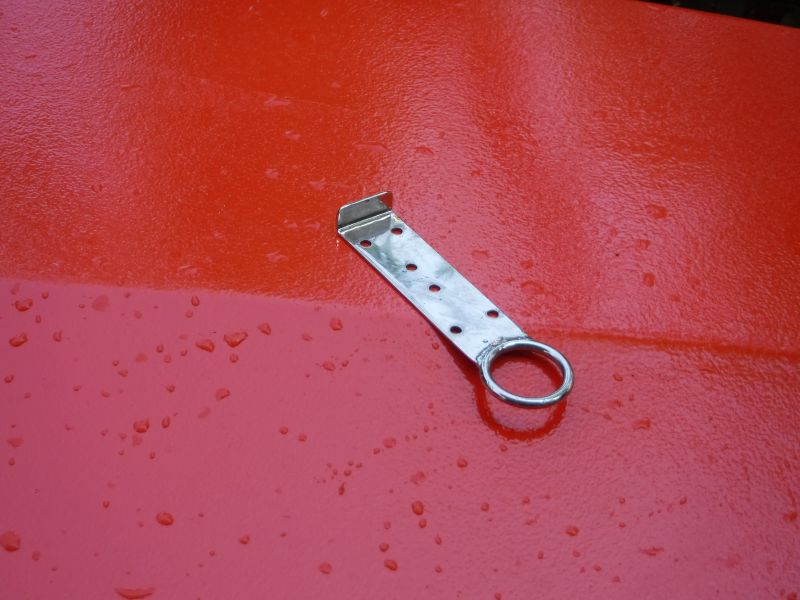
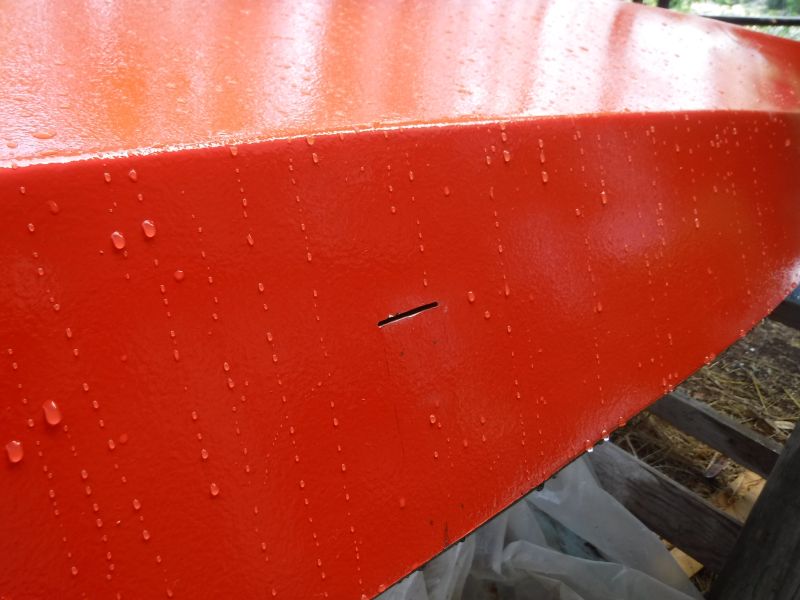
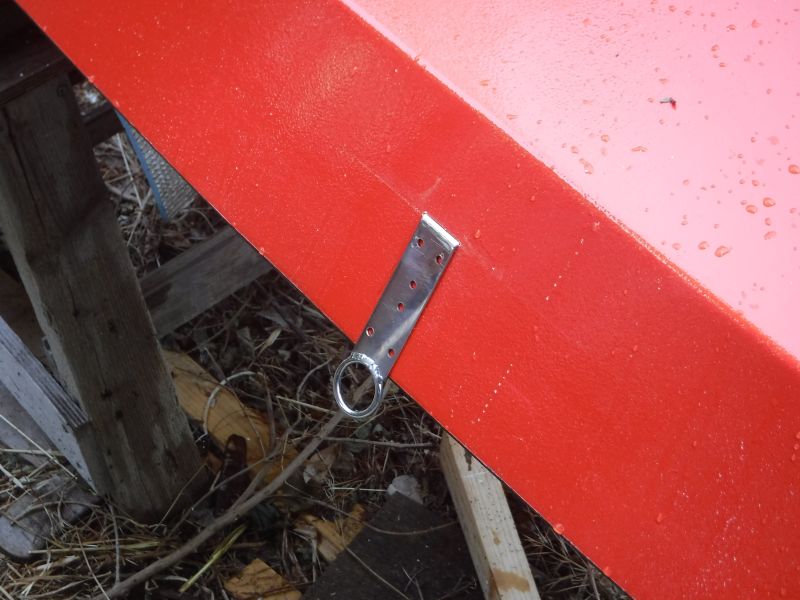
The akas are secured to the boat by cord. The plans say use an eye bolt fitted through the sheer plank but the WD doesn't have a sheer plank. I'd thought about this for some time and eventually had some ss chain plates made up in town. These fit into a slot in the hull and are then screwed to blocks inside the boat. The dry fit allowed me to mark the places where they were to fit and I carefully cut 4 slots in the hull and fitted them
The mast partner, lee board brackets, downhaul cleat etc were all fitted to the front aka and the rudder assembly (I'd made the rudder parts ages ago) finished off. There are plans for a rudder but early on I'd thought about using a FastTrack rudder with a bigger blade. Unfortunately the guys in Kendal didn't have the kit so I'd made the one from the plans. This has a rudder blade, a cheek piece and a tiller. If I was to use eye bolts the rudder would be a little off the centre line and whilst I'm not a perfectionist I do like things symmetrical. I had some 3mm aluminium sheet left over from the keel of a model RC sailing boat I'm making so drew up some plans on AutoCad and cut, bent and shaped a couple of bits to make a rudder fitting that keeps the rudder blade on the centre line.
It seems to work OK but I may get my friend in town to make a more professional one later. The mast is a 15ft length of aluminium tubing with a 3mm wall thickness. UK sails made me a super sail from the plans and that was pretty much that. Time to get it all wet and to see what modifications needed doing. Photos of the launch are on the Boat Launches section. It turned out there are a few mods needed, mostly done now. The lee board could do with being better secured in the down position - there are reports on standard lee boards breaking - and the brackets do not appear to be that substantial. To be honest, there's enough room in the WD 14 cockpit to put a dagger board in there but I'll wait and see how this performs as I increase the pressure on the boat. I haven't modified the lee board in any way yet. We have a rope across the bay here to demarcate the swimming area so the rudder needs to be raised and lowered to get over the rope. The boat is also fast enough for water pressure to swing the rudder up so I've made a simple rope pull system to raise and lower the rudder blade and the pull down rope is then cleated to stop the blade swinging up. I'd deliberately made the main sheet too long so that was shortened as was the tiller. I've yet to fit a bungee cord and clamp to secure the paddle out of the way across the port akas when it's not needed.
But that's about it, It all fits together, it floats and goes pretty well. It doesn't tack that well but I expected that. In a couple of days I'll take her for a run out with the GPS and see what she's capable of and I'll slowly take her out in stronger winds to see if everything holds together - I'm still a bit concerned about the lee board.
But it has been a fun project, filled the winter months up and is admired by all. I regularly tell people I have the best boat in the Marmaris area to which they usually say "How can you say that with all these gin palaces around?" but it's true, I have the best boat because it's mine (I have 4 boats now ![]() ). My friend, after trying out Rocinante, the latest addition to the fleet said confidently "You definitely now have the best boat around here". I'm happy!
). My friend, after trying out Rocinante, the latest addition to the fleet said confidently "You definitely now have the best boat around here". I'm happy!
Offline
Pages: 1