A forum for discussing wooden boats and boat building
You are not logged in.
- Topics: Active | Unanswered
#1 22 May 2015 4:56 pm
- Batteryman
- Member
- From: London
- Registered: 22 May 2015
- Posts: 32
Eastport Pram Build
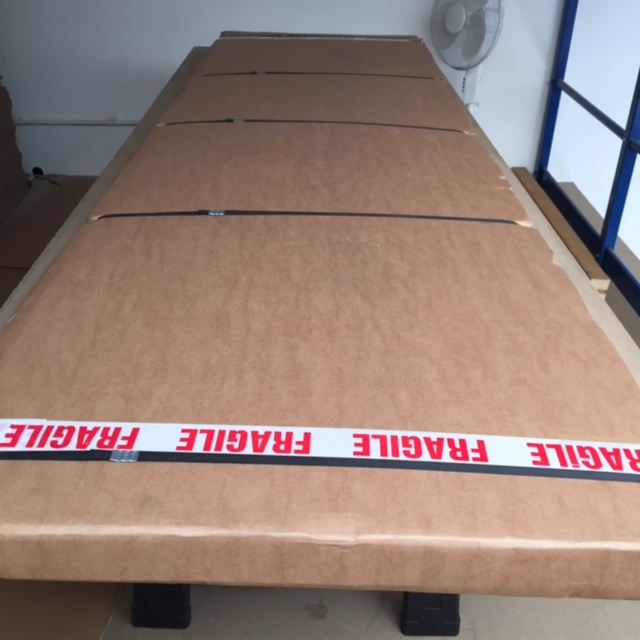
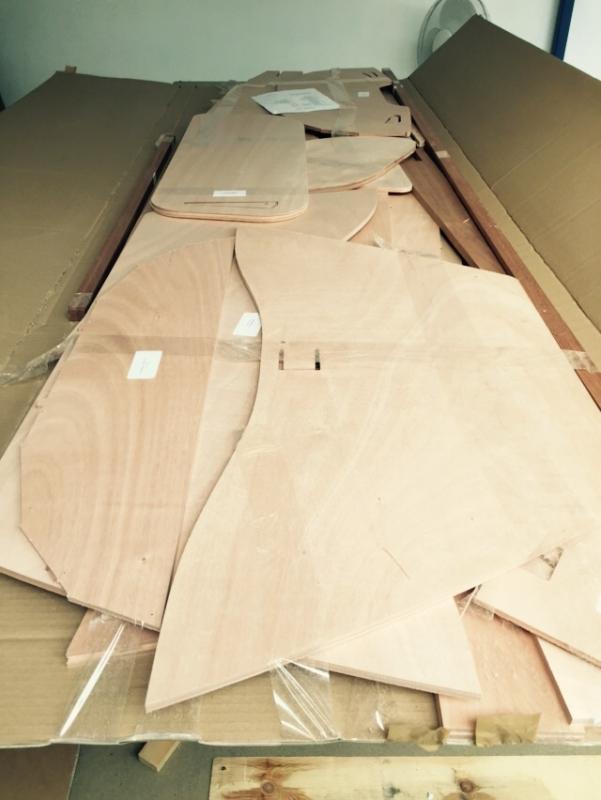
My Eastport Pram kit arrived at 7.30ish this morning 22nd May 2015.
I am going to attempt to build and finish it by the end of June. The dinghy will act as the tender for our Sealine SC35 motorboat.
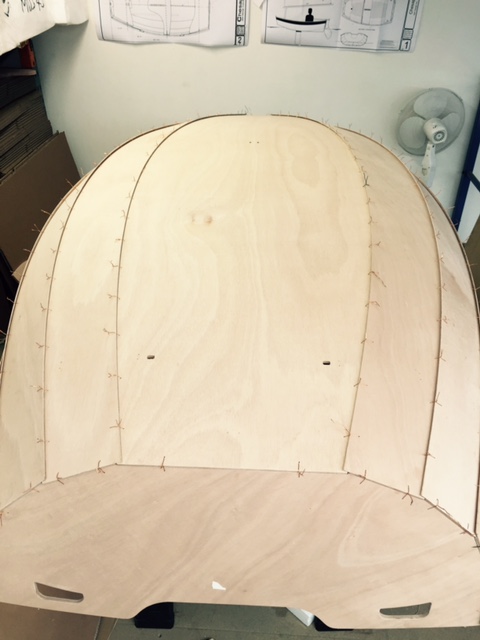
Today I unpacked and checked all the pieces, sanded all the lap jointed parts and wired together the sides, transom and bow panel. Not too bad for the first day.
Offline
#2 22 May 2015 5:12 pm
- Batteryman
- Member
- From: London
- Registered: 22 May 2015
- Posts: 32
Re: Eastport Pram Build
Still need to align all the panels, that will have to wait until next week.

Offline
#3 22 May 2015 5:24 pm
- gooseneck
- Member
- From: UK
- Registered: 20 Aug 2011
- Posts: 23
Re: Eastport Pram Build
One day only. That is quick. Are you going for the record or taking the next month off?
Offline
#4 25 May 2015 7:17 pm
- Batteryman
- Member
- From: London
- Registered: 22 May 2015
- Posts: 32
Re: Eastport Pram Build
I'm not trying to break a record, but I do have a deadline. I need to have it finished by late June, but I don't want to rush it so much I spoil the finished result. I'm hoping to sail it in Salcombe around the 10th July.
The space I have to work in gets to at least 25-30 degrees in the day, so I will need to be careful when I get to the epoxy stages, I suspect it will set rather faster than I might like. I don't expect too much progress this week, but it would be nice to get the joints all epoxied, and maybe start on the glassing.
Last edited by Batteryman (25 May 2015 7:36 pm)
Offline
#5 27 May 2015 1:15 pm
- Batteryman
- Member
- From: London
- Registered: 22 May 2015
- Posts: 32
Re: Eastport Pram Build
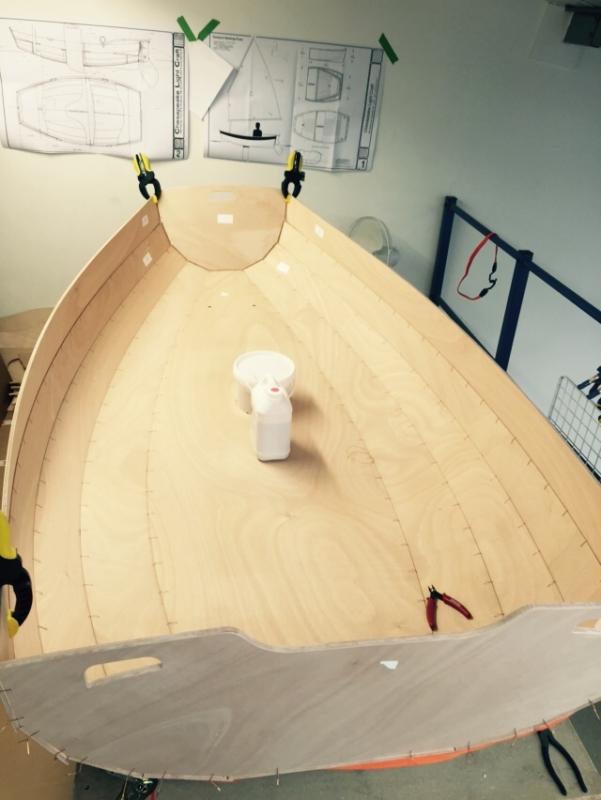
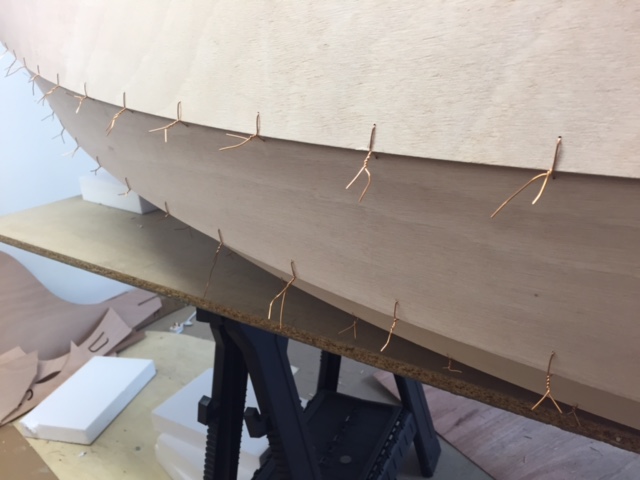
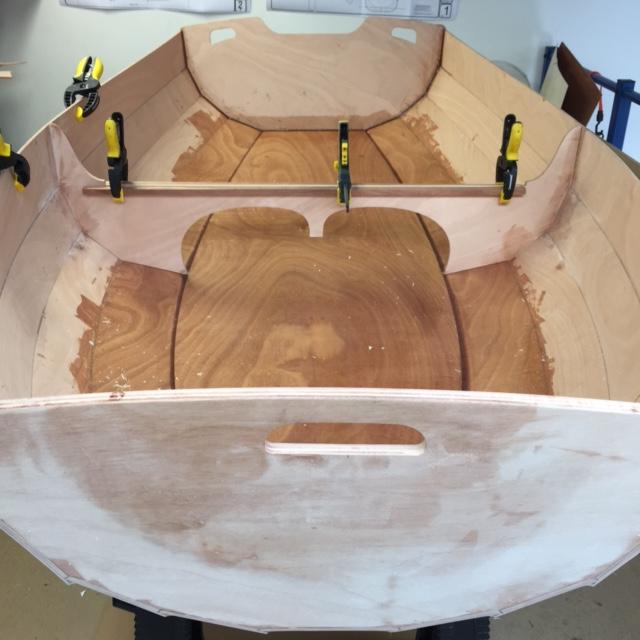
A bit more progress today. Removed the pram front twice and re-wired, now finally happy with the fit.
Turned it over and set it level on the horses, and checked it all to be as true as possible.
Taped the inside to help stop drips when I epoxy it together.
Offline
#6 27 May 2015 4:04 pm
- Batteryman
- Member
- From: London
- Registered: 22 May 2015
- Posts: 32
Re: Eastport Pram Build
All the planks are now glued, as is the floor, my shoes and the instruction book ![]()
Probably should have let it go off a bit more and thicken up before I applied it, maybe "warm treacle" instead if "thin mustard"
Last edited by Batteryman (27 May 2015 4:04 pm)
Offline
#7 28 May 2015 10:52 am
- Batteryman
- Member
- From: London
- Registered: 22 May 2015
- Posts: 32
Re: Eastport Pram Build
Last night I also laminated together the centreboard.
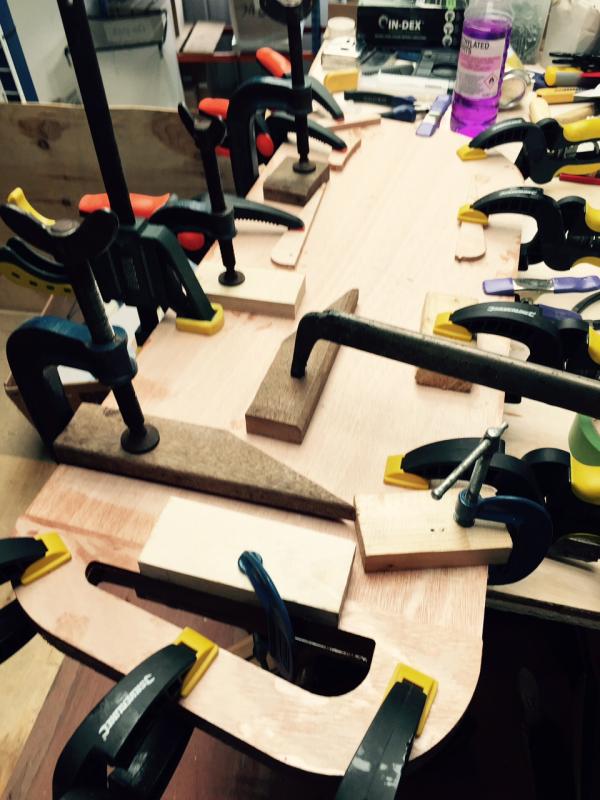
This morning two of those spreader blocks have also bonded nicely to the workpiece ![]()
Offline
#8 28 May 2015 12:06 pm
- Paul
- Employee

- From: Gatebeck Cumbria
- Registered: 4 Aug 2011
- Posts: 134
Re: Eastport Pram Build
Anything that you do not want to form part of the boat should be covered in brown plastic packing tape. I hope that you can get the spreaders off.
Offline
#9 28 May 2015 2:13 pm
- Batteryman
- Member
- From: London
- Registered: 22 May 2015
- Posts: 32
Re: Eastport Pram Build
Thanks for the tip Paul, I'm sure I can trim it off somehow.
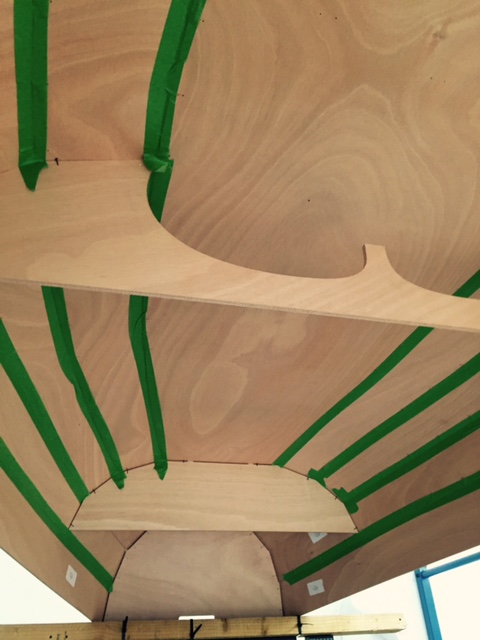
In the mean time I started on filling round the bulkheads, then I can start filling all the wire holes.
Offline
#10 28 May 2015 4:51 pm
- Batteryman
- Member
- From: London
- Registered: 22 May 2015
- Posts: 32
Re: Eastport Pram Build
The fillets went very well, so whilst it was drying I started on laminating more parts.
Offline
#11 29 May 2015 2:49 pm
- Batteryman
- Member
- From: London
- Registered: 22 May 2015
- Posts: 32
Re: Eastport Pram Build
I managed to remove the rogue spreader block from the daggerboard with a heat gun and a heated knife blade.
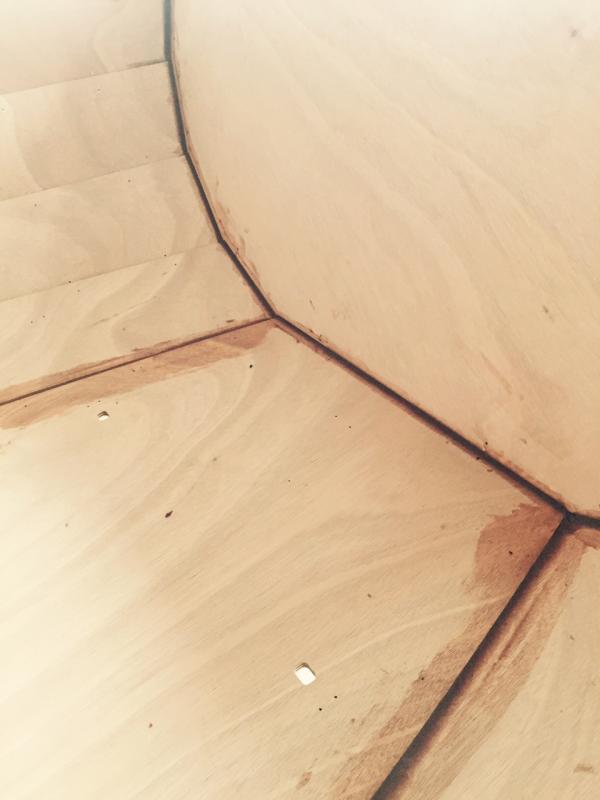
The wire holes needed filling next, but I didn't like the black holes using epoxy produced, so I am trying cocktail sticks as tiny dowels, much happier with the result. I used a 1.5mm drill bit to clean the holes first, then tapped in half a cocktail stick, cut short with wire side cutters, then sanded with a block.

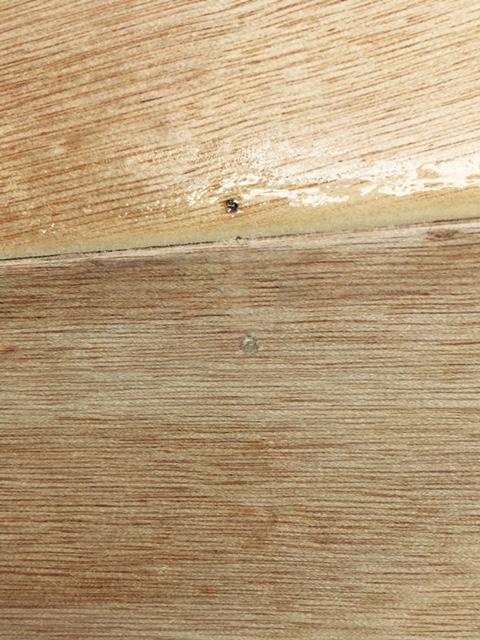
Most of the holes have disappeared all together, and are much easier to sand smooth than a lump of epoxy.
Last edited by Batteryman (29 May 2015 2:54 pm)
Offline
#12 1 Jun 2015 2:24 pm
- Batteryman
- Member
- From: London
- Registered: 22 May 2015
- Posts: 32
Re: Eastport Pram Build
Offline
#13 3 Jun 2015 9:34 am
- Batteryman
- Member
- From: London
- Registered: 22 May 2015
- Posts: 32
Re: Eastport Pram Build
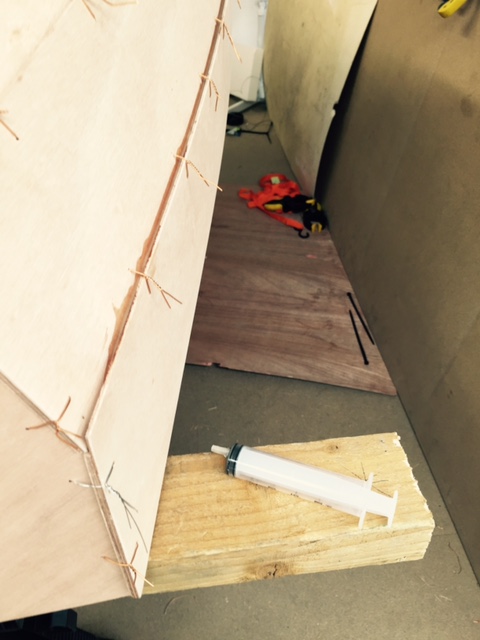
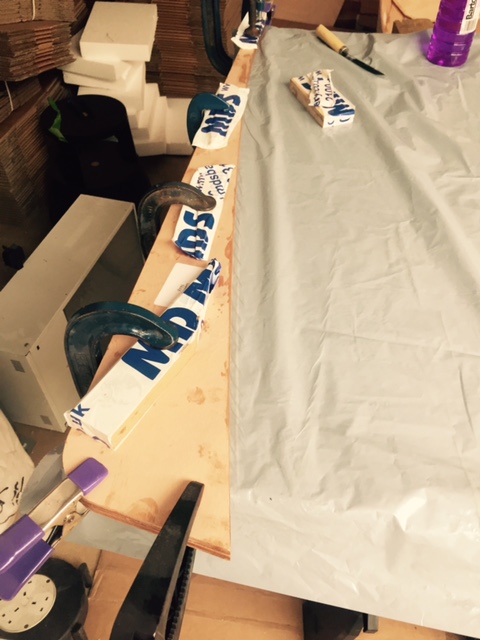
Unfortunately the centre piece was a bit curly, so I used two pieces of wood to clamp it straight while the epoxy set.

I used another cocktail stick to peg the pieces together.
It fitted very nicely like this, I can sand fair the 1mm sticking above the top.
Last edited by Batteryman (3 Jun 2015 9:35 am)
Offline
#14 4 Jun 2015 10:12 am
- Batteryman
- Member
- From: London
- Registered: 22 May 2015
- Posts: 32
Re: Eastport Pram Build
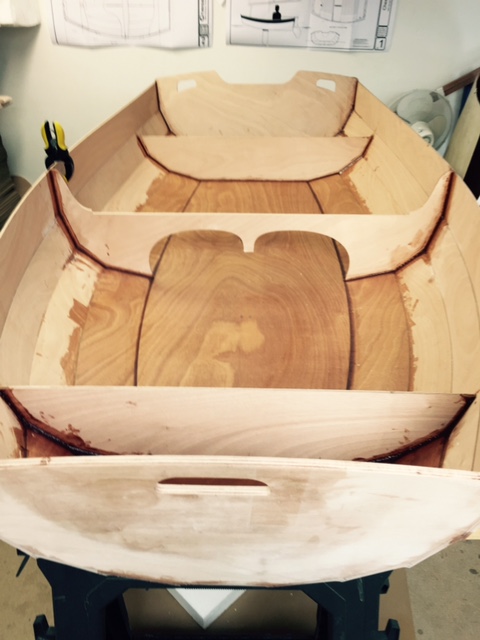
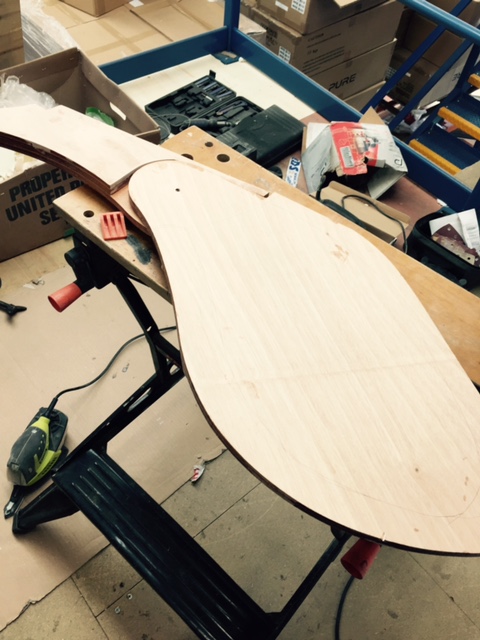
Bulkheads are all in now. While it is drying I've started sanding the rudder and centreboard.
Offline
#15 5 Jun 2015 9:59 am
- Batteryman
- Member
- From: London
- Registered: 22 May 2015
- Posts: 32
Re: Eastport Pram Build

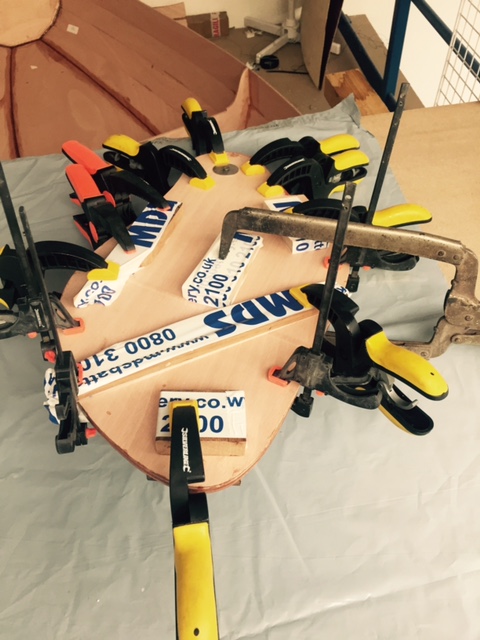
A hurculean effort required to bend the very hard Sepili? wood. 42 clamps was nearly enough.
Offline
#16 7 Jun 2015 5:50 pm
- Batteryman
- Member
- From: London
- Registered: 22 May 2015
- Posts: 32
Re: Eastport Pram Build
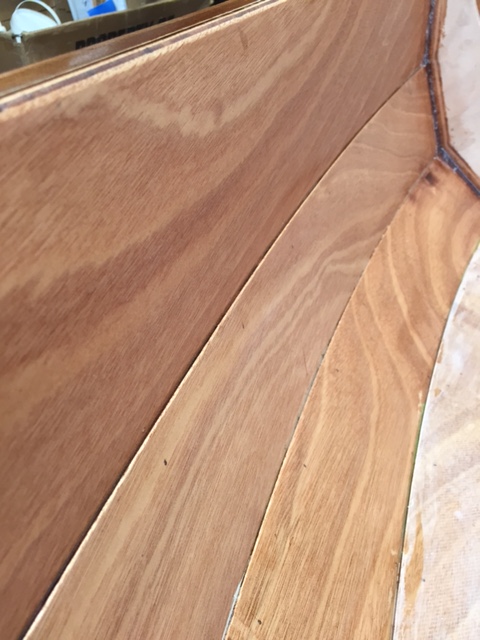
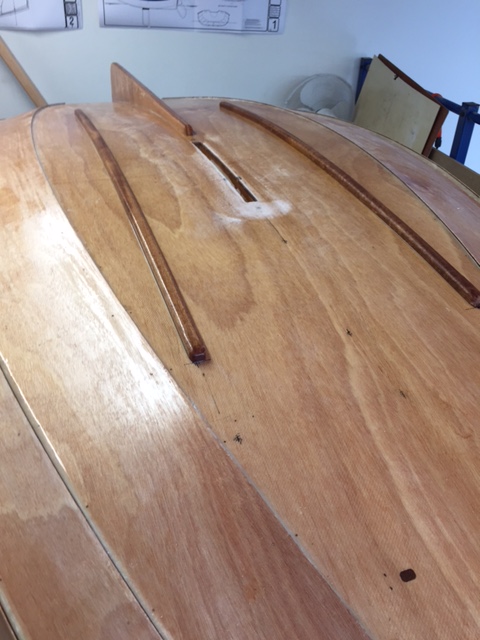
Progress seemed to be a bit slow this week, so I got on with the build.
Both toprails are now attached and shaped.
All seats have been sanded, shaped, routed and coated with epoxy.
Rudder and centreboard assembled, shaped and epoxied.
Daggerboard box built and ready to install.
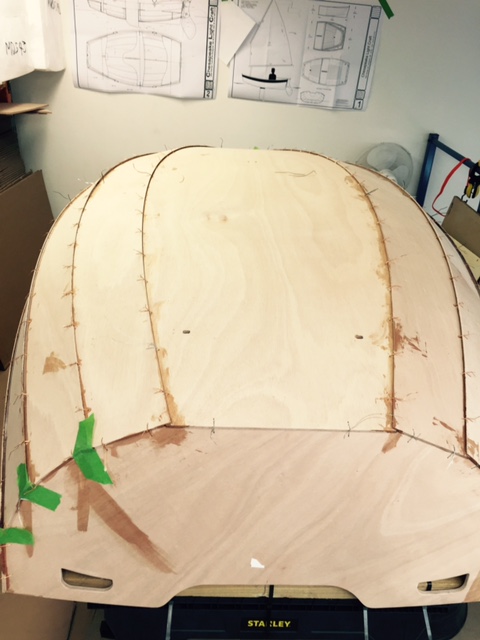
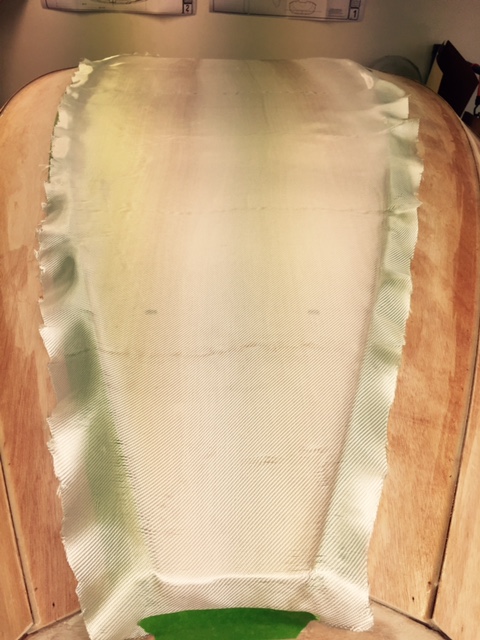
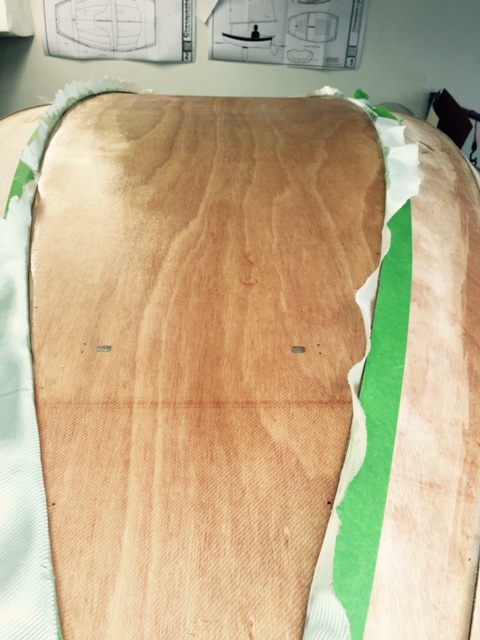
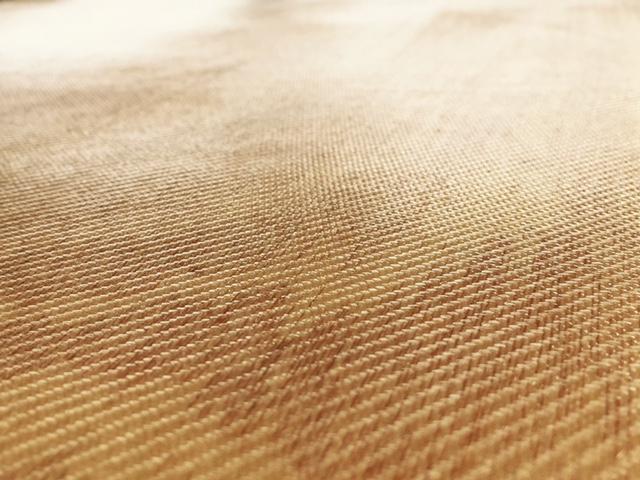
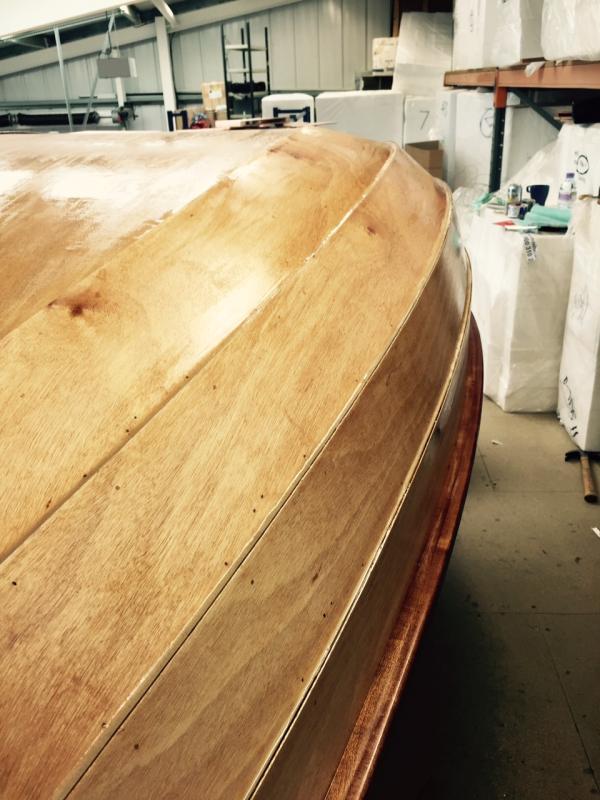
The hull has had a final round of filling, and a coat of epoxy on the outside. The inside still needs a bit of work before varnishing / painting.
Think I might just be ready for painting by the end of this week if all goes well.
Last edited by Batteryman (7 Jun 2015 5:58 pm)
Offline
#17 7 Jun 2015 5:57 pm
- Batteryman
- Member
- From: London
- Registered: 22 May 2015
- Posts: 32
Re: Eastport Pram Build
Offline
#18 9 Jun 2015 11:29 am
- Batteryman
- Member
- From: London
- Registered: 22 May 2015
- Posts: 32
Re: Eastport Pram Build
Offline
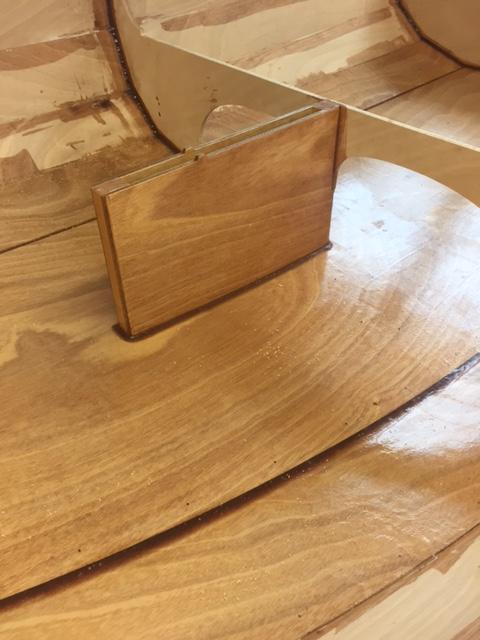
#19 9 Jun 2015 12:33 pm
- Dinky Doris
- Member
- From: Wales
- Registered: 25 Aug 2011
- Posts: 23
Re: Eastport Pram Build
What a fast build!
But what are those bumps on the case for?
DD
Offline
#20 10 Jun 2015 7:31 am
- Batteryman
- Member
- From: London
- Registered: 22 May 2015
- Posts: 32
Re: Eastport Pram Build
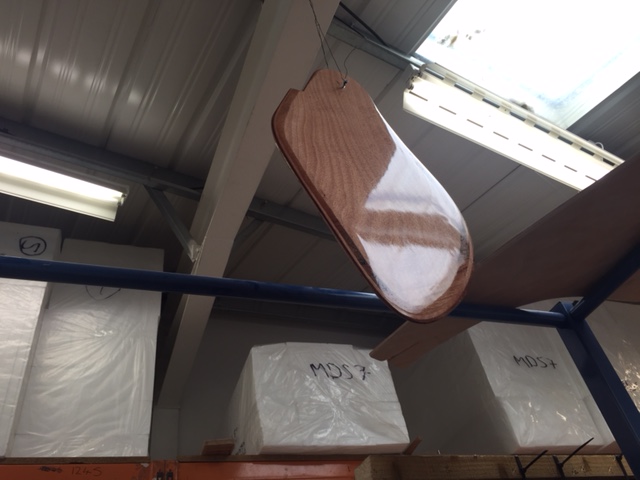
They are to help locate the daggerboard casing to the hull and seat.
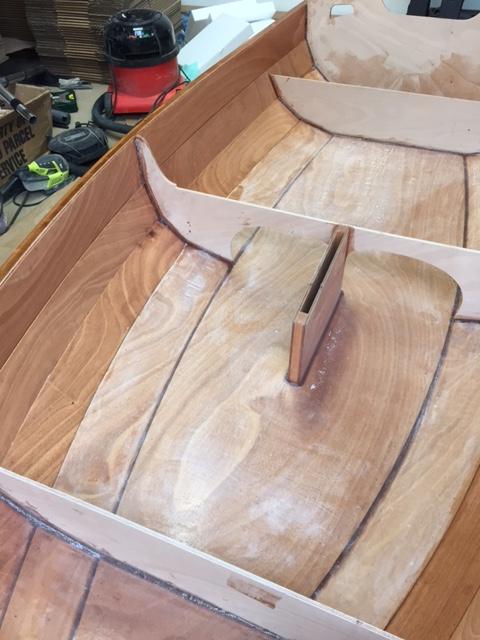
Inside of hull sanded and epoxied.
Offline
#21 10 Jun 2015 7:16 pm
- Batteryman
- Member
- From: London
- Registered: 22 May 2015
- Posts: 32
Re: Eastport Pram Build
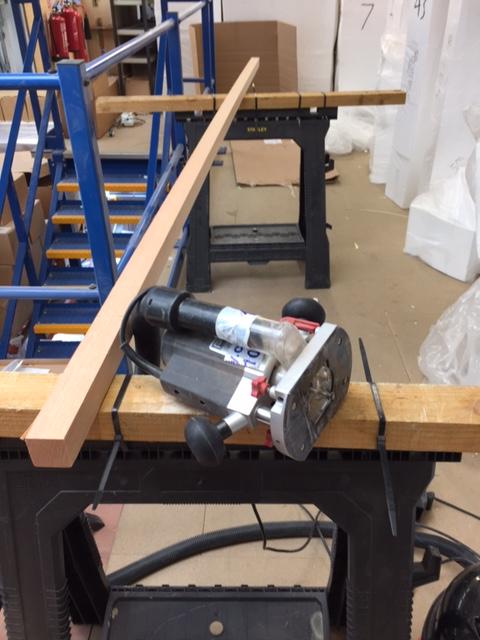
I started today on the mast blank, only to discover it is to be 110" long
I had been lead to believe this mast will fit inside the hull when it was packed away, I do hope a solution can be found ![]()
Offline
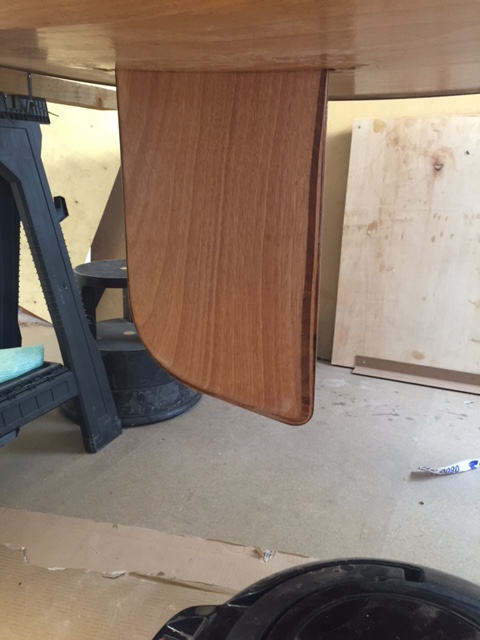
#22 11 Jun 2015 1:29 pm
- Batteryman
- Member
- From: London
- Registered: 22 May 2015
- Posts: 32
Re: Eastport Pram Build
In the mean time I am going to continue to finish off the hull.
I fitted the Skeg and runners this morning.
Offline
#23 12 Jun 2015 11:44 am
- Batteryman
- Member
- From: London
- Registered: 22 May 2015
- Posts: 32
Re: Eastport Pram Build
I've been looking forward to trying out the varnish for some time. International "Schooner"
Will be interesting to see how flat it dries.

Last edited by Batteryman (12 Jun 2015 11:45 am)
Offline
#24 12 Jun 2015 3:31 pm
- Batteryman
- Member
- From: London
- Registered: 22 May 2015
- Posts: 32
Re: Eastport Pram Build
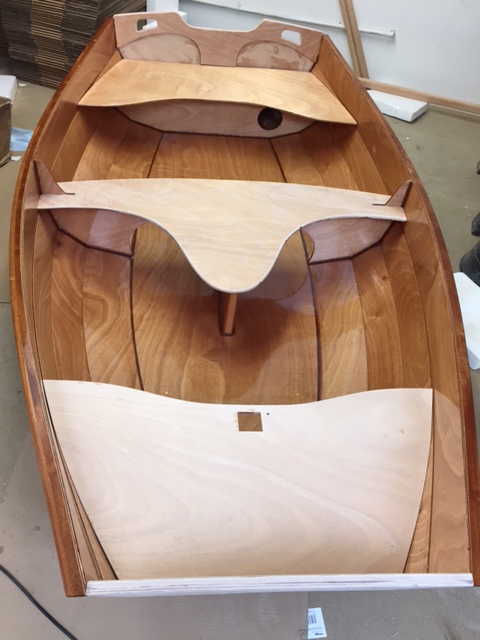
Final seat fitting. I think I might sand and varnish some of the floor parts and seat uprights before I bond in the seats.
Last edited by Batteryman (12 Jun 2015 3:33 pm)
Offline
#25 14 Jun 2015 6:02 pm
- Batteryman
- Member
- From: London
- Registered: 22 May 2015
- Posts: 32
Re: Eastport Pram Build
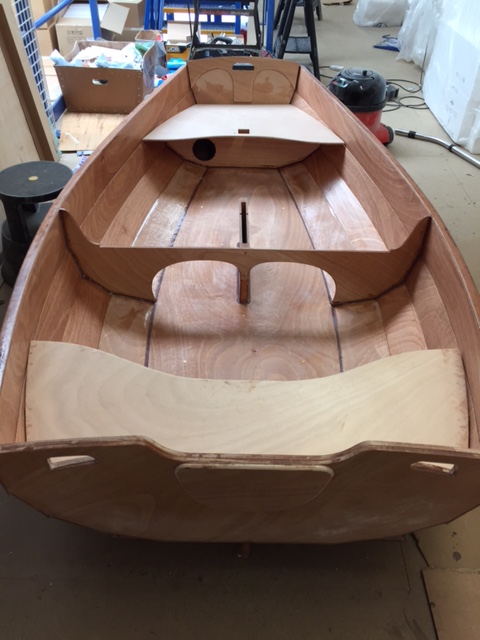
Inside now varnished. Seats still need fitting.
The photo makes it look a lot nicer and shinier than real life.
Last edited by Batteryman (14 Jun 2015 6:03 pm)
Offline