A forum for discussing wooden boats and boat building
You are not logged in.
- Topics: Active | Unanswered
Pages: 1
#1 4 Nov 2014 10:47 am
- Alistair S
- Member
- From: Lancaster, UK
- Registered: 30 Oct 2014
- Posts: 19
- Website
Petrel S&G build
As I'm sure is the case for a good number of people, my first taste of sea kayaking came from being taken to the beaches along the Firth of Forth on Wednesday afternoons by Dennis Rewt from Edinburgh Uni. While trips out to the Bass Rock are firmly ingrained in my memory, it was the annual trip to the Sound of Harris that had me completely hooked.
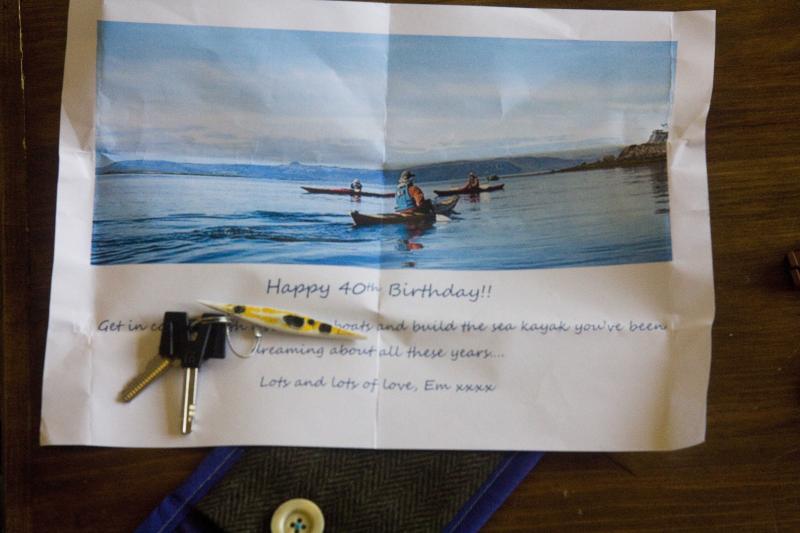
Having my own boat though was always a distant dream, but a significant birthday saw my amazing wife handing me a small sea kayak key ring with the instructions to choose a boat and go and build it.
Tending to steer well clear of DIY on the grounds of how dangerous it is, the most practical thing I'd done up until now was build a tree house for the kids. It was with some trepidation therefore, that I went to meet Paul and have a look at some of the boats at Fyne. He convinced me that I'd be able to build one of their boats and a few days later I'd ordered the kit and booked space in their workshop.
The manual soon arrived and I spent the next few weeks pouring over it and watching countless demonstrations on Nick Schade's (the boat's designer) YouTube channel. One of these videos showed the boat being built in 6 minutes, I had a whole week, I'd be fine.
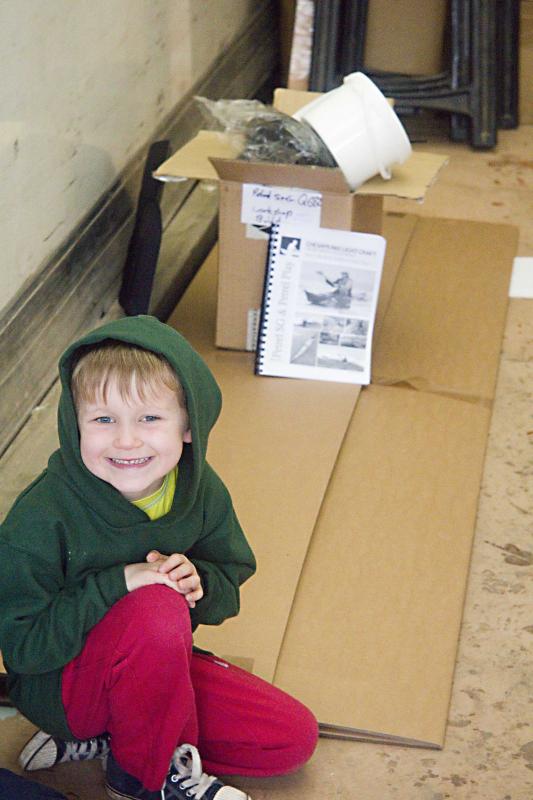
The day finally arrived and when the door to the work shop was swung up all that I could see was a huge empty space. On closer inspection there, in the back corner, was a modestly sized flat pack cardboard box, a smaller box with a couple of hatches and a kayak seat sticking out of it and a couple of white tubs. That can't be it, can it?
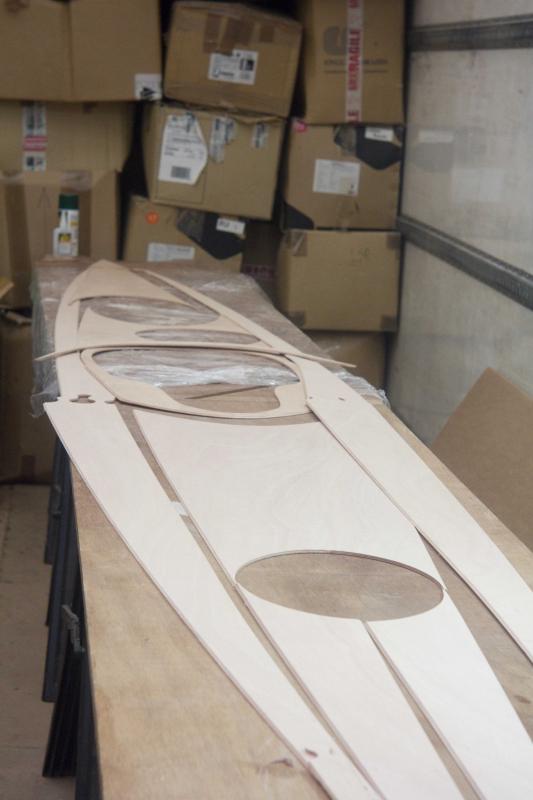
Opening the large flat box it turns out Ikea are not the masters of flat pack, for contained within were all the wooden parts to build a 17' sea kayak.
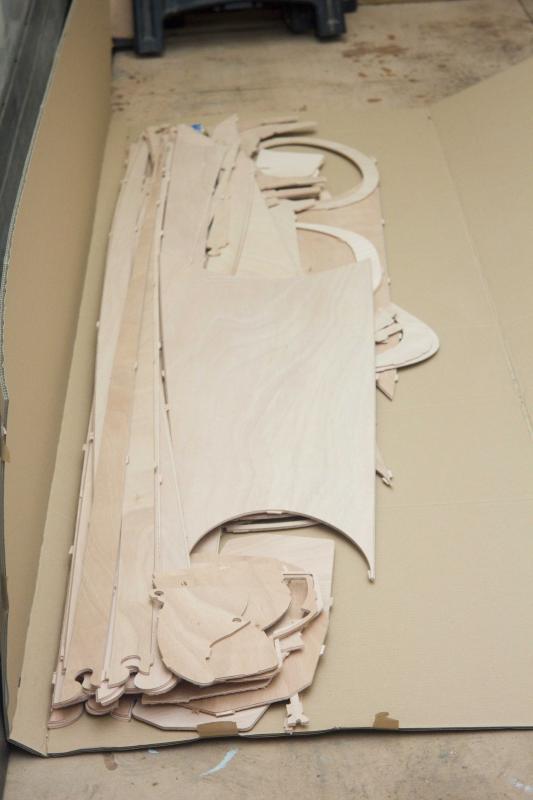
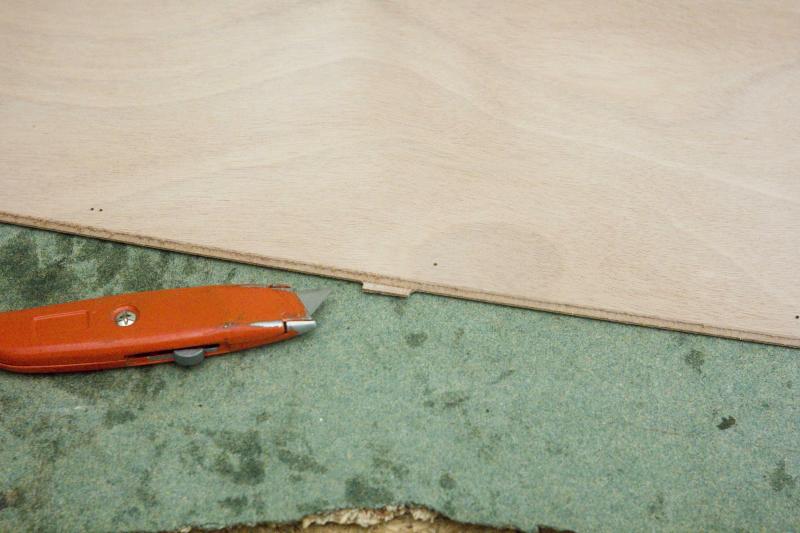
The first job was to start cutting off all the tabs left behind by the CNC router. This gave me flashbacks to building my first Airfix kits as a lad, carefully cutting the plastic pieces out and then sanding them down. This though was on a much bigger scale.
With the first dry fit of the hull pieces the size of the kayak and the reason for all the empty space in the workshop soon became apparent.
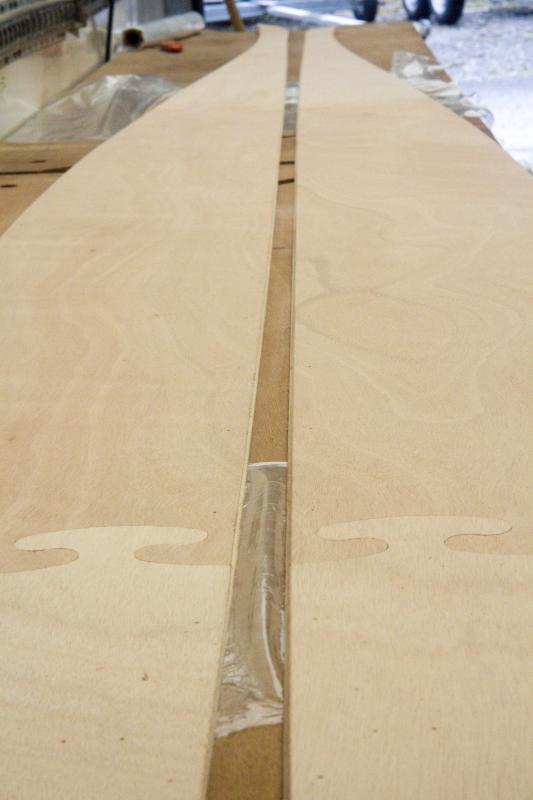
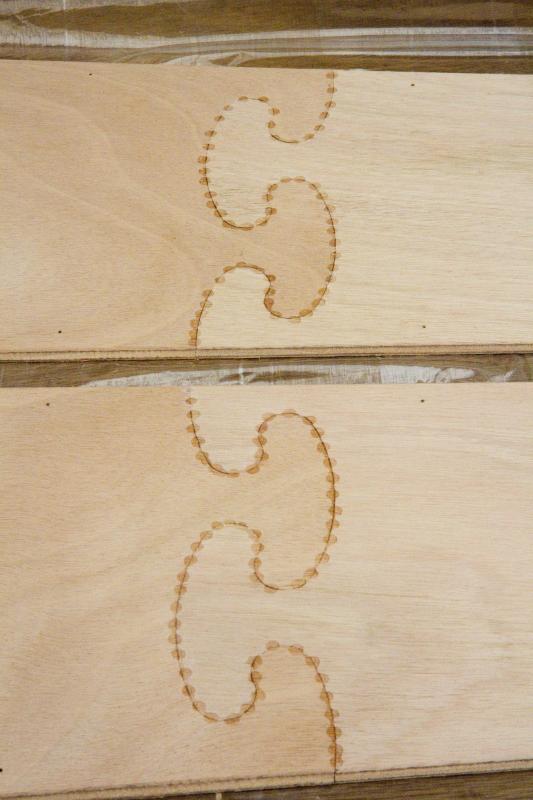
It was then a case of glueing the joints with CA (super) glue. I've always been impressed by super glue and how quickly it's possible to stick your fingers together or to other things, but with a quick spray of accelerant on the glue you can have your fingers stuck to the ply pieces in a fraction of a second. With fingers removed though the "spot welding" looks quite pretty.
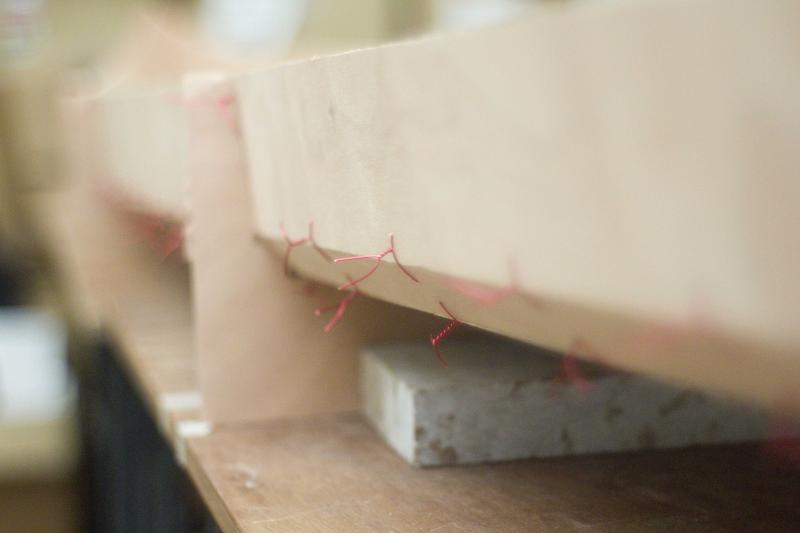
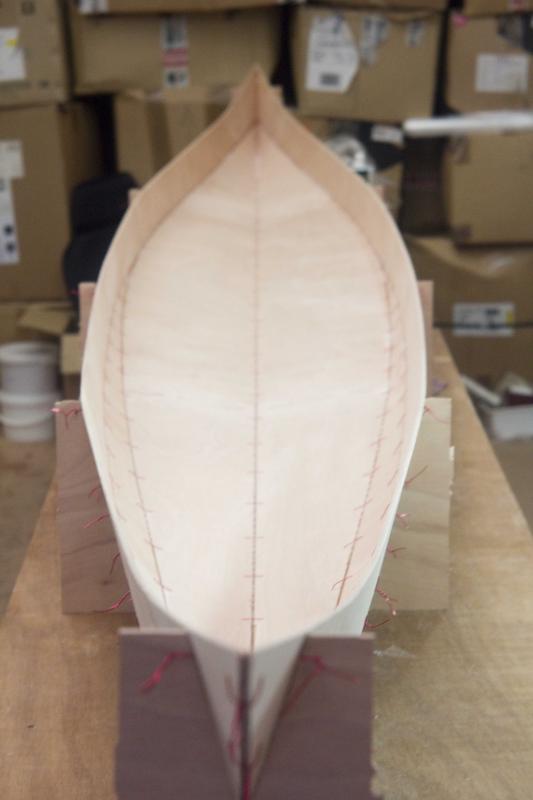
This is a stitch and glue kit, so after a bit of glueing it was time for a bit of stitching. This is where the magic really starts to happen. Two 2D pieces of ply are stitched together and then with some quite frightening creaking opened out to reveal a beautifully complex 3D shape with truly stunning curves.
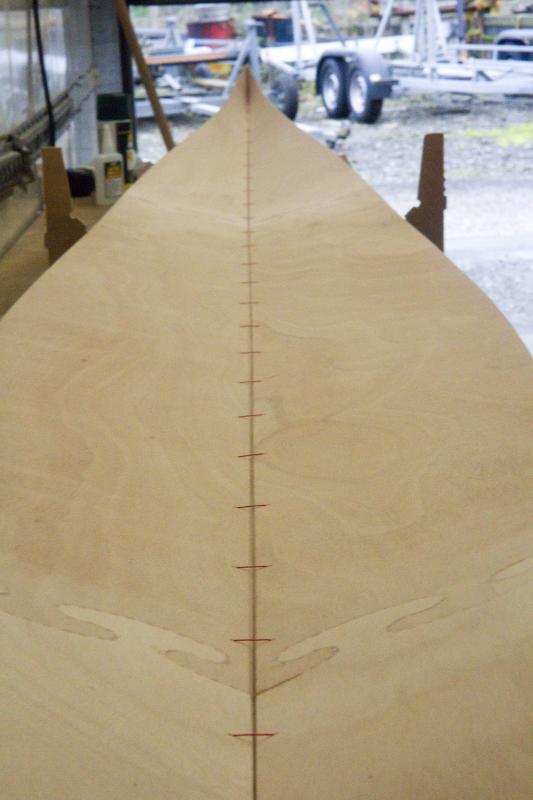
With the addition of the hull side panels, the shape just gets more and more boat like.
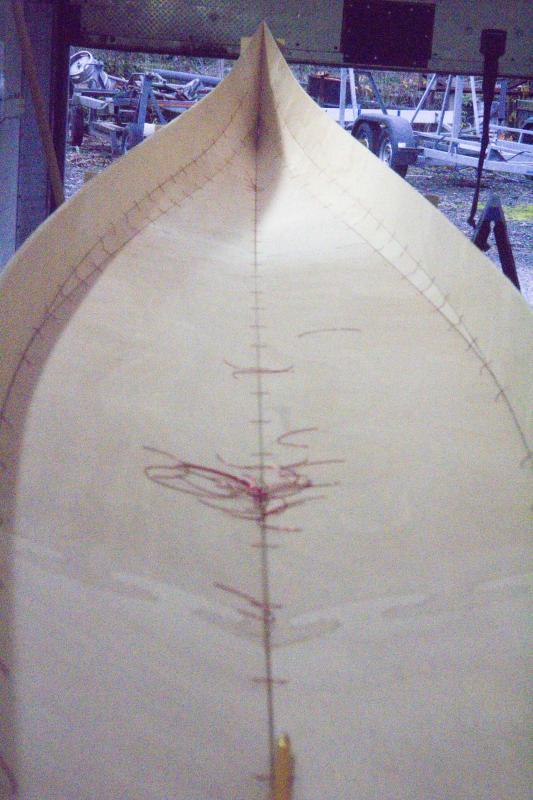
I didn't keep count, but I think there were quite a few stitches put in.
At the end of day one we'd managed to produce a fairly boat like object.
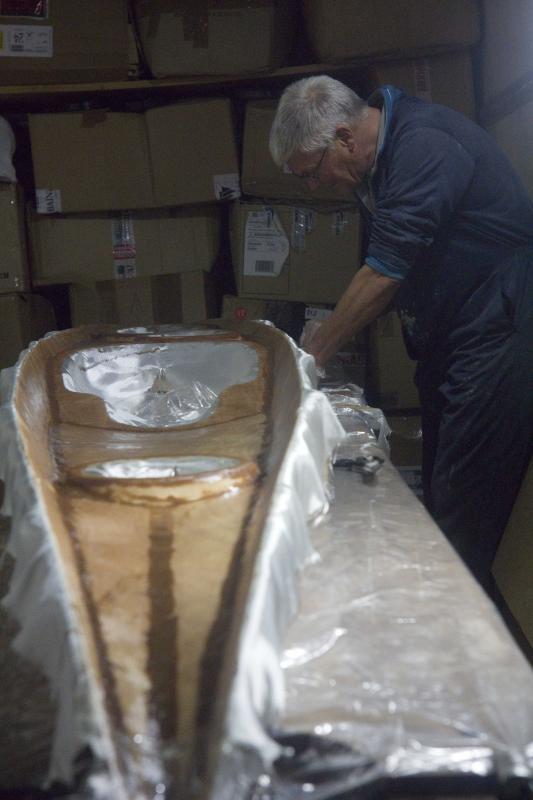
Day 2 saw the arrival of two plastic containers containing the all important epoxy. This was one part of the construction I was really concerned about, but as with at any point where I was slightly concerned, Paul or Phil were on hand to give us instruction (and as with watching all masters of their art, make it look ridiculously simple).
With the inside of the hull curing it was time to make a start on the deck.
Dick who kindly gave me loads of help in the first half of the week glassing the interior of the deck.
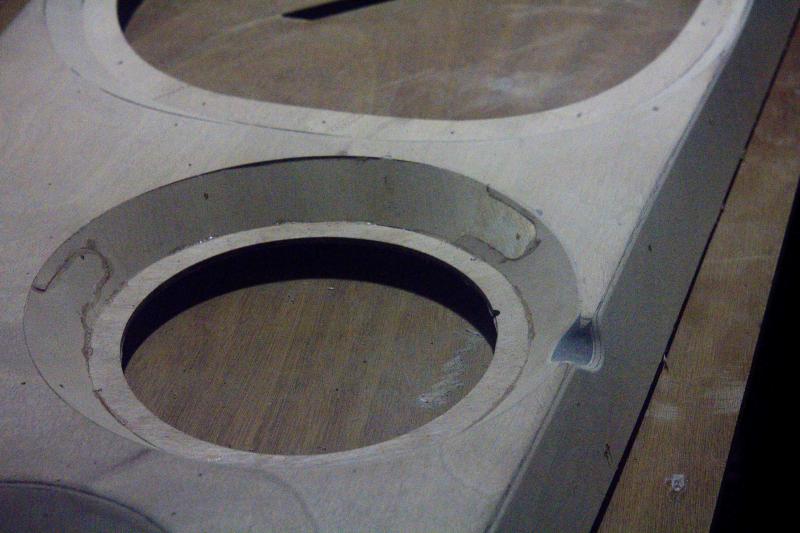
The recessed hatches were one of the most satisfying parts of the build (even at this point I was still in awe of how 2D sheets can be turned into complex 3D objects). Fyne had kindly cut the recesses from thinner ply allowing them to be easily shaped, but needing an extra layer of glass to be on the safe side.
Close up of the day hatch recess and the scupper rasped and sanded into the extra deep internal epoxy fillet.
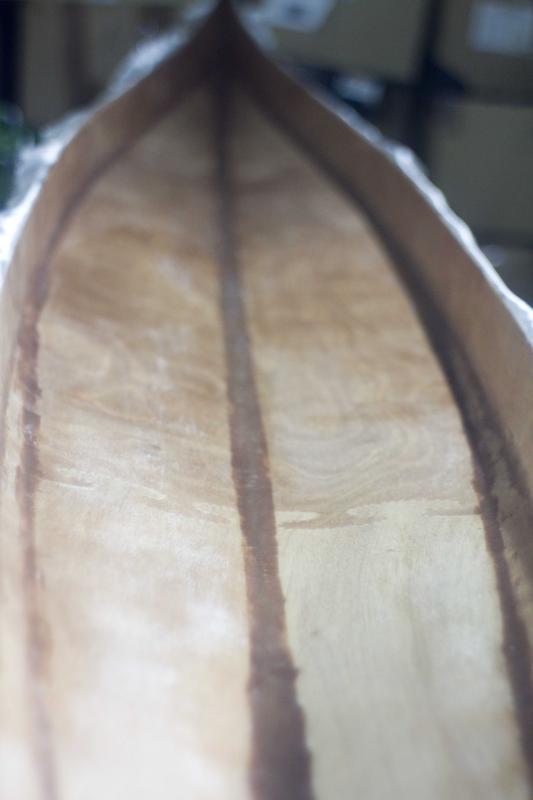
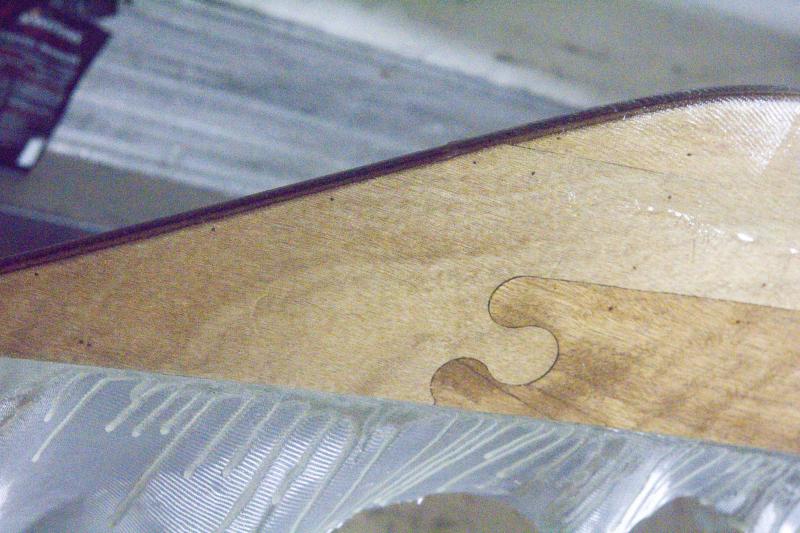
Glassing the exterior of the hull. I'm starting to get the feeling that I'm just an overly excitable person. I still hadn't got over the whole 2D to 3D thing when now I'm having to deal with a virtually opaque sheet of fibreglass becoming beautifully transparent with the addition of the epoxy resin. I also find the fact that the puzzle joints allow simple construction AND look stunning incredible too.
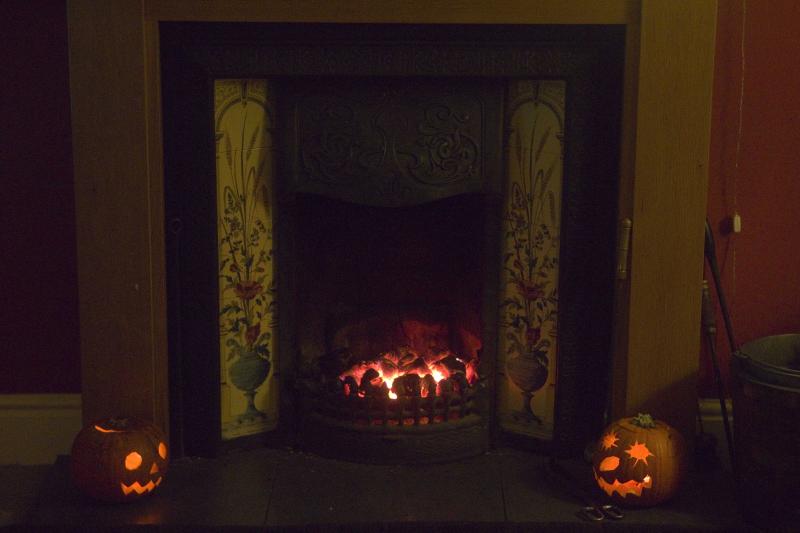
On getting back to Dick's house the kids had been had at work with their own little projects.
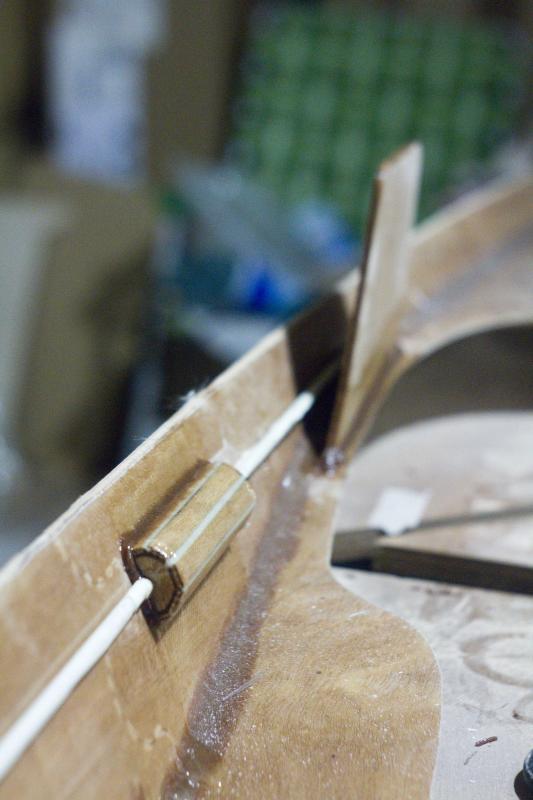
After all the big picture stuff it was nice to get down to some of the smaller details. This is the skeg control box, seen from inside the hull. I hear a lot of people moaning about skeg systems, but on theory this one looks very well thought out, can't wait to see how it performs in the field.
Unfortunately for the skeg to function it needs a hole in the perfectly good hull. Saw of the day - Bonsai.
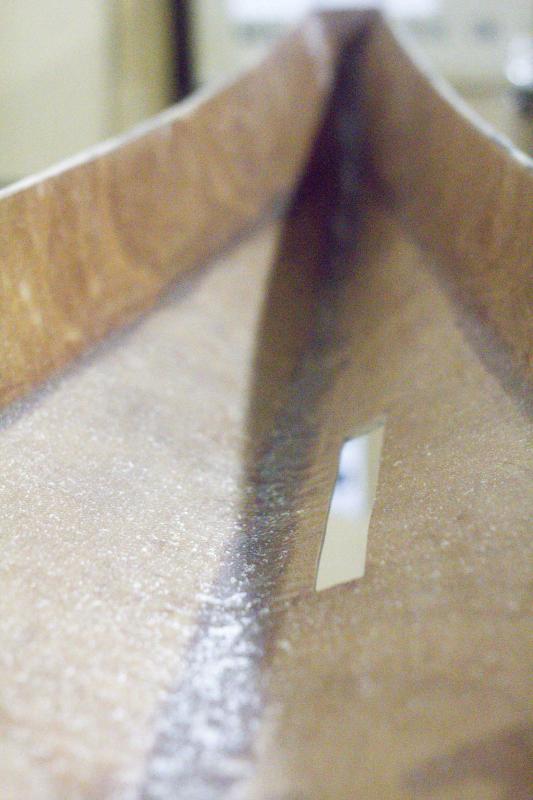
I'm sure if I'd just bought a boat I'd have been really pleased with it, but the additional emotional roller coaster associated with building a boat is one money can't buy. Cutting a hole in the hull was scary, placing the deck on the hull for the first time was a terrific feeling.
At 1.00am on Monday morning the outside of the hull was finally glassed after having spent the day running the seam tapes down the inside of the joined halves of the boat (not half as bad as I expected and each one done first time round) and sanding the outside of the deck.
It's been a fantastic week. It's been very stressful (I didn't sleep very well worrying about: epoxy curing, hulls fitting to decks, getting the seam tape to the ends et c. et c.) but at the same time very satisfying, I've learnt so much over the course of the week.
Not wanting to slip into an Oscar acceptance speech, especially as she isn't even finished yet, I'd really like to thank the following for getting me this far:
My wife for buying me the kit in the first place and spending the week looking after the kids so I could build it.
Dick and Sharon for putting us up for the week, helping to look after the kids and Dick for his help on the boat. Being able to stitch or glue both sides of the kit at the same time spend things up greatly.
Finally to Phil and Paul at Fyne boats. From the first time we went to see some of the boats, all the way through the build and even now with e-mail advice they have been absolutely superb. Hiring the work shop space and having their skills on hand was definitely the best option for me and they really have helped make a dream become a reality. Throughout the whole week I felt much more like a guest than a customer and I was stunned by the time that they would both happily spend helping me and sharing their passion for boat building.
This is where they've got me to after a week:
She comes home at the weekend and hopefully in the not too distant future there'll be updates as the final bits are done.
Last edited by Alistair S (26 Dec 2014 9:34 pm)
Offline
#2 10 Nov 2014 3:45 pm
- Richard
- Member
- From: East Sussex
- Registered: 7 Jun 2011
- Posts: 75
Re: Petrel S&G build
Alistair, you have a beautiful boat. And a lot of it for a weeks work. Have you launched it yet?
Canoe & Kayak Owner
Offline
#3 26 Dec 2014 9:43 pm
- Alistair S
- Member
- From: Lancaster, UK
- Registered: 30 Oct 2014
- Posts: 19
- Website
Re: Petrel S&G build
Thanks very much Richard. Unfortunately real life means I only get infrequent blocks of time when I can work on her, so there's still a bit more to do. She has to be ready for February though as we're off to Loch Fyne.
More pictures to follow, but her name arrived the other day courtesy of a company specialising in art work for sea kayaks. Hopefully when I get round to the drawing, they'll do me a Petrel for the bow too.
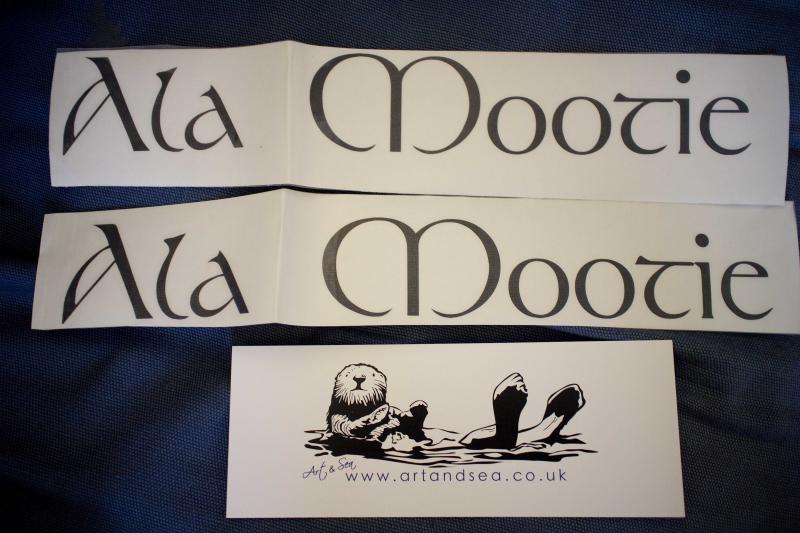
From what I've been told, Ala Mootie is what Shetlanders call the Storm Petrel, so it seemed appropriate.
Last edited by Alistair S (27 Dec 2014 1:43 pm)
Offline
#4 27 Dec 2014 1:57 pm
- Alistair S
- Member
- From: Lancaster, UK
- Registered: 30 Oct 2014
- Posts: 19
- Website
Re: Petrel S&G build
Since October when I brought home the kayak shell, glassed inside and out, the time I've had has been spent building up the cockpit coming and inserting the bulkheads.
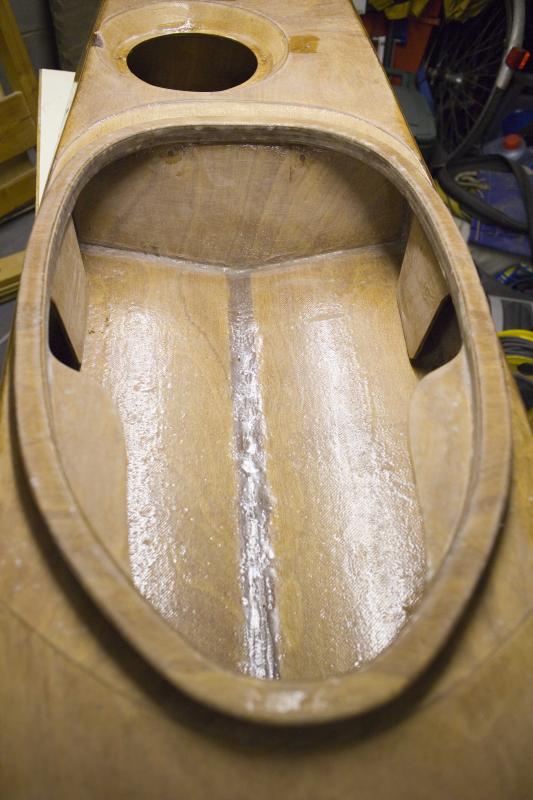
While the day and rear hatch bulkheads have been fitted as per the instructions, my only deviation from the plans so far was with the fore hatch. The pre cut bulkhead fits quite close behind the fore hatch so I've cut a slightly bigger bulkhead that can be fitted further aft. This has given me a smaller cockpit which doesn't matter to me as I'm short anyway, but which will need less water pumping out if it floods. It's also made the fore hatch much bigger.
I don't think moving the bulkhead should make much difference to the structural properties of the boat either.
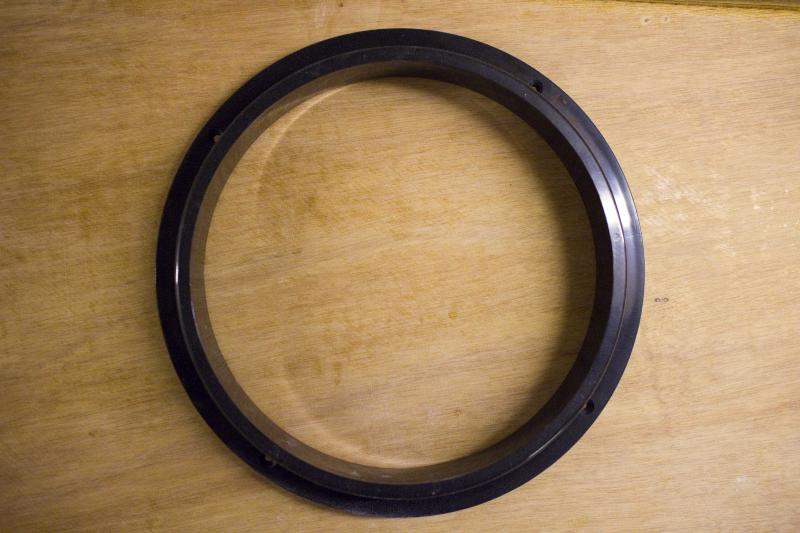
My mate Andy has also drilled the hatch rims for me so I'll be able to glue and bolt them to the deck.
I've also drilled and filled (with thickened epoxy) a number of holes on the deck and in the hull in preparation for fitting deck lines and foot rests.
It's now just a case of a bit more sanding (my lungs love my new respirator), followed by a little more sanding in readying her for paint and varnish.
Father Christmas also kindly brought me a new buoyancy aid and a pump. Is he trying to tell me something?
Offline
#5 13 Jan 2015 7:16 pm
- Alistair S
- Member
- From: Lancaster, UK
- Registered: 30 Oct 2014
- Posts: 19
- Website
Re: Petrel S&G build
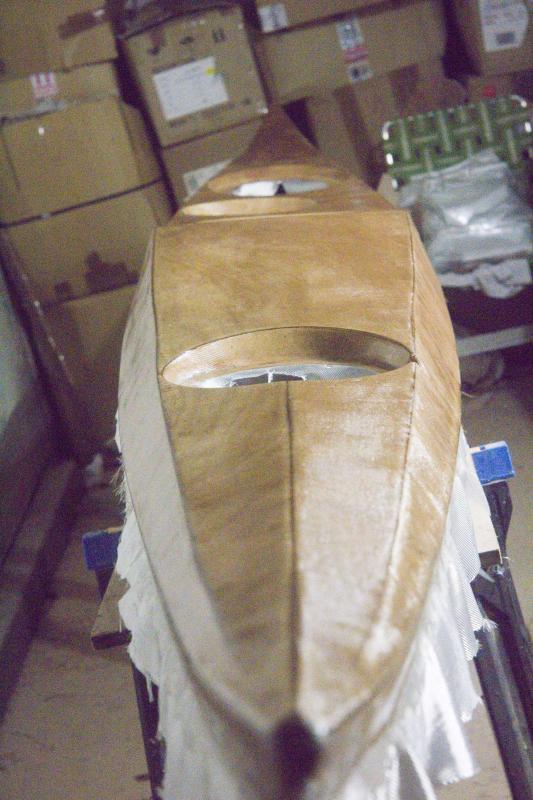
Having drilled and refilled the holes for the deck rigging and foot rests, it was time to drill again. It was quite a relief that when dry fitting the foot rests that all the holes actually lined up.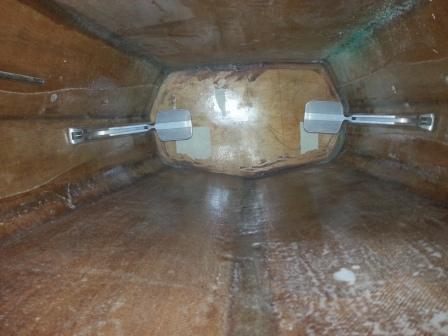
The bulkhead behind the foot rests is the one I've cut myself to have further aft than the original. The tape on it is left over from the tape handle I'd made to try and position it.
Offline
#6 13 Jan 2015 7:20 pm
- Alistair S
- Member
- From: Lancaster, UK
- Registered: 30 Oct 2014
- Posts: 19
- Website
Re: Petrel S&G build
She's now at the point where the deck is ready for her first coat of varnish. Again it's been back to Nick Schade's YouTube channel to watch how to do it. He makes it look so easy! We'll see how reality pans out...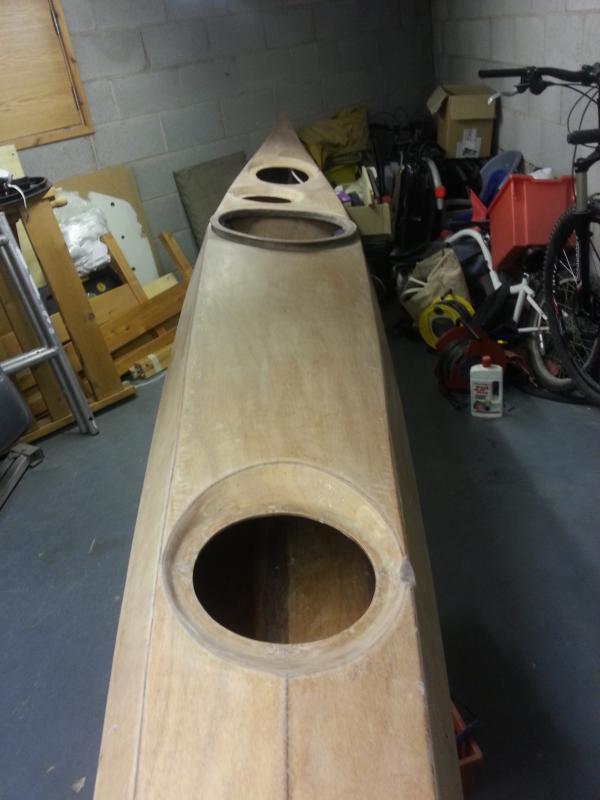
Offline
#7 14 Jan 2015 1:28 pm
- Alistair S
- Member
- From: Lancaster, UK
- Registered: 30 Oct 2014
- Posts: 19
- Website
Re: Petrel S&G build
A final vac, followed by a wipe down with thinners and it was time to start the first coat of varnish. The foam brushes supplied by Fyne worked really well and I've ended up with a finish that I'm very pleased with. Having watched Nick Schade in action on YouTube definitely helped and it was only on a couple of occasions that I accidentally went from wet to dry with the brush.
Just four more coats to go...
Offline
#8 24 Jan 2015 7:21 pm
- Alistair S
- Member
- From: Lancaster, UK
- Registered: 30 Oct 2014
- Posts: 19
- Website
Re: Petrel S&G build
Why is it that all my coats of varnish went on really well until it was the 'last' coat. Then there was more dust than in a Philip Pullman novel. The planned 5 coats therefore ended up being 7.
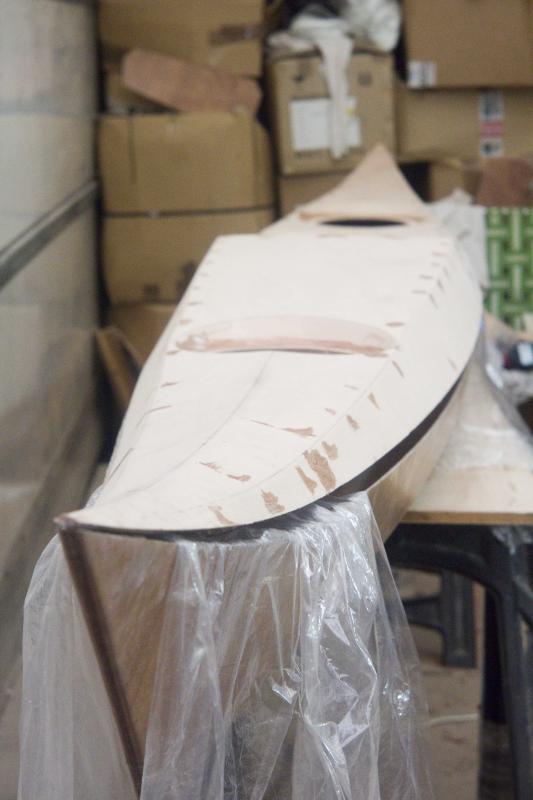
With the undercoat on the hull I'm starting to get an idea of what she will finally look like. 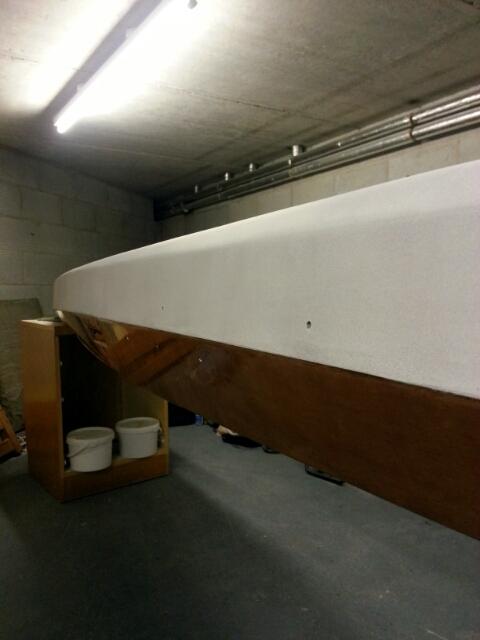
Last edited by Alistair S (25 Jan 2015 12:07 pm)
Offline
#9 25 Jan 2015 12:03 pm
- Alistair S
- Member
- From: Lancaster, UK
- Registered: 30 Oct 2014
- Posts: 19
- Website
Re: Petrel S&G build
First coat of paint on this morning. Big thanks to Phil and Paul who had a very smart little tender painted in the Ivory white in their office at the time I was building my boat. Just saw the colour and thought, "that's the colour I'd like ".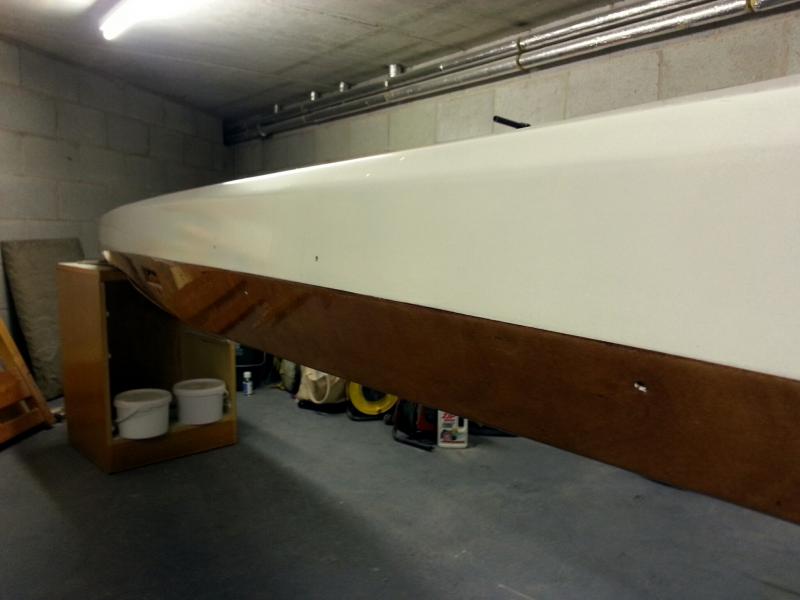
Offline
#10 1 Feb 2015 2:16 pm
- Alistair S
- Member
- From: Lancaster, UK
- Registered: 30 Oct 2014
- Posts: 19
- Website
Re: Petrel S&G build
Two coats of undercoat and four coats of top coat later, she's finally ready for rigging.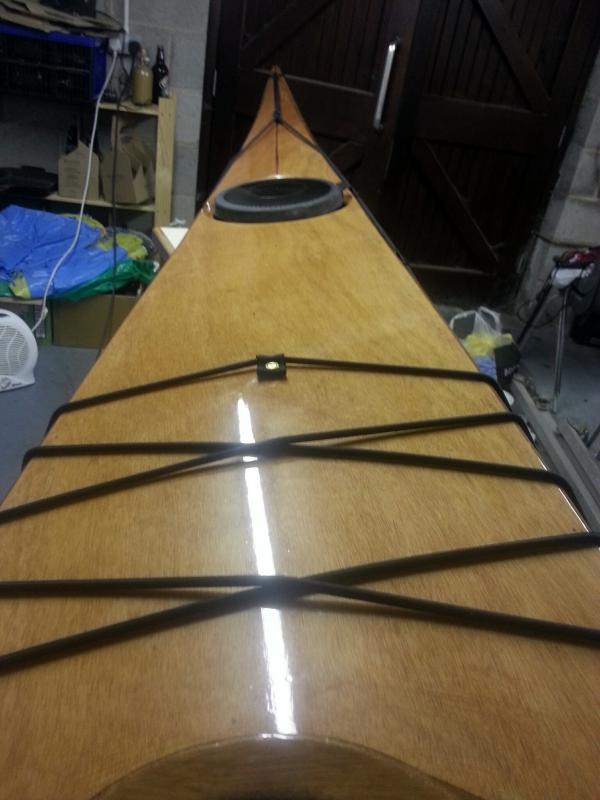
The view from the bridge.
It's a gorgeous weekend and she's ready to launch (the skeg is still to be installed, but she doesn't need this to float), but it's all gone a bit to pot family wise (literally as youngest is back in plaster), maybe later this week.
Offline
#11 1 Feb 2015 2:19 pm
- Alistair S
- Member
- From: Lancaster, UK
- Registered: 30 Oct 2014
- Posts: 19
- Website
Re: Petrel S&G build
Another view of the rigging.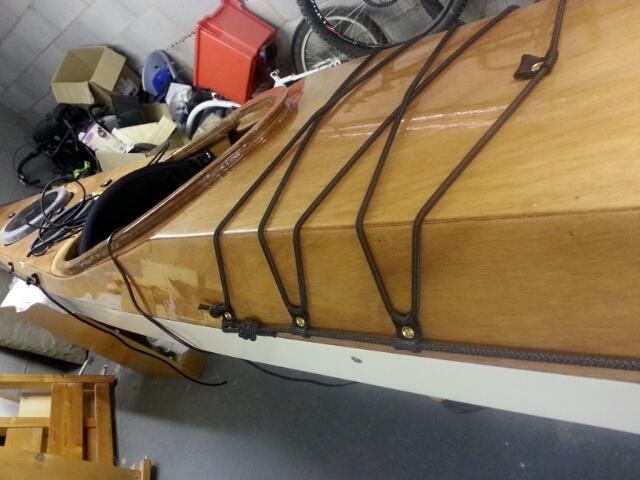
Offline
#12 4 Feb 2015 10:03 pm
- Alistair S
- Member
- From: Lancaster, UK
- Registered: 30 Oct 2014
- Posts: 19
- Website
Re: Petrel S&G build
All the way through this process the big question in the back of my mind was, "will she float?". In the few moments when I was able to convince myself that she would, this became, "she's the narrowest boat I'll ever have paddled, will I be able to keep her upright?".
While I still hope to have an official salt water launch it was time to answer these questions. It was win, win too. Float and I'd be happy, sink and my littlest, who's in serious need of cheering up at the moment, would be extatic.
Hopefully the picture answers all the questions.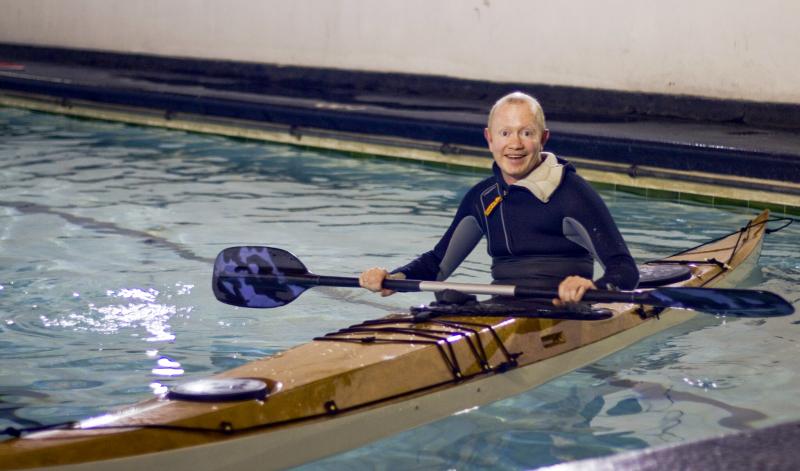
Fortunately for my youngest my roll didn't work every time, so he went away happy too.
Offline
#13 5 Feb 2015 2:40 pm
- jbmerv
- Member
- Registered: 25 Mar 2014
- Posts: 24
Re: Petrel S&G build
Congratulations Alistair,
She's a beautiful boat, and a fast build, too!
Cheers,
Justin
Offline
#14 6 Feb 2015 8:11 pm
- Alistair S
- Member
- From: Lancaster, UK
- Registered: 30 Oct 2014
- Posts: 19
- Website
Re: Petrel S&G build
Thanks very much Justin, I'm really pleased with her and can't wait to get out on the sea, just another week weather permitting. As others have said, the painting/varnishing takes quite a bit longer than the building and if I'd have worked full time on her, I think it would have taken about 3 weeks to get to this point. Just the skeg and the knee braces to finish now.
Offline
#15 7 Feb 2015 2:47 pm
- Alistair S
- Member
- From: Lancaster, UK
- Registered: 30 Oct 2014
- Posts: 19
- Website
Re: Petrel S&G build
While all I managed to do this morning was make a cup of coffee, my mate Andy not only managed coffee, but also a beautiful pair of handles and a control slider for my skeg. Thanks, they're terrific.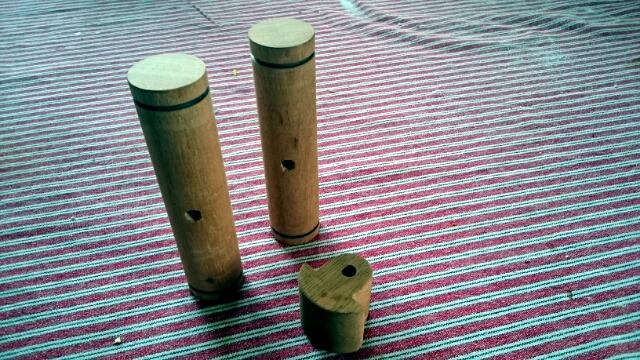
Offline
Pages: 1