A forum for discussing wooden boats and boat building
You are not logged in.
- Topics: Active | Unanswered
#1 25 Jul 2014 7:13 pm
- Reinhard
- Member
- Registered: 24 Jul 2014
- Posts: 1
Skerry "Roselyne" launched and sharing experiences,building etc.
Hello Skerry Builders,
We woud like to show you some pictures of our Skerry finally launched mid May almost exactly one year after we started assembling the Skerry kit May 2013. February 2013 searching for a lightweight sailboat we 1st heard of CLC and the stitch and glue method. We had been hooked straight away, after seeing Christine de Merchant‘s blog it gave us the self confidence that we could build our own boat. After talking to John from CLC we got to know we can order the kit here in Germany from Berger‘s in Berlin. The kit itself supplied by Fyne Boat Kits from GB arrived late March, but it was still wintertime and the workshop too cold to work in so we had to wait till May to start. We spent this time reading all your blogs and the manual over and over again. By the time we started, we had bulilt the boat in our minds several times. Reading the forum we realized all builders of a Skerry have many questions in common, so did we. Through the help of the forum we found answers to building problems before they actually arrived in the process of building. The same has been true for design issues like halyard, reefing, keeping the rudder from popping out etc. The solutions found by other builders, watching their blogs, seeing their picuteres, helped us to implement the one or the other and/or to find solutions to some of the issues. We are very thankful for all the support we got from CLC, from Fyne Boat Kits, Berger in Berlin and last but not least from the many of you who answered our questions in the forum. We want to share with you the result and perhaps help new builders in their boat building process.
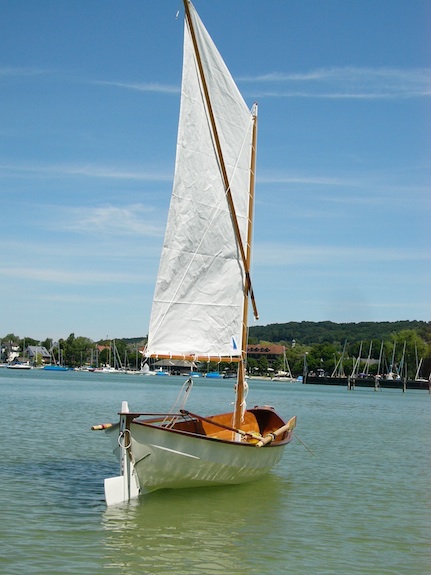
"Roselyne" 1st time under sails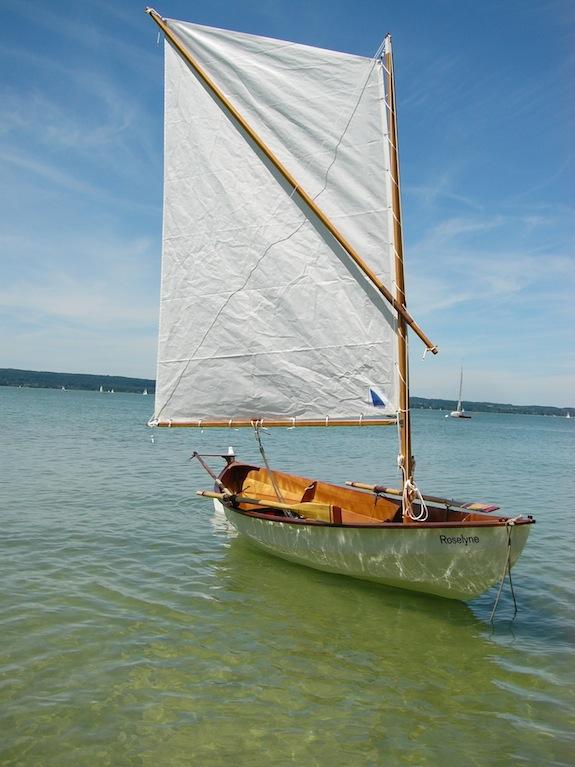
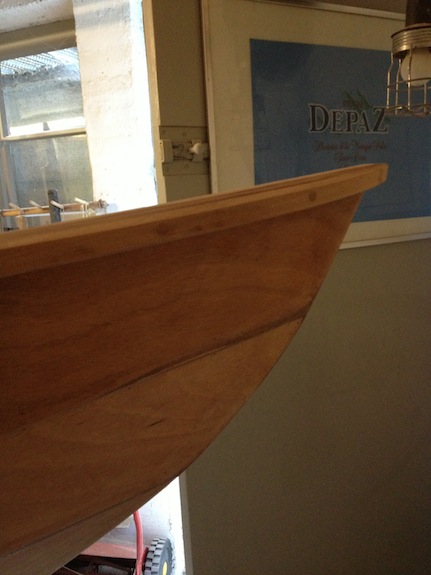
Some pictures from the building process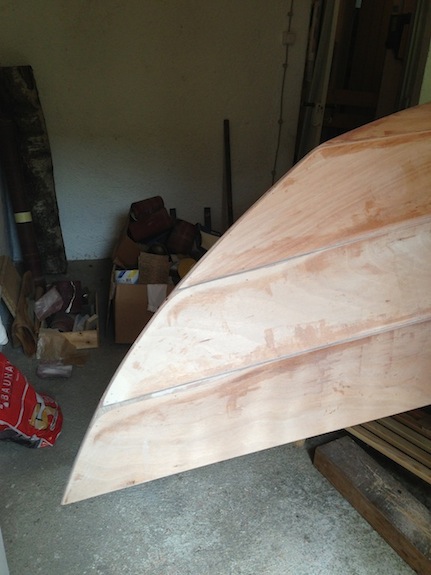
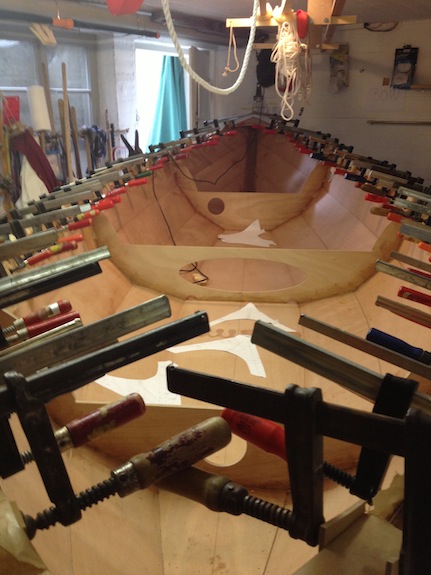
60 clamps!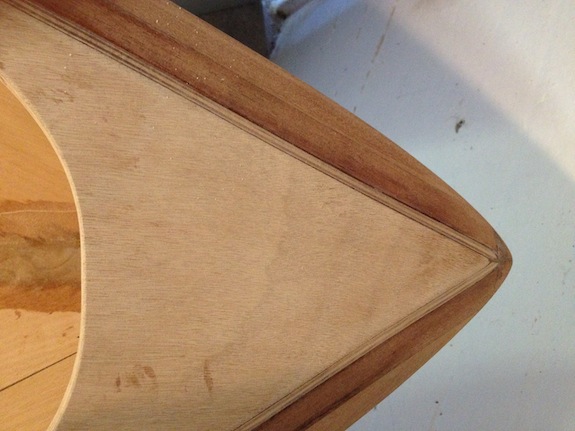
as you can see we had very little space in our workshop in the cellar, just about 60cm at bow or stern if the boat was standing in one of the corners
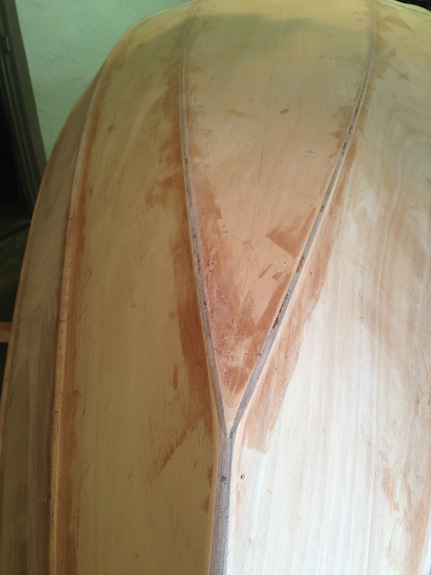
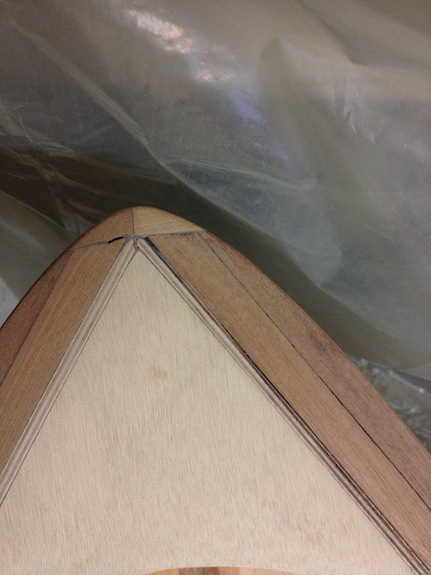
Ready for varnishing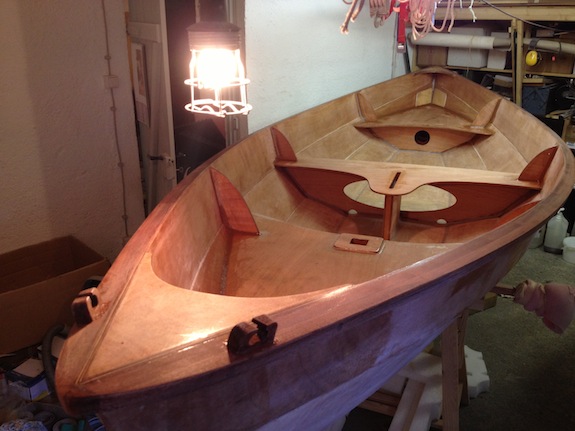
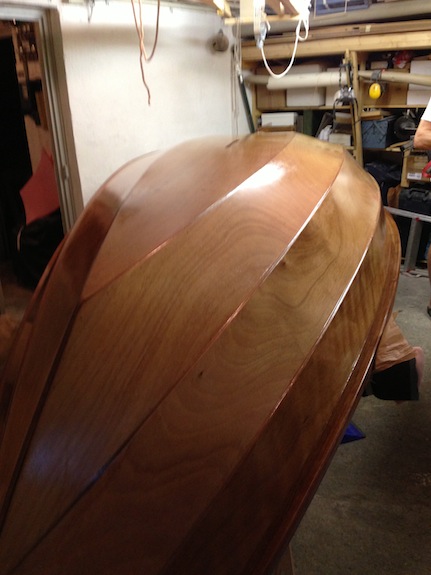
... and painting 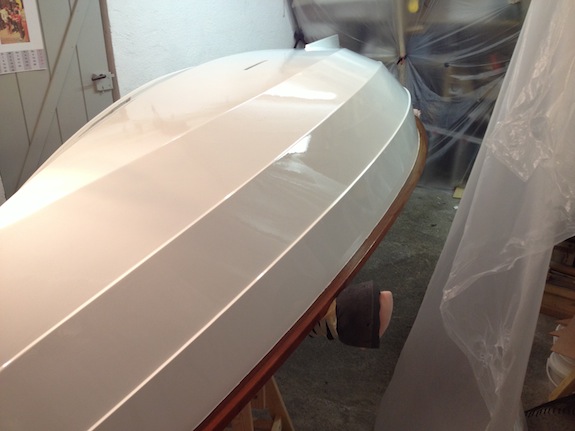
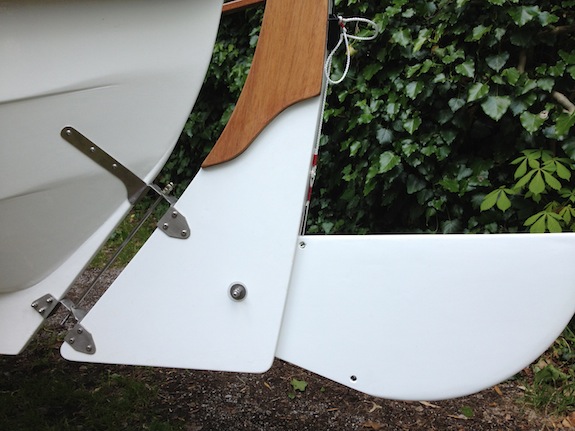
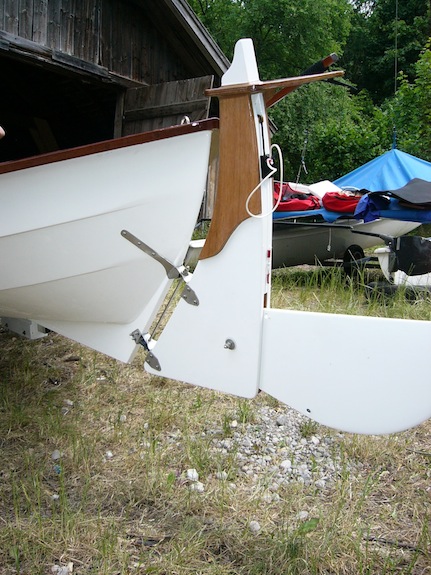
Rudder attachment:
Thinking about attaching the upper gudgeon, I didn't feel comfortable attaching it with woodscrews in 6mm plywood or even the thought of the screws ending up in the air chamber, I decided I need another soultion. Reading of cases, where the rudder pooped out, added to it. So I decided for a solution we had at our old boat. The upper gudgeon had to be long enough so the screws end up above the back seat. There are two gudgeons on the boat and two on the rudder; a long screw holds them together and a nut keeps it from pooping out. Its attached and taken off in a minute. We also attached a line to hold up the ruder when going ashore. To pull it down we used a bungie cord, so in case we hit ground, the rudder can go up, this unfortunately doesn't work at strong winds and high speed - we sailed at 8 knots - the bungie cord is not strong enough to hold the rudder down.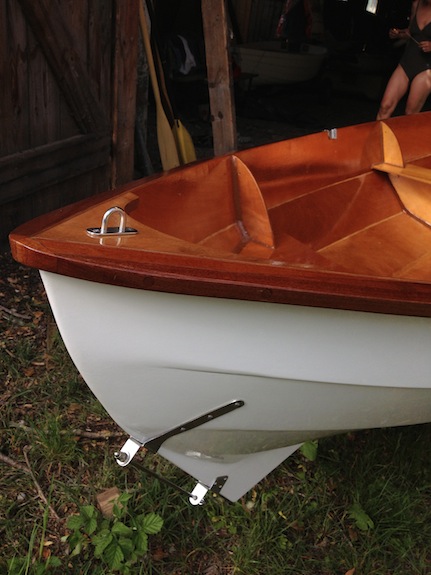
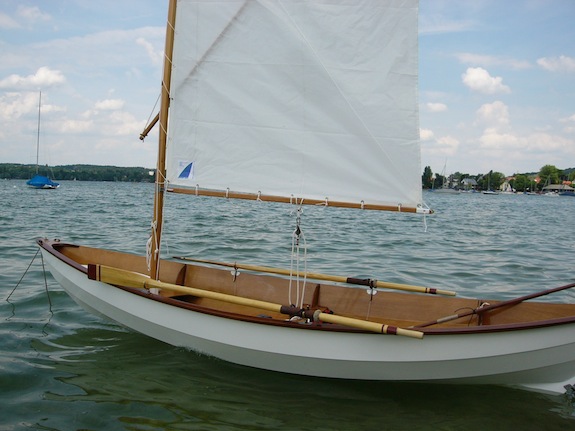
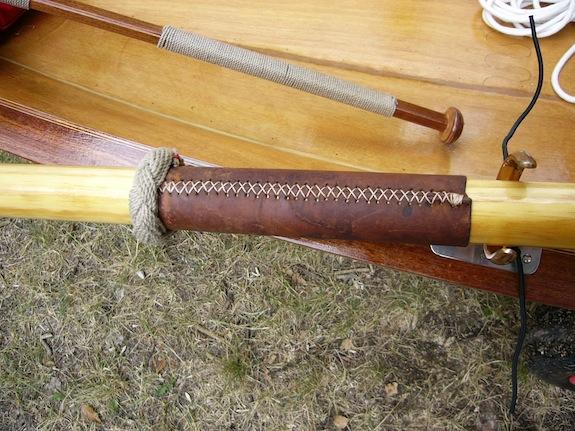
Oars, Tiller and Cover for daggerboard opening:
Leather and leather ring are sowed on and covered by a turks head. At the end of the tiller we attached a knob made of several layers of rounded plywood so the tiller can't slip out of hand.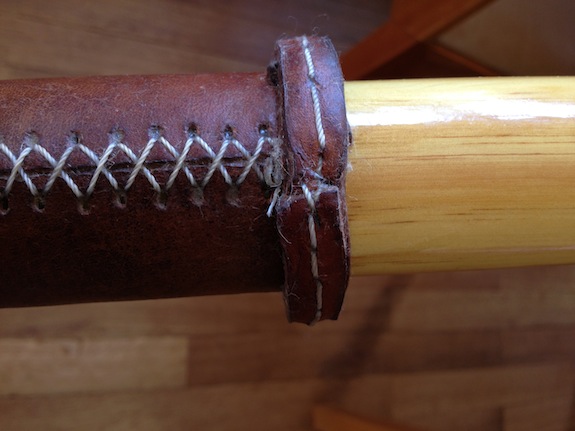
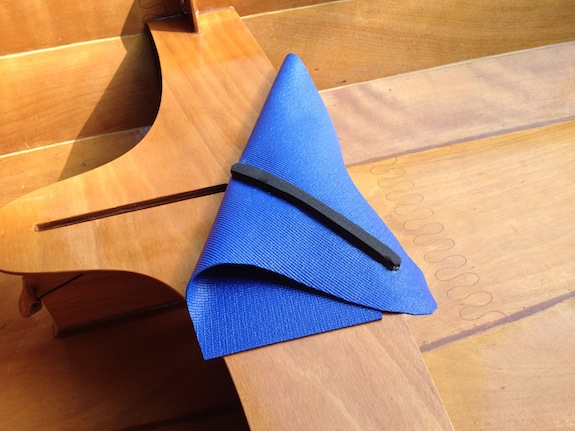
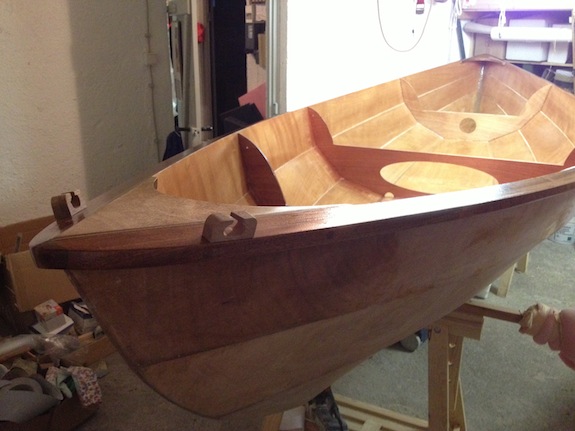
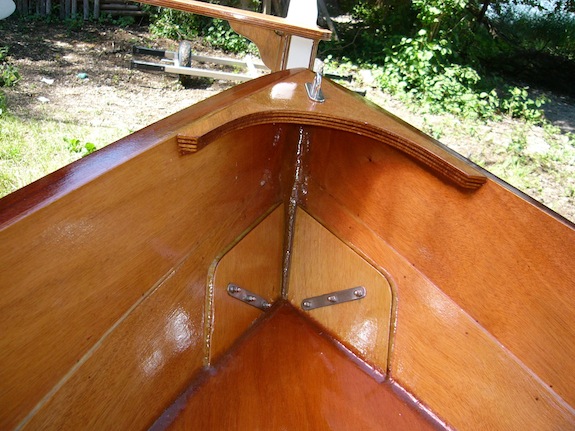
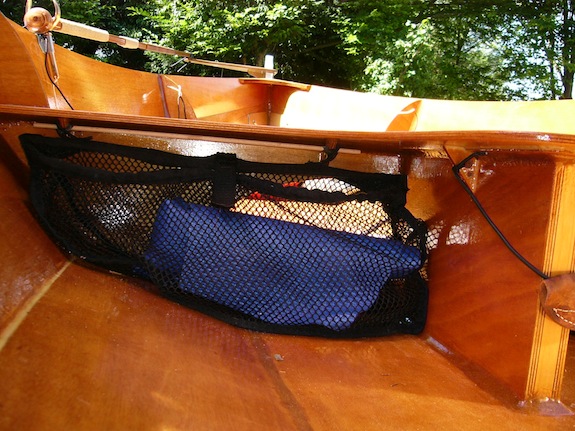
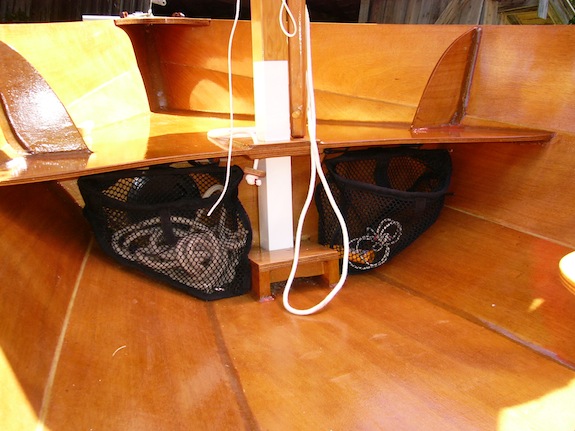
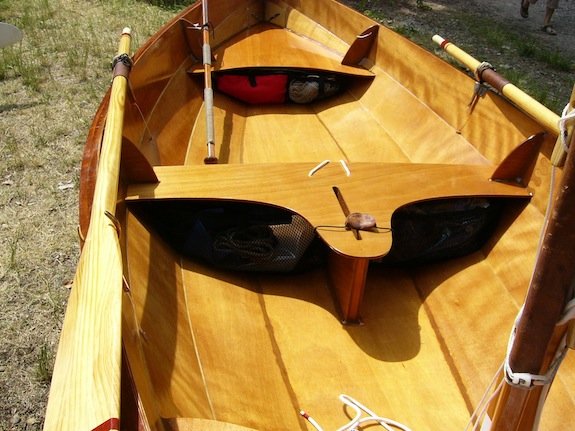
Storing and keeping the interiour tidy:
at this pictures you can see we made storeagebags/-nets attached underneath the seats at small triangle shaped pieces of plywood with holes inside. You can also see a bungie cord around the daggerboard trunk, which is used to keep the daggerboard from floating up.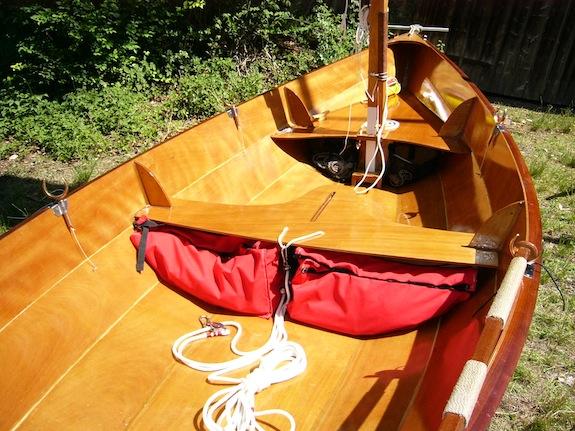
The Rig:
We wanted to have a halyard, to be able to lower the sail for reefing, or put it down when rowing, in order to do that, a lazy jack (hope I get the terms right) became neccessary. We also wanted to be able to pull the sail up, when folding sail and sprit together. The solution has been to combine lazy jack and brailing line function by inserting a piece of plywood with two holes at the top of the mast. The braling line is tied to one hole from where it runs down to the end of the boom on one side and and up on the other side outside of the sprit to the top of the mast. Through the second hole and down the mast to a clamp, from where one can pull the boom up, or the brailing line acts as a lazy jack if the sail is lowered.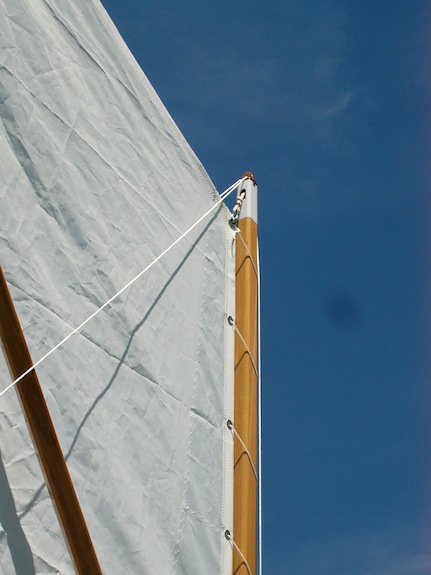
On left and right of the plywood for the brailing line I have glued hardwood – left over from the rails - on top of the mast to minimize chaffing on the mast.
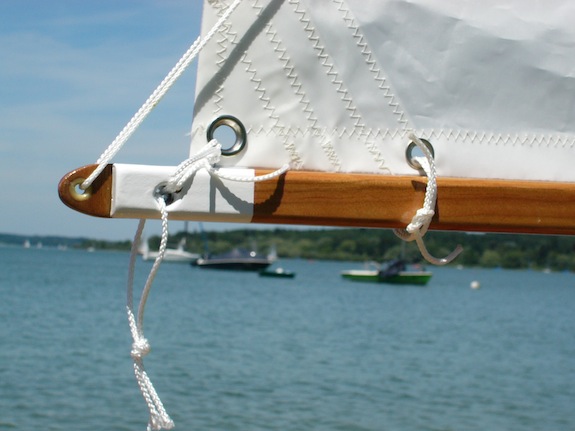
For the halyard I also have glued in a piece of hardwood, rounded so the halyard runs smoothly.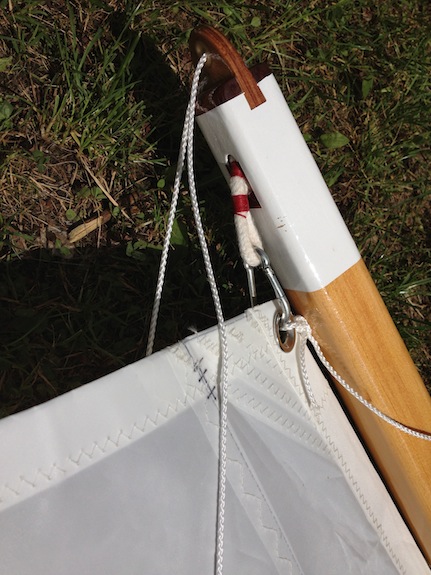
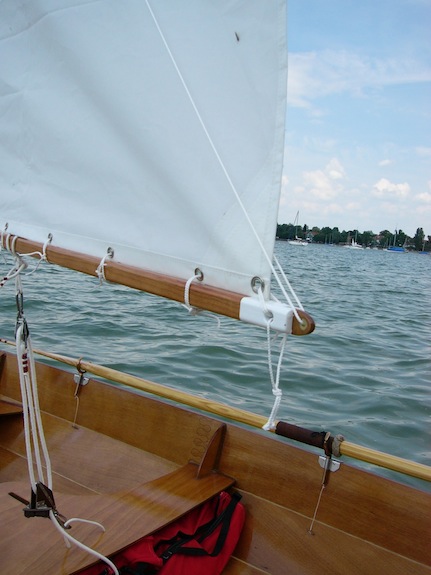
Mainsheet attachment at boom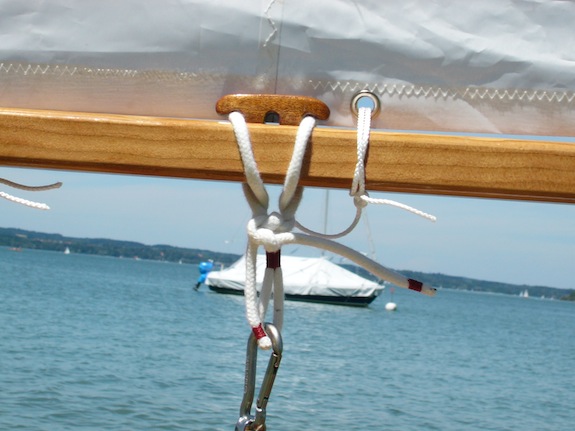
Fairlead for snotter made out of hardwood from rails and leather on sprit to minimize chaffing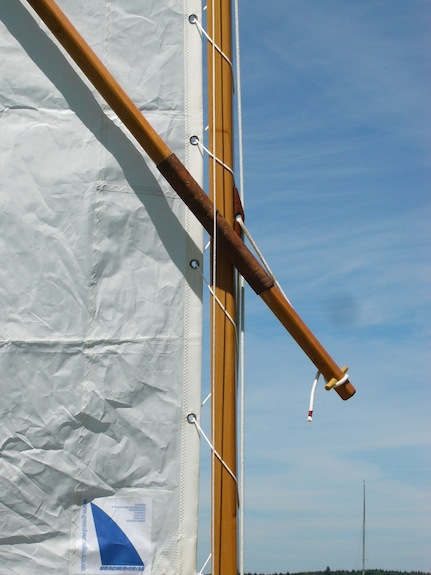
Launching Dolly and Tarpaulin:
The launching dolly is just screwed togehter so it can be dismantled for transport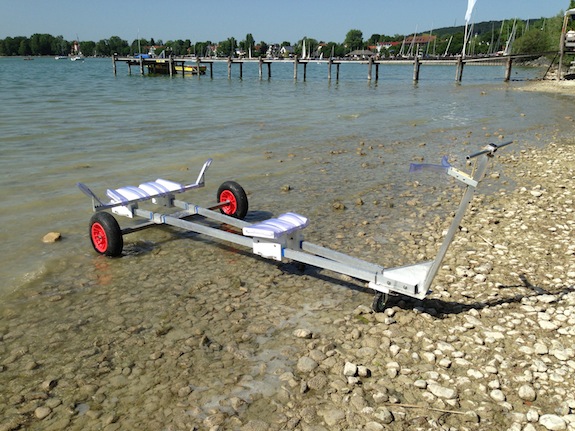
The tarpaulin made of tent canvas is held up in the middle by an "inverse daggerboard" a line runs underneath from bow to stern to keep from sagging.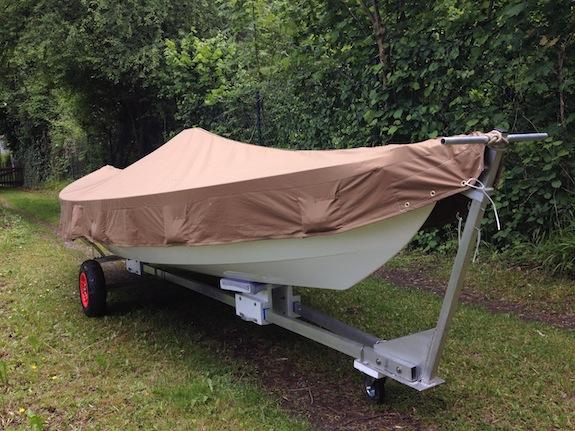
Since launching we had several weekends of sailing with almost no wind and up to 8 knots. The boat sailed wonderful, even at the lightest breeze we moved and we felt very secure at 8 knots. The handling of the sprit sail when sailing is no problem much to our surprise. Its much more of a boat than what one might think considering its size. Many people are puzzled and astonished and keep asking where the boat is from and all admire and can hardly believe we built it ourselves. Of course we always mention and recommend CLC, Fyne Boats and Berger - hope more of these boats will show up here in Southern Germany.
Does one need special skills? No! Although I owned a block plane, a saw and a drill I never had done any serious woodwork except building a gardentable. The kit building process is really easy, of course now and than especially in the beginning one will face "serious" questions, John from CLC once said to me ... after all you are not building an airplane! That settled my doubts! With the always present help of Paul and Phil from Fyne Boats we mastered all occureing problems. A great thank to
both of you.
Would we do it again? Certainly! We are very happy with the way it worked out and I must admit we are quite proud having this boat and we would not want to miss the experience of building a boat ourselves. I can say a dream I had since my childhood came true. As soon as I solve the problem of where to put another boat I will start building again, there are so many boat designs from CLC I would like to do.
A great thank you to all of you for your help and inspiration.
With the best wishes for a good building and sailing season,
Reinhard and Eva from Munich
Offline
#2 31 Jul 2014 8:43 pm
- mtompson
- Member
- From: Dartmouth UK
- Registered: 23 Apr 2013
- Posts: 28
Re: Skerry "Roselyne" launched and sharing experiences,building etc.
Well done, she looks great, I'll get there in the end!! :-)
Building a Skerry
Offline
#3 28 Jul 2016 9:34 am
- Sharpy
- Member
- Registered: 20 Jul 2016
- Posts: 44
Re: Skerry "Roselyne" launched and sharing experiences,building etc.
Lovely job!
Offline