A forum for discussing wooden boats and boat building
You are not logged in.
- Topics: Active | Unanswered
#1 27 Apr 2024 10:30 am
- Yambo
- Member
- Registered: 17 Jul 2014
- Posts: 36
Repairs!
There was a storm due and while my mooring is sound I moved the Skerry, Panana, over to the south corner of the bay and pulled it up the beach, like a lot of other small boat owners had. It would be safe there. Most of the other boats had been turned over but I left Panana the right way up and tied the bow line to a beach umbrella post, the next to last one showing. Panana was the highest boat up the beach and it's always quiet in that corner. Should be safe enough
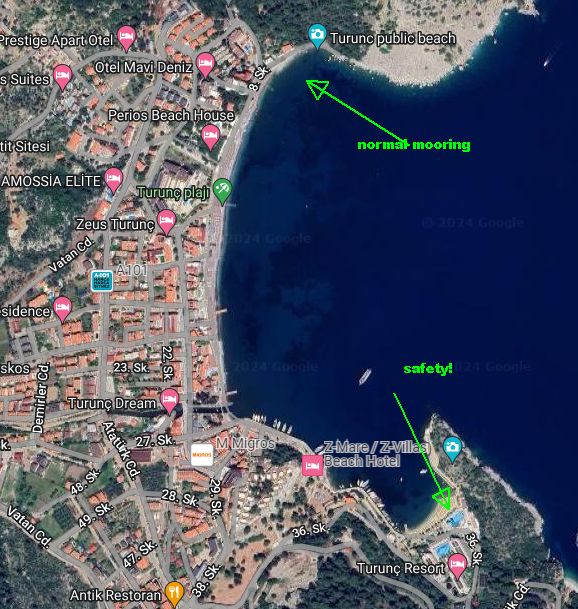
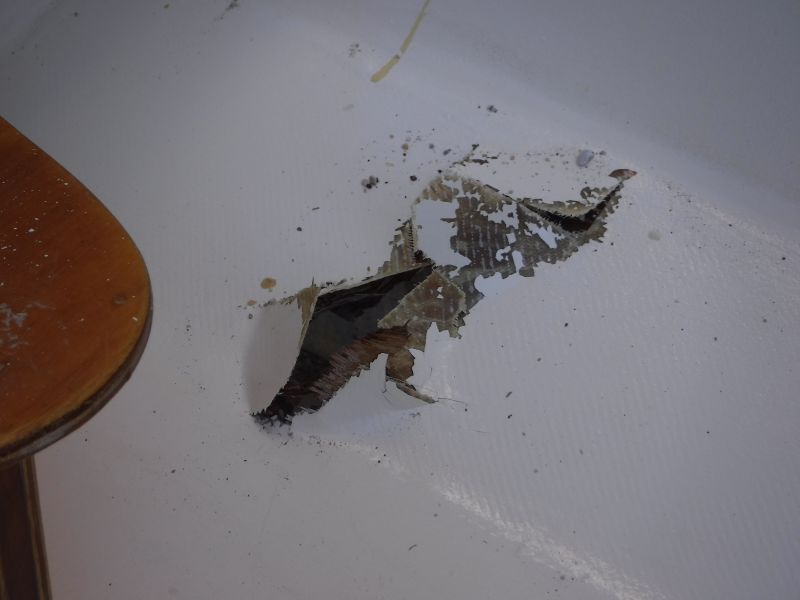
Next morning I got a call from a friend who was out walking telling me that the safe spot clearly hadn't been and I had a hole in Panana. I went down to the beach and sure enough, there was a hole in the boat with a beach umbrella post in the middle of it. It looked like a big wave or two had swept into the quiet corner lifted the boat and swung it around on the bow line where it had collided with the last umbrella post on the beach. That's the price of laziness I guess. All the other boats seemed OK but where kit had been left underneath then, that was all gone.
I got Panana up to my house and on the trestles. It wasn't a clean hole but it was limited to the lowest side panel with maybe a little bit of damage to the bottom panel. Now you see it.

The repair was not difficult - this is plywood we are talking about and I know that panel is 6mm plywood. Out came the sander and I sanded quite a large area back to the plywood. I cut the hole to a more regular shape and marked that shape onto a bit of 3mm plywood. I then carefully removed a bigger section on the bottom of the hull 3mm deep with a router and chisel. I marked that shape onto another piece of 3mm plywood, cut it to size and then marked the damage hole on to it.
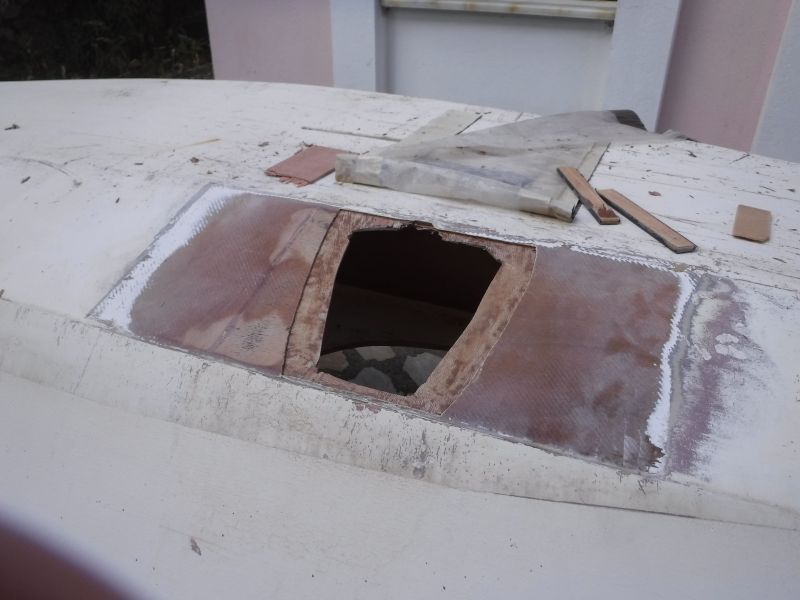
I glued the small patch of 3mm plywood to the larger piece with epoxy thickened with micro balloons. - it's what is holding the whole boat together so should be OK. ![]()
I gave it a day and a half to set up then glued the whole patch into position ensuring there was epoxy filling the area around the patch, both on the botton and inside the boat. Light clamping was achieved by a couple of large wooden blocks and tie down straps arounf the boat. Unfortunately I didn't take any photos of this bit.
It set up OK so a bit more sanding, a little bit of filling and it all looked good. A patch of fibreglass was applied and blended in with the original fibreglass at the extemities of the repair, 3 coats of epoxy to fill the weave, sand all that smooth and then 2 coats of epoxy barrier coat (really tough stuff!) and two coats of top coat paint. Bit of the same inside the boat and it was finished.
Now you don't!
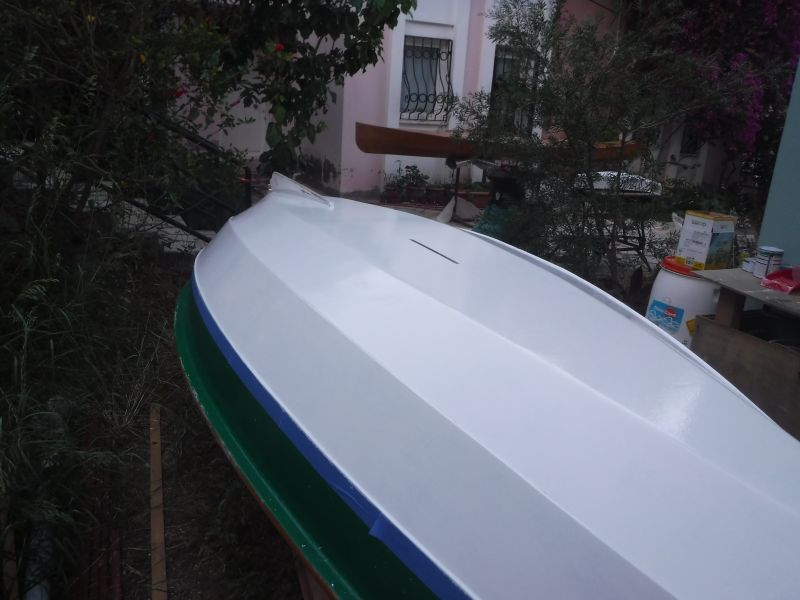
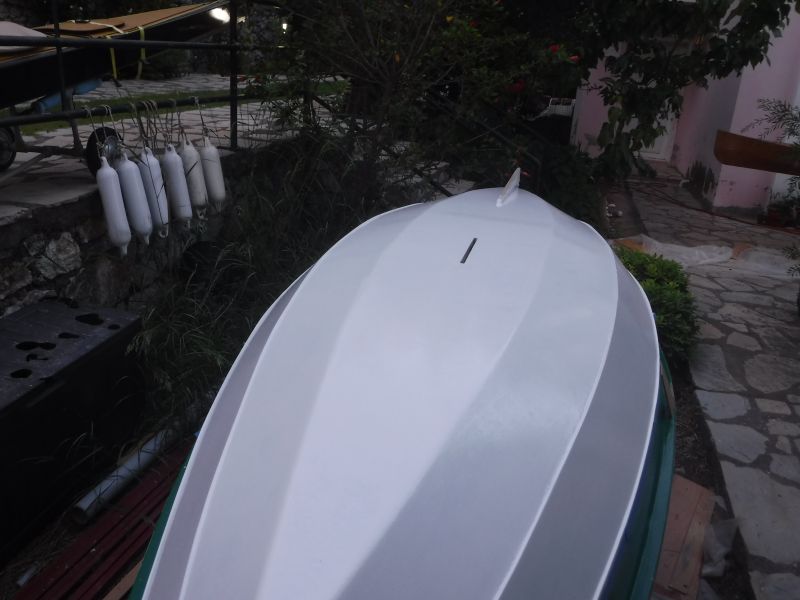
This all happened back in 2018 and the repair is still good. I recently sanded the whole boat and couldn't remember which side the repair had been done on. You would only know there was a repair if you sanded all the paint off.
I hope this post has interested you and maybe it will provide some reassurance and confidence to get stuck in if you are unfortunate enough to suffer a similar issue. Plywood is a wonderful medium to work with and as you obviously like sanding the whole thing can provide much pleasure. All in, the repair took about two weeks. My apologies for the lack of photos but at the time I didn't consider making a blog out of the event.
Offline