A forum for discussing wooden boats and boat building
You are not logged in.
- Topics: Active | Unanswered
#26 13 Nov 2023 8:58 am
- Paul
- Employee

- From: Gatebeck Cumbria
- Registered: 4 Aug 2011
- Posts: 134
Re: Skerry built from plans (build log)
I am sorry to hear about this problem. It is difficult to be sure, without more detail, but it looks like you probably applied an epoxy layer over epoxy that had cured but not been sanded.
Unless you apply the next layer before it is totally cured you have to make a mechanical bond by sanding the area and then removing the dust. The problem could also be caused if you washed the surface down with solvent.
I am not sure which epoxy you are using so please telephone us, if you can, and someone will talk to you about solving the problem and how to avoid it in the future.
Please rest assured that this will not affect the strength of your boat but it will involve more work.
Good luck with it.
This is from a frequently asked questions section
Can I put another coat of epoxy over cured epoxy?
Yes. Since the epoxy has cured a chemical bond is not possible so what is called a mechanical bond is needed. This simply means that the cured epoxy has to be lightly sanded before the next coat is applied: the first coat should have a matt, almost white, surface. Use glass paper of between 80 and 120 grade, no finer.
If the first coat has developed a blush or bloom this has to be removed before sanding and, in the case of our epoxies, it can be removed by washing the epoxy with warm water containing a few drops of washing-up liquid. Sugar soap solution is another fast way of removing it.
Offline
#27 13 Nov 2023 12:55 pm
- Rob
- Member
- From: England
- Registered: 29 Jun 2021
- Posts: 66
Re: Skerry built from plans (build log)
Thanks Paul, I did sand the coat which had cured, then put another coat over a layer that hadn't fully cured, so it's a bit of a mystery. I agree though, it looks like the under-layer is not the sanded layer, which is odd.
Offline
#28 15 Nov 2023 10:14 am
- waterwing
- Member
- Registered: 19 Apr 2013
- Posts: 10
Re: Skerry built from plans (build log)
I don’t think that it is a common mistake but I had this problem. Thanks to Fyne I discovered that there are two rules. When re-coating after the first coat has cured
1 Wash the the area to ensure that the bloom is removed
2 Then sand it until it is matt but not sanded away. I think that this is to provide a key.
I can’t find the actual words that were used when talking about the bloom but this iswhat I understood them to mean.
Test for bloom by placing your fingers on the surface and pull them towards yourself. If 4 streaks are left there is a bloom.
To test if the epoxy has cured push your finger nail into the surface if no groove is left the epoxy has cured.
I have always washed it before sanding if the first coat has been on for a few days.
Offline
#29 15 Nov 2023 11:36 am
- Rob
- Member
- From: England
- Registered: 29 Jun 2021
- Posts: 66
Re: Skerry built from plans (build log)
Thank you for the advice. Washing down between coats when it's been curing for a few days is something I will be doing now, just to eliminate that problem. I think perhaps in this case it's the chemical bond that failed, as although still a bit soft, I could stick a fingernail into it when I put the final coat on, it had gone past the stage where that bond would hold. Maybe it was the amine bloom problem also, in which case between them it had no chance.
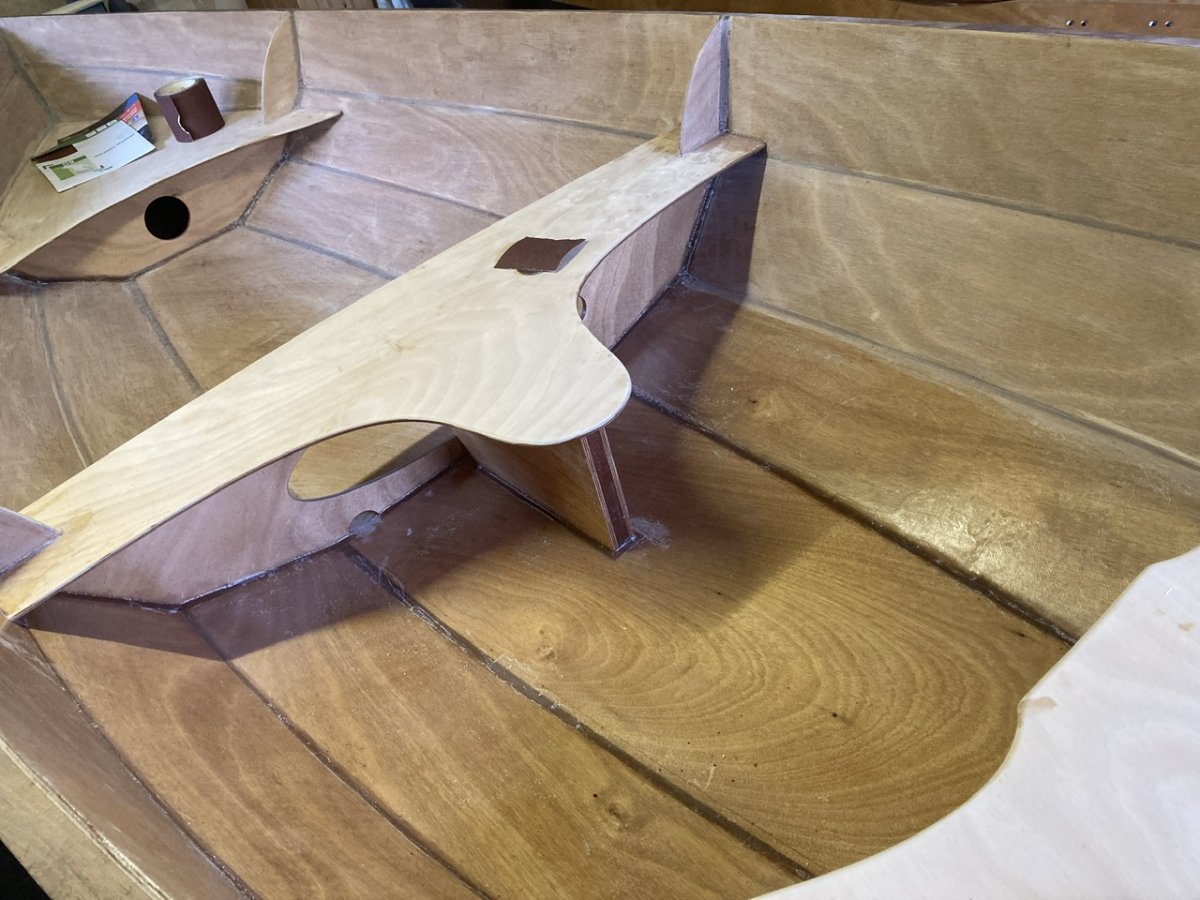
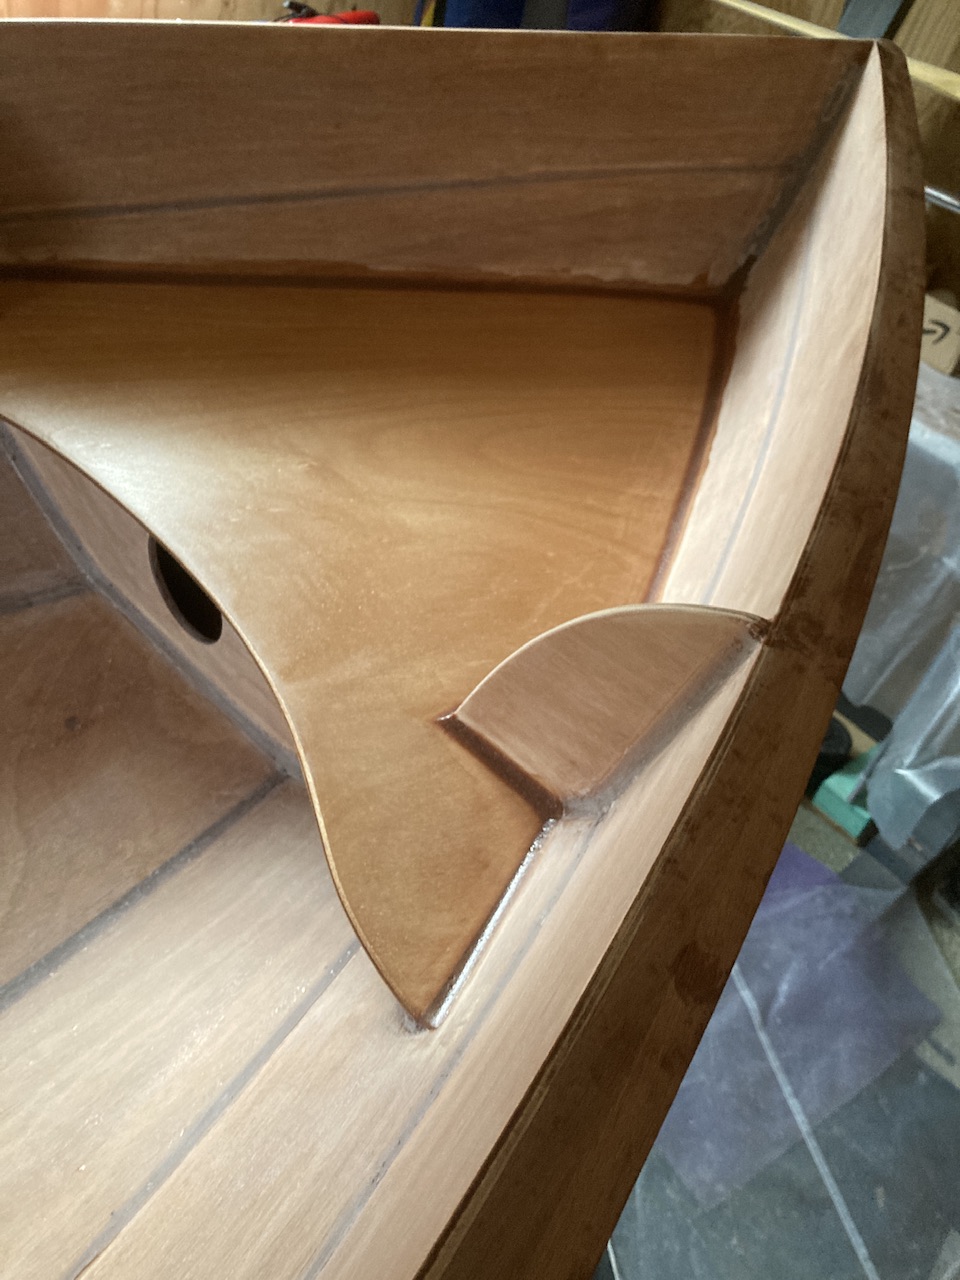
I've now scraped most of it off, with the bulkheads still to do. I'm sanding it all by hand, which is hard work, but it seems to be doing the job. I'm using the opportunity to sand the fillets a lot more, so I can get them to a standard I wanted them to be, as I always felt they needed more cleaning up - small blessings etc. So at the pace it is taking, it should be ready to move forward by Sunday, or next week at the latest. Once it is ready, I will fillet the seats. The bond holding the short pointed seat sections pointing inwards and jointed to the bulkheads have failed, as they are glued to the delaminating layer, so I will have to ensure the fillets on all parts of the seats and tank tops are sufficient to hold them all in place. I was considering using a heat gun and removing all three seats entirely, but can't face that, but the fillets alone should be sufficient.
Last edited by Rob (15 Nov 2023 11:37 am)
Offline
#30 16 Nov 2023 2:32 pm
- Rob
- Member
- From: England
- Registered: 29 Jun 2021
- Posts: 66
Re: Skerry built from plans (build log)
Slow but methodical progress. I’m hand sanding it all, first with 80 grit, then with 120. Though every manufacturer of paper seems to have a different coarseness - I have two 80s for example, one is significantly coarser than the other, whatever is printed on the back, and both are of the same abrasive material.
Offline
#31 24 Nov 2023 6:04 pm
- Rob
- Member
- From: England
- Registered: 29 Jun 2021
- Posts: 66
Re: Skerry built from plans (build log)
After six days of scraping and hand sanding Hell, I’ve got the interior back to standard. It needs a new coat of epoxy, but should look far better than it would have done now because I’ve sanded the original fillets and got them much more tidy looking. I’ve also done the fillets under the seats, which I made quite chunky as the epoxy that originally glued them on had failed due to the delaminating problem, but not entirely so I couldn’t take them off and start again. Today I did the fillets on the tops, and will sand them to the same standard as all the others when they’ve fully cured.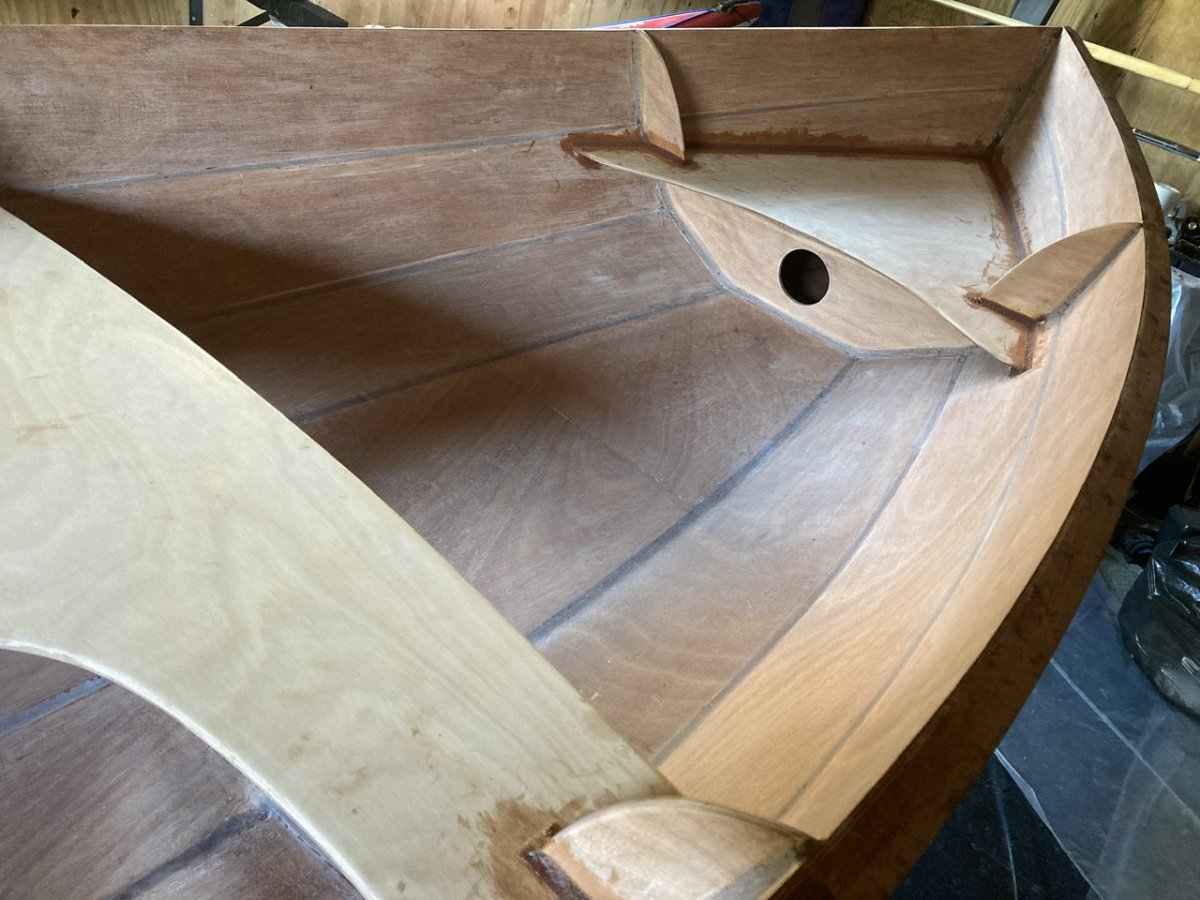
Last edited by Rob (24 Nov 2023 6:05 pm)
Offline
#32 28 Nov 2023 3:37 pm
- Rob
- Member
- From: England
- Registered: 29 Jun 2021
- Posts: 66
Re: Skerry built from plans (build log)
I’ve been hand sanding the seat fillets today, with the bow and centre seat done. I will get the stern done in the next day or two. 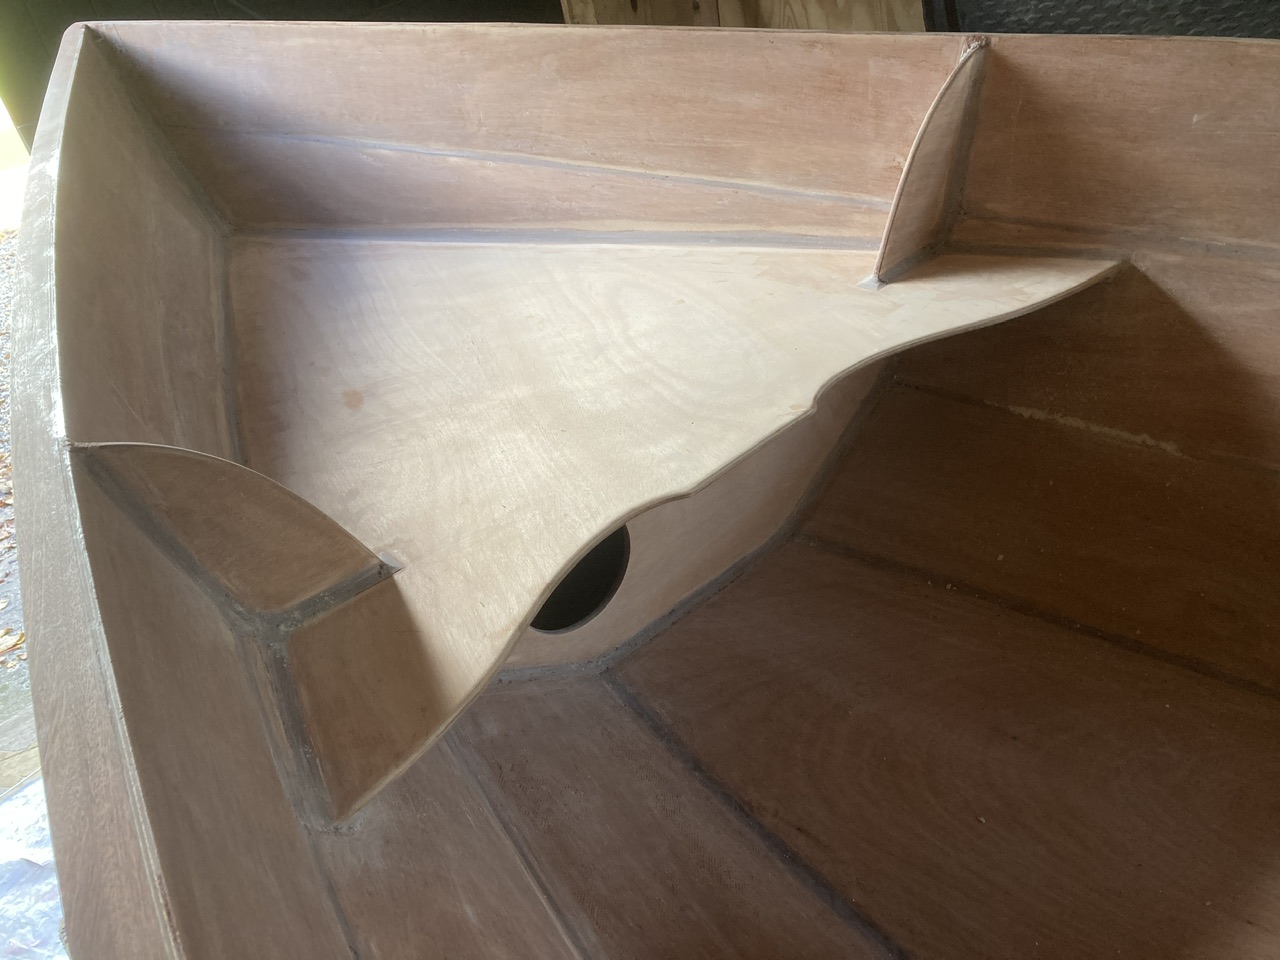
Last edited by Rob (28 Nov 2023 3:37 pm)
Offline
#33 5 Dec 2023 3:14 pm
- Rob
- Member
- From: England
- Registered: 29 Jun 2021
- Posts: 66
Re: Skerry built from plans (build log)
Final fillets sanded today. Not sure how much more work will get done before the spring with the temperature now dropping, we’ll see. 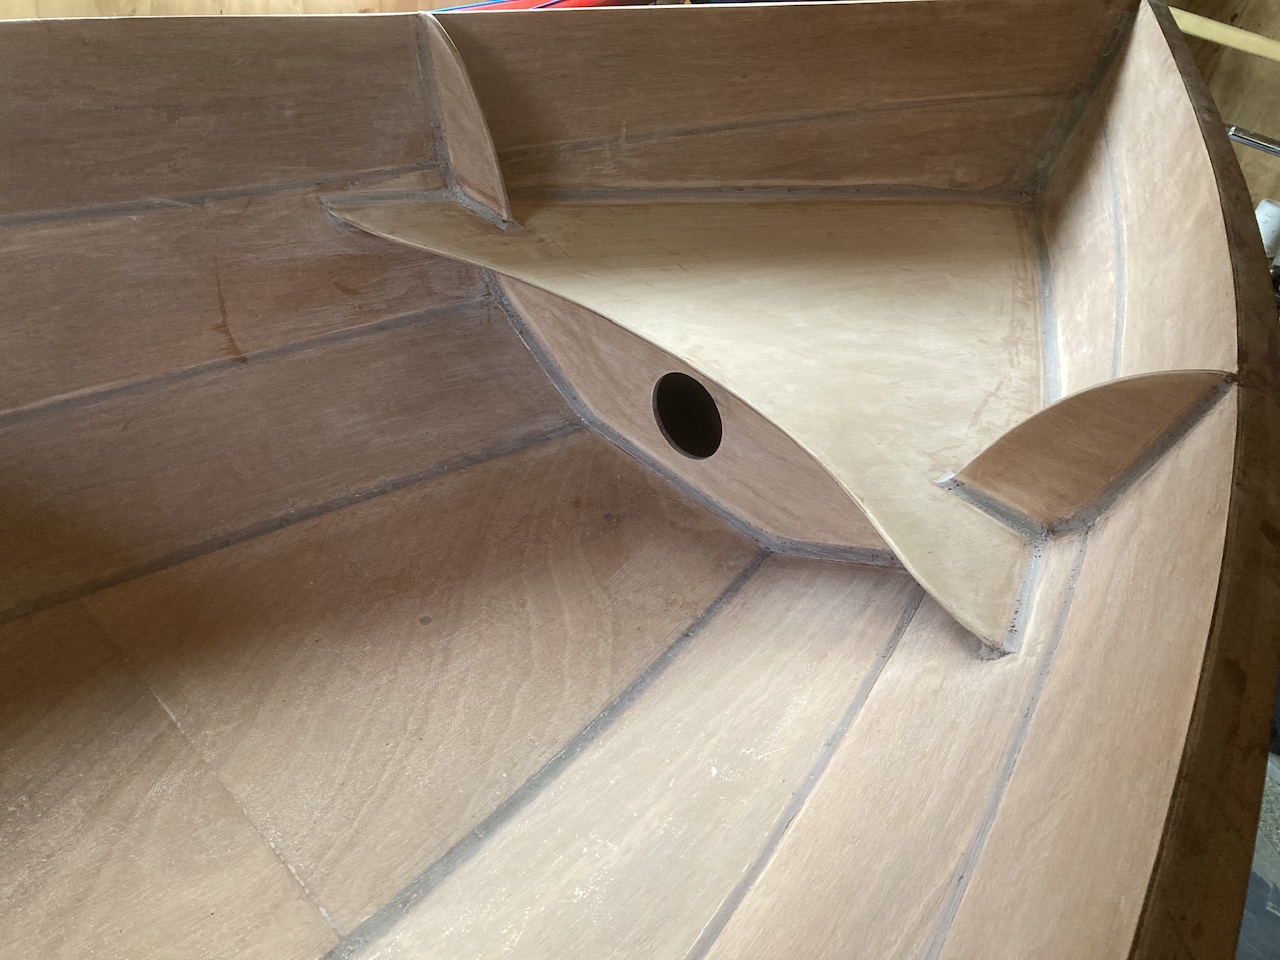
Offline
#34 9 Dec 2023 7:41 pm
- Rob
- Member
- From: England
- Registered: 29 Jun 2021
- Posts: 66
Re: Skerry built from plans (build log)
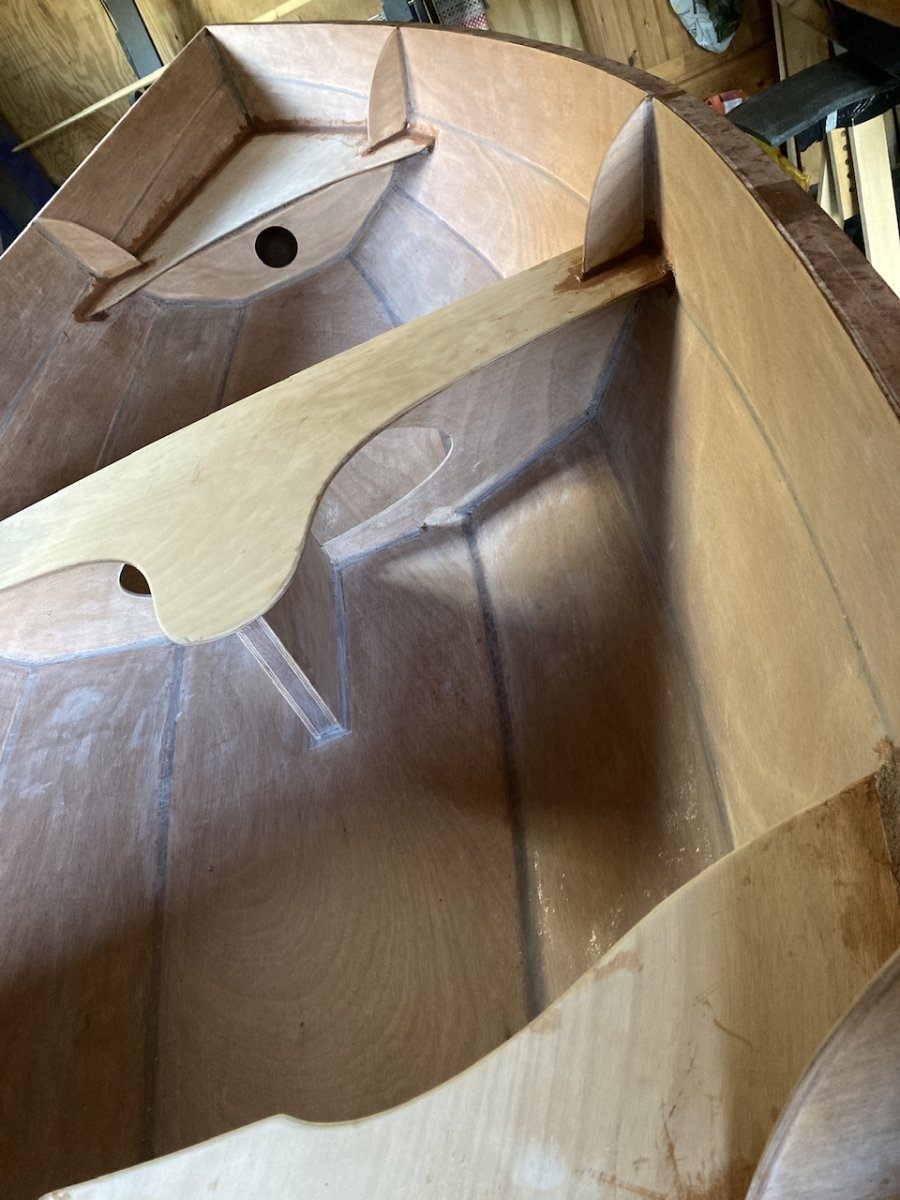
First coat of epoxy went on the seat tops today. I’m very pleased with how the fillets are looking now. 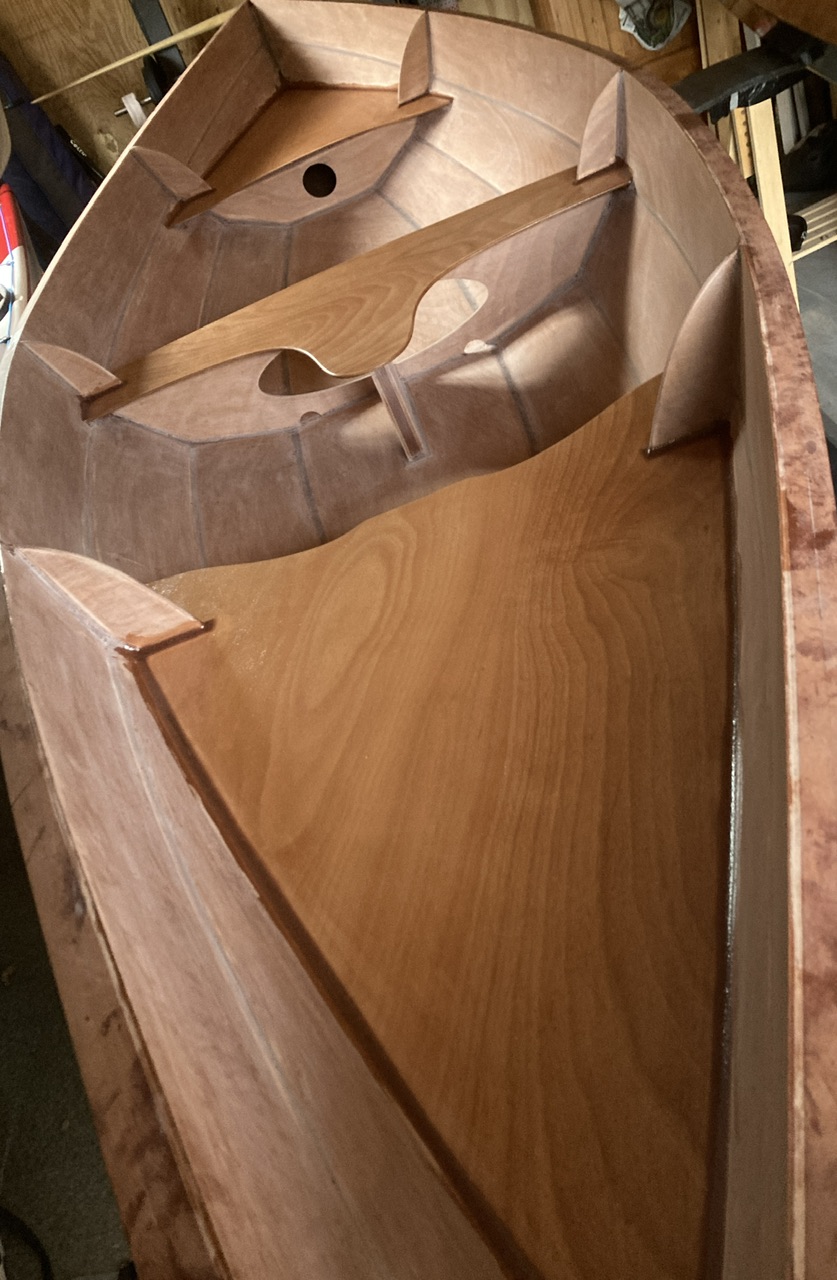
Last edited by Rob (9 Dec 2023 7:41 pm)
Offline
#35 4 Jun 2024 5:42 pm
- Rob
- Member
- From: England
- Registered: 29 Jun 2021
- Posts: 66
Re: Skerry built from plans (build log)
After the Winter and a wet Spring, I have finally started on the build again. I have cut the daggerboard slots, which were not as tricky as I had expected them to be, and I have also installed the mast partner. The latter I have bevelled and rounded under at the front and sides, so it's not as noticeable. In addition, I have now got the first coat of resin on the bump rail and sanded it ready for a final coat when I do the entire hull exterior for the final time.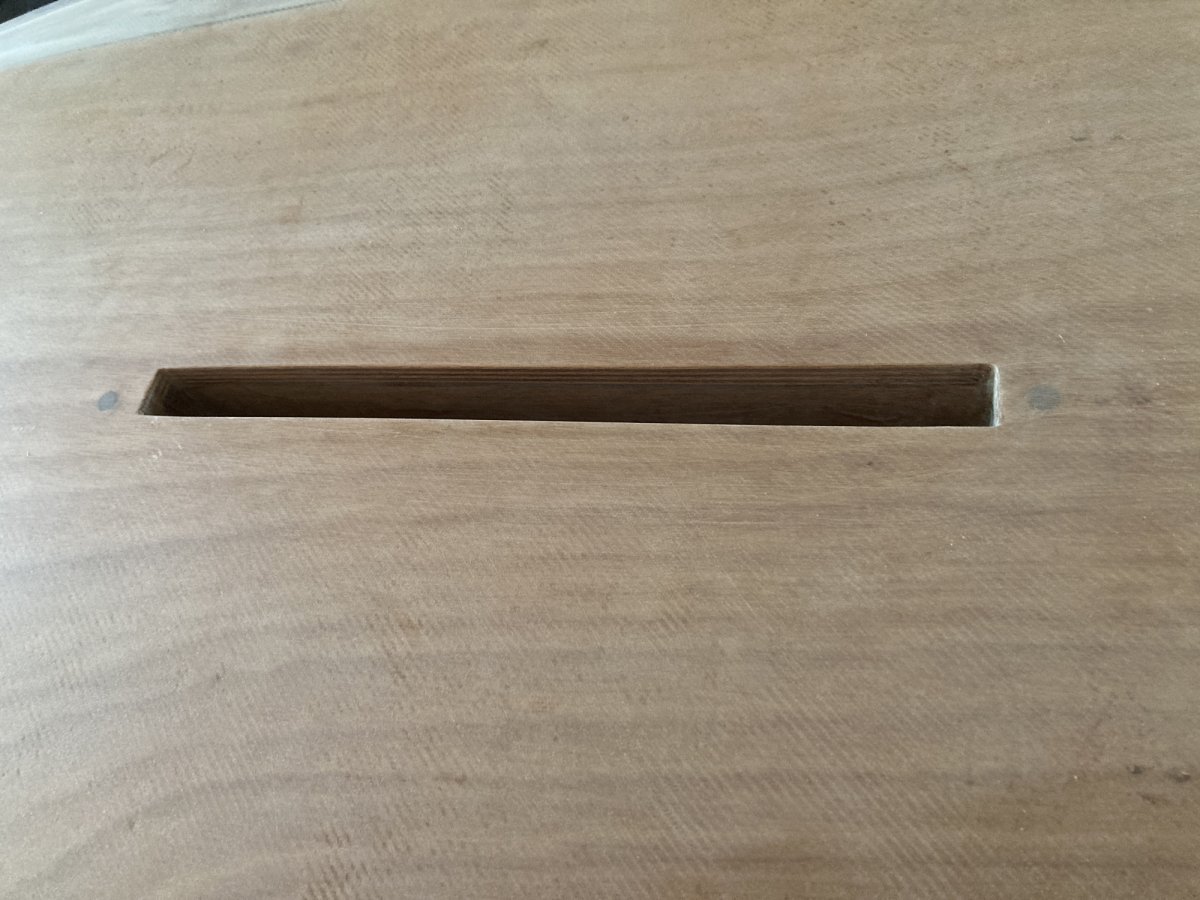
Offline
#36 4 Jun 2024 6:20 pm
- Rob
- Member
- From: England
- Registered: 29 Jun 2021
- Posts: 66
Re: Skerry built from plans (build log)
Thinking ahead – can anybody offer advice on which varnish to use please? I have read about issues with some varnish brands over epoxy, and having had enough delamination problems already, I really don't want anymore. It will be used to varnish the entire interior and rails. In an ideal world, it will have a slight tint, include UV protection and be in a satin finish.
At present, I am leaning towards International's 'Compass', which has UV filters and a gloss finish. Over that, for the final coat/coats I would use International's 'Goldspar', which is a satin finish but has no UV filters.
Offline
#37 5 Jun 2024 7:37 am
- Paul
- Employee
- From: Gatebeck Cumbria
- Registered: 4 Aug 2011
- Posts: 134
Re: Skerry built from plans (build log)
We have experience with the varnishes that you mention and apply what is requested when making boats for customers but our demonstration boats, including kayaks, are varnished with Coo-Var
It is easy to apply, is strong and protects against UV light. We have several boats that have not been re-coated for many years and they still look good. It is a gloss finish but this makes it easier to apply and repair. Matt finishes tend to enhance all of the slight imperfections in the varnish and the surface (just like paint) whereas the gloss does not.
The varnishes that you are contemplating are very good and your plan, although it will involve more sanding, should work well.
Your boat looks wonderful, good luck with finishing it.
Offline
#38 5 Jun 2024 10:03 am
- Rob
- Member
- From: England
- Registered: 29 Jun 2021
- Posts: 66
Re: Skerry built from plans (build log)
Thank you Paul, your advice is much appreciated. Ultimately it looks like I need to use a gloss first anyway, so as long as it has UV protection I can take a view then as to whether I want to use the satin over the top. Thank you also for your compliment on my boat, I'm pleased with the progress so far, despite all the challenges – it's good to be on the final few stages now.
Offline
#39 5 Jun 2024 4:02 pm
- Rob
- Member
- From: England
- Registered: 29 Jun 2021
- Posts: 66
Re: Skerry built from plans (build log)
Today I cut the mast hole and the two holes for the belay pins. I'm pleased with how the mast partner turned out underneath too, it's barely noticeable and so doesn't interfere with the nice shape of the front edge. I also tried the daggerboard for the first time since I cut the slots, and it fits fine, though I may widen the handle another 5mm, I will see. 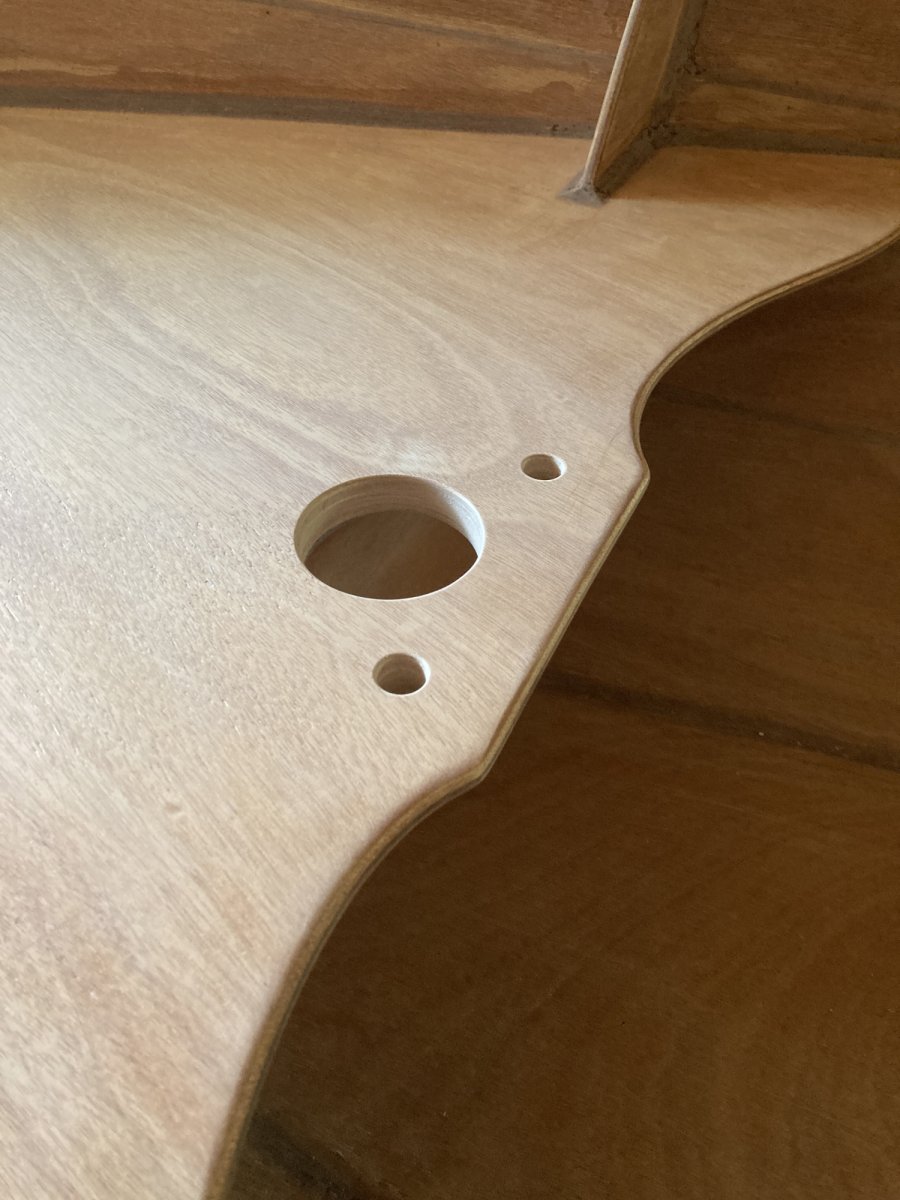
Yes, I realise the daggerboard is in backwards in this photo, don't ask me why.
Last edited by Rob (5 Jun 2024 4:10 pm)
Offline
#40 7 Jun 2024 12:08 pm
- Rob
- Member
- From: England
- Registered: 29 Jun 2021
- Posts: 66
Re: Skerry built from plans (build log)
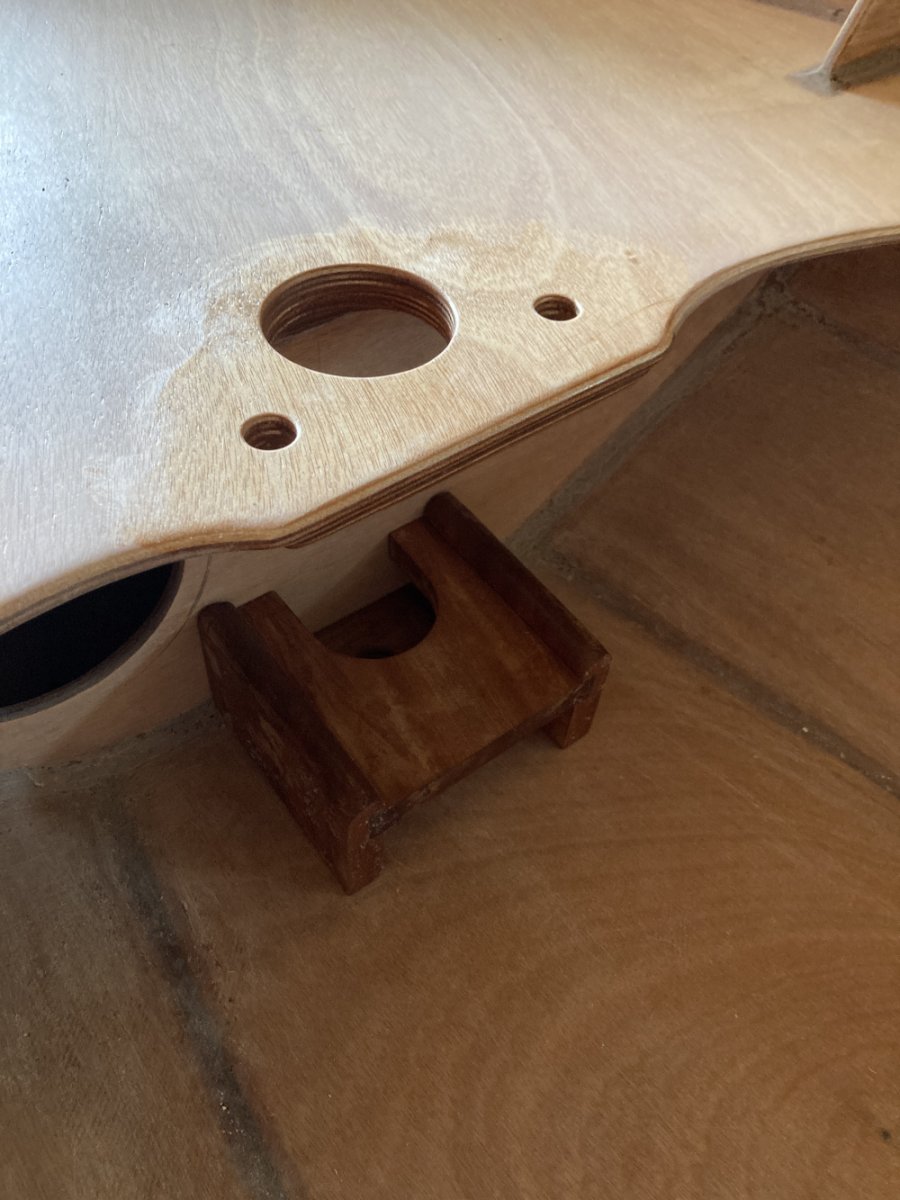
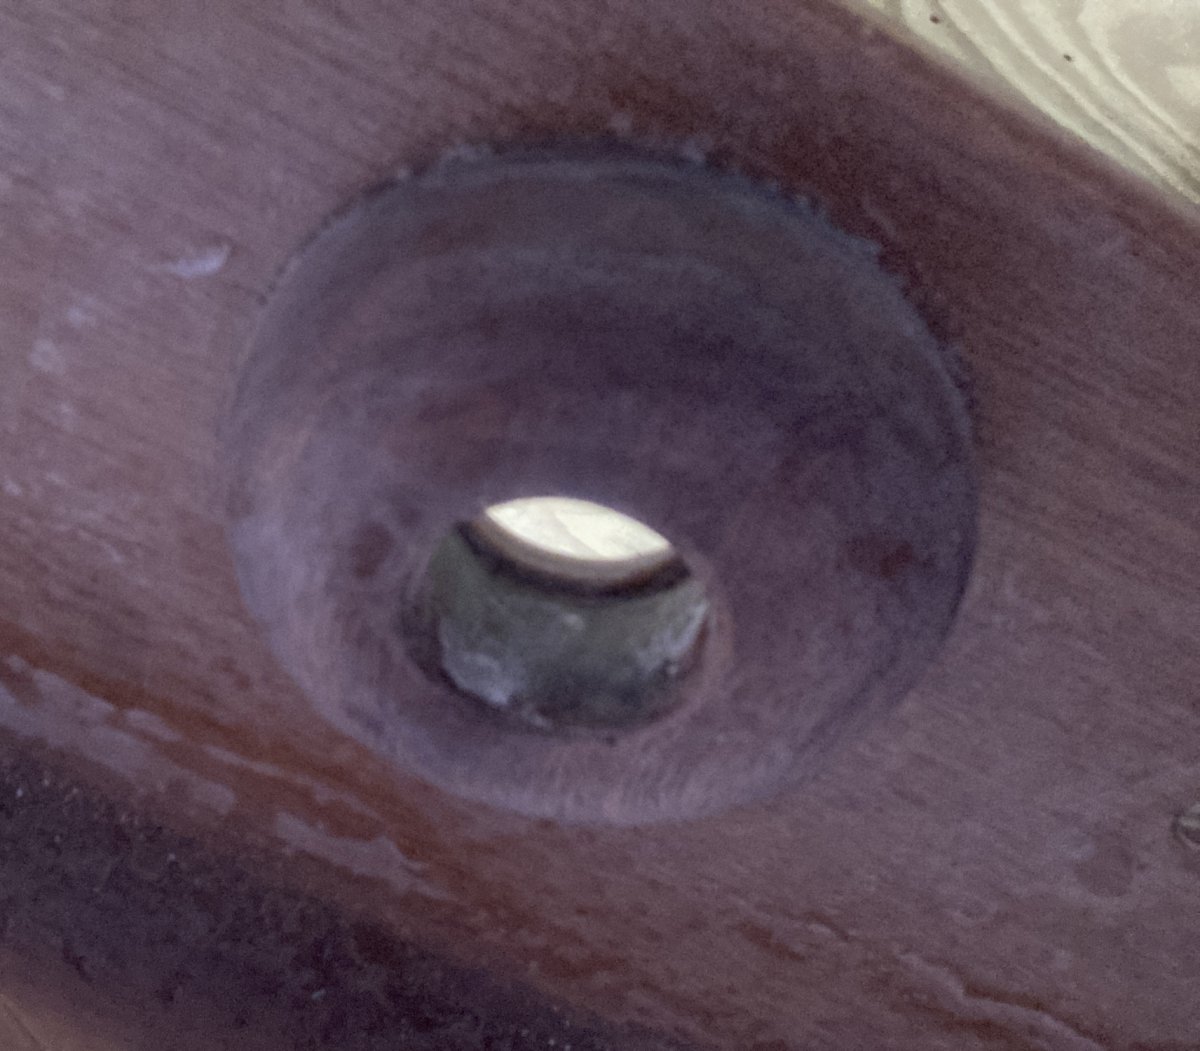
I glued up the mast-step yesterday, having changed the design from the plans mainly to allow for a round mast and, to keep with tradition, for the insertion of a coin at the base which will be sealed permanently in place in resin - more about that later. It's been jointed together, glued and screwed with bronze (not brass) screws, so it should be as strong as it could ever be.
I also made it from sapele instead of ply and pine, as I thought it would be nicely in keeping with the rails and the daggerboard trunk ends etc. Next year I plan to make floorboards out of sapele too, possibly in a 'gratings way' as opposed to planking, though I may go with the latter for practicality. I wonder if they could double as as a sleeping platform... perhaps, but that's next year's concern!
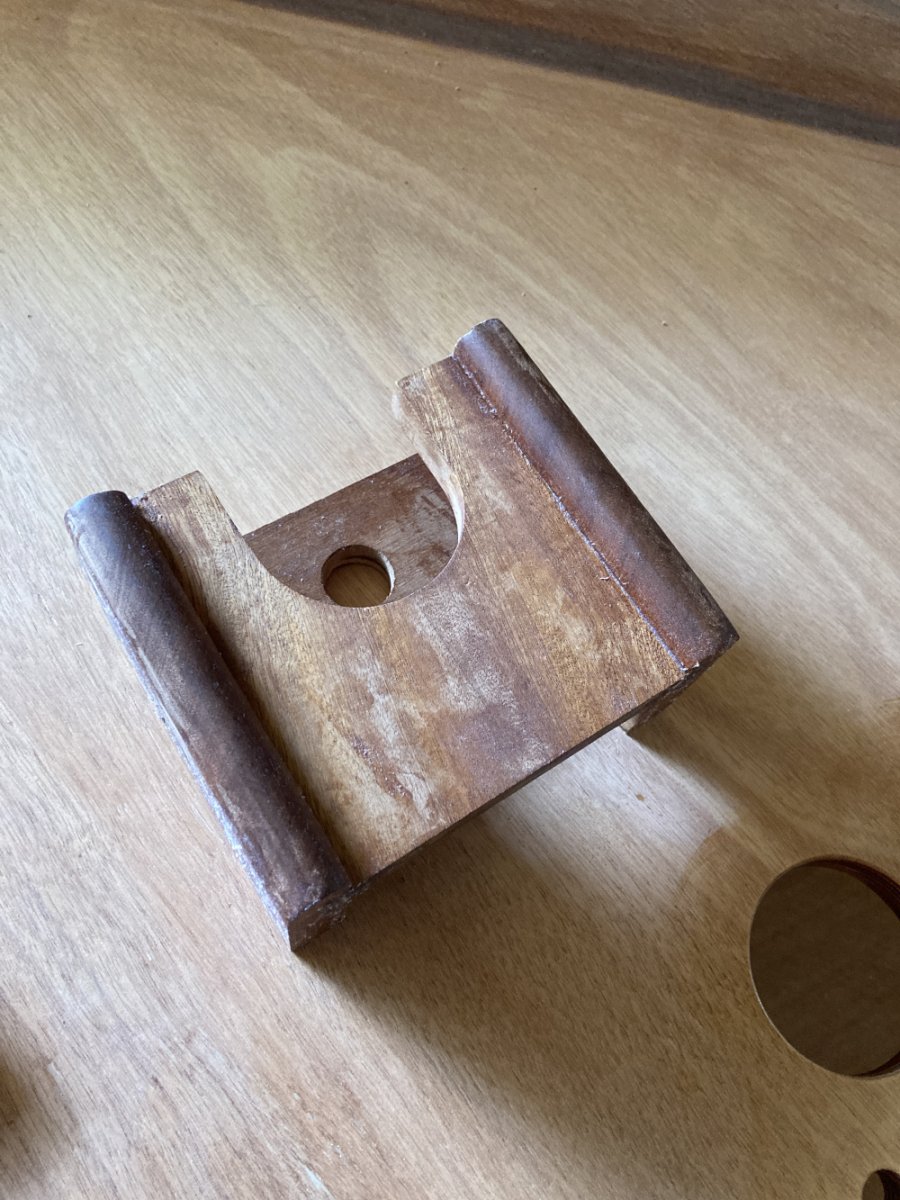
The mast-step is not fixed in place yet, as it needs a lot of sanding and cleaning up after I filled the screw holes, and it also needs a couple of layers of resin. I was going to put a brass builder's plaque on the stern bulkhead, but now I am wondering if it wouldn't look nicer on the top of the mast step.
Over the coin section will be placed a removable piece of thick leather, not glued, just wedged there. That leather would then act as a sacrificial piece against the wear of the mast against the base of the step, and to some extent, keep the coin hidden from the eyes of pirates.
Last edited by Rob (10 Jun 2024 4:36 pm)
Offline
#41 7 Jun 2024 2:53 pm
- Rob
- Member
- From: England
- Registered: 29 Jun 2021
- Posts: 66
Re: Skerry built from plans (build log)
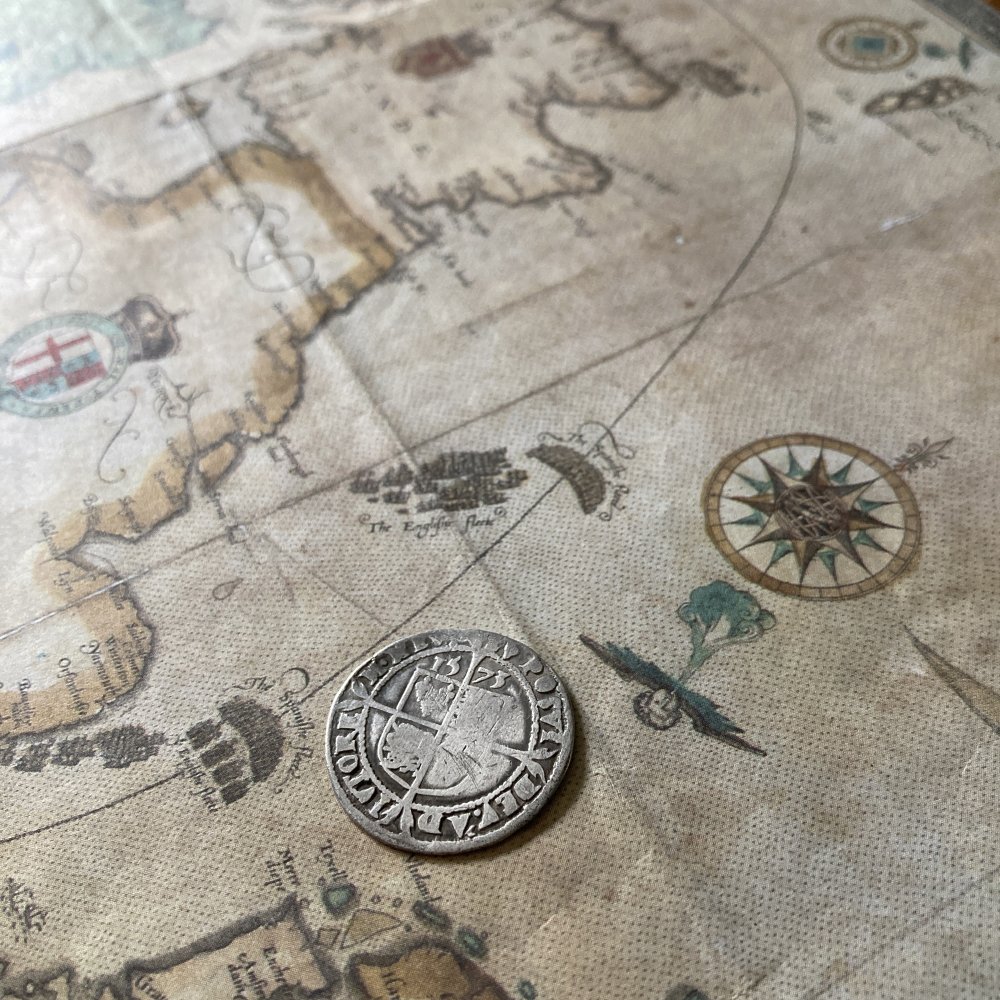
Based upon my chosen name for this boat, the coin for inclusion beneath the mast in the mast-step. Silver sixpence, Elizabeth I, 1573. The date is that which the first ship (or at least first British naval ship) of the same name was built. Her first battle honour was against the Spanish Armada in 1588, hence my carefully chosen map in the background, if you spotted it.
Last edited by Rob (7 Jun 2024 3:07 pm)
Offline
#42 12 Jun 2024 3:37 pm
- Rob
- Member
- From: England
- Registered: 29 Jun 2021
- Posts: 66
Re: Skerry built from plans (build log)
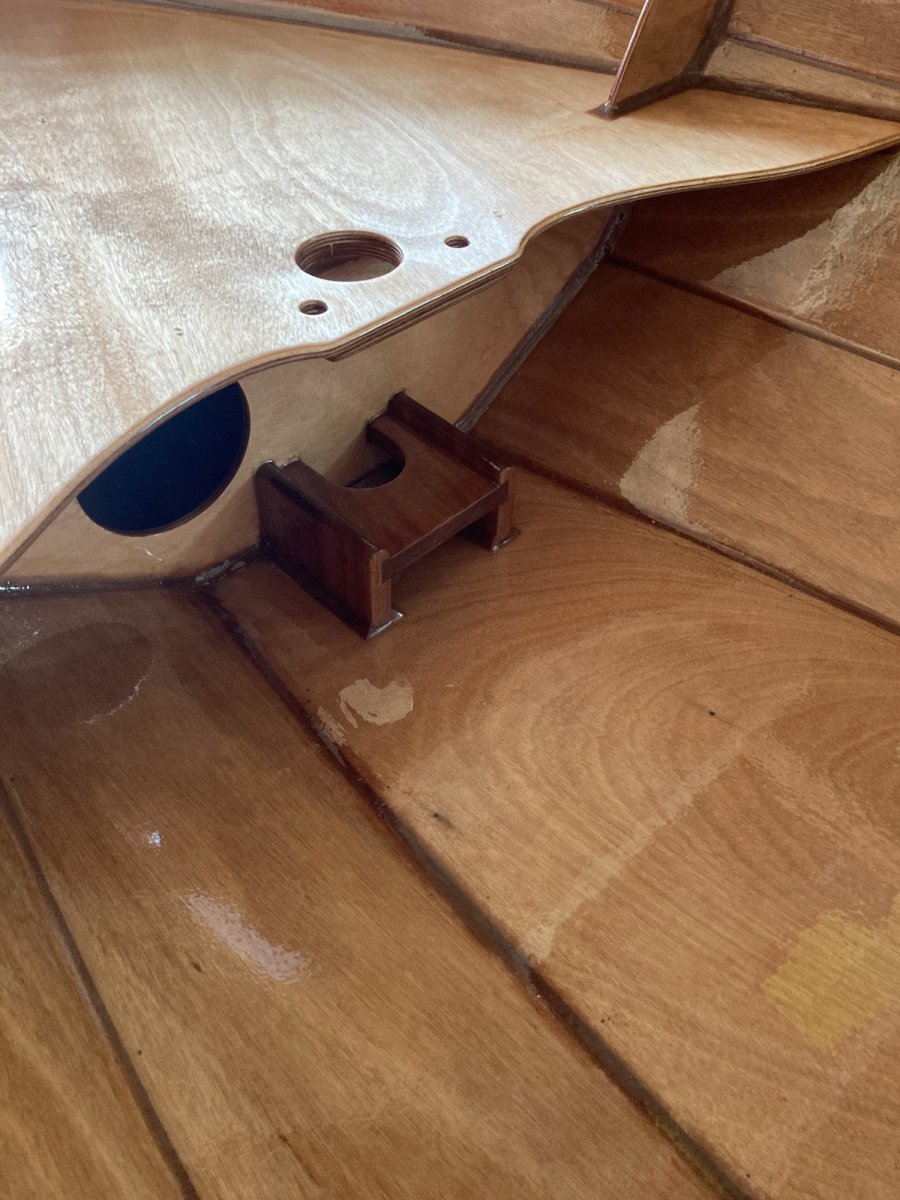
More progress in the past few day. Mast-step is more or less done and is looking nice, perhaps I'm getting ahead of myself with the mug though. The coin is now deeply sealed in resin and worked well, I'm pleased.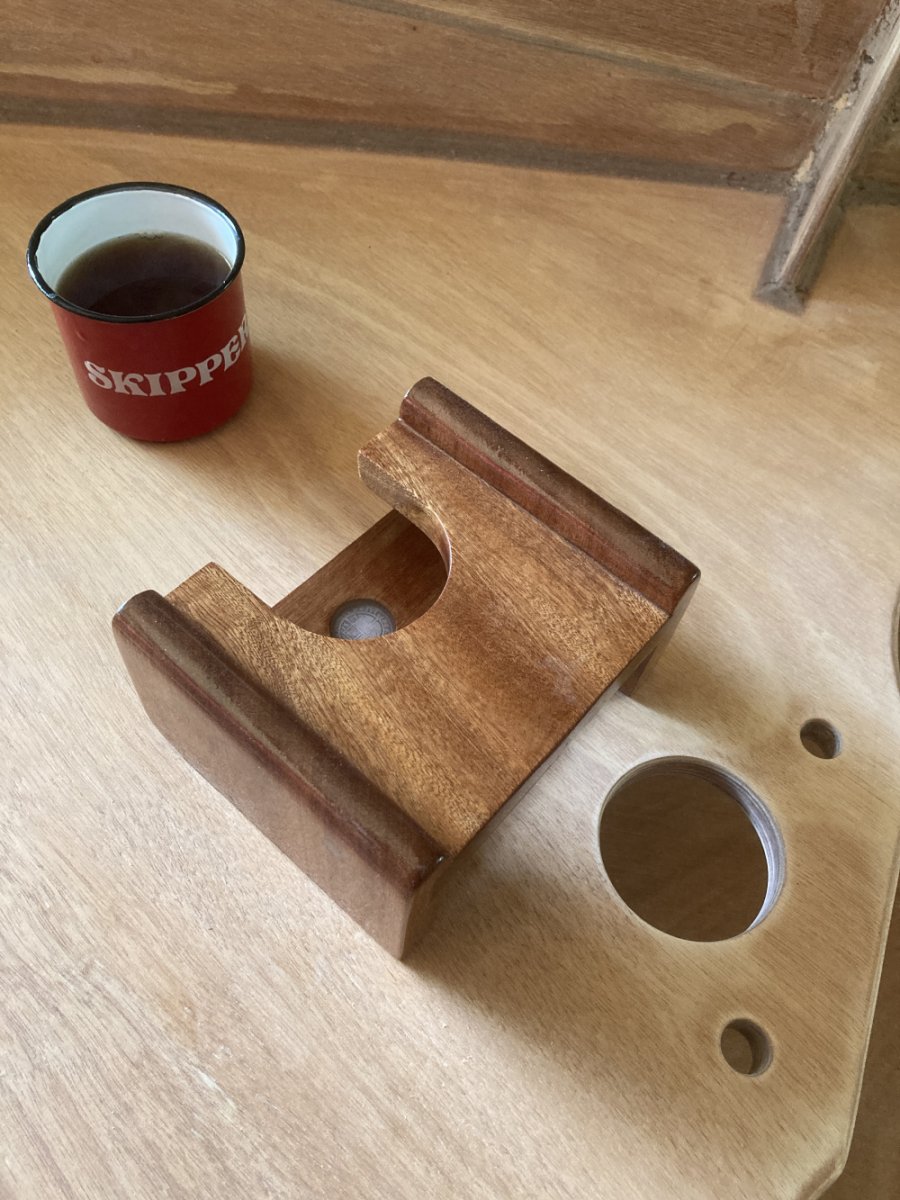
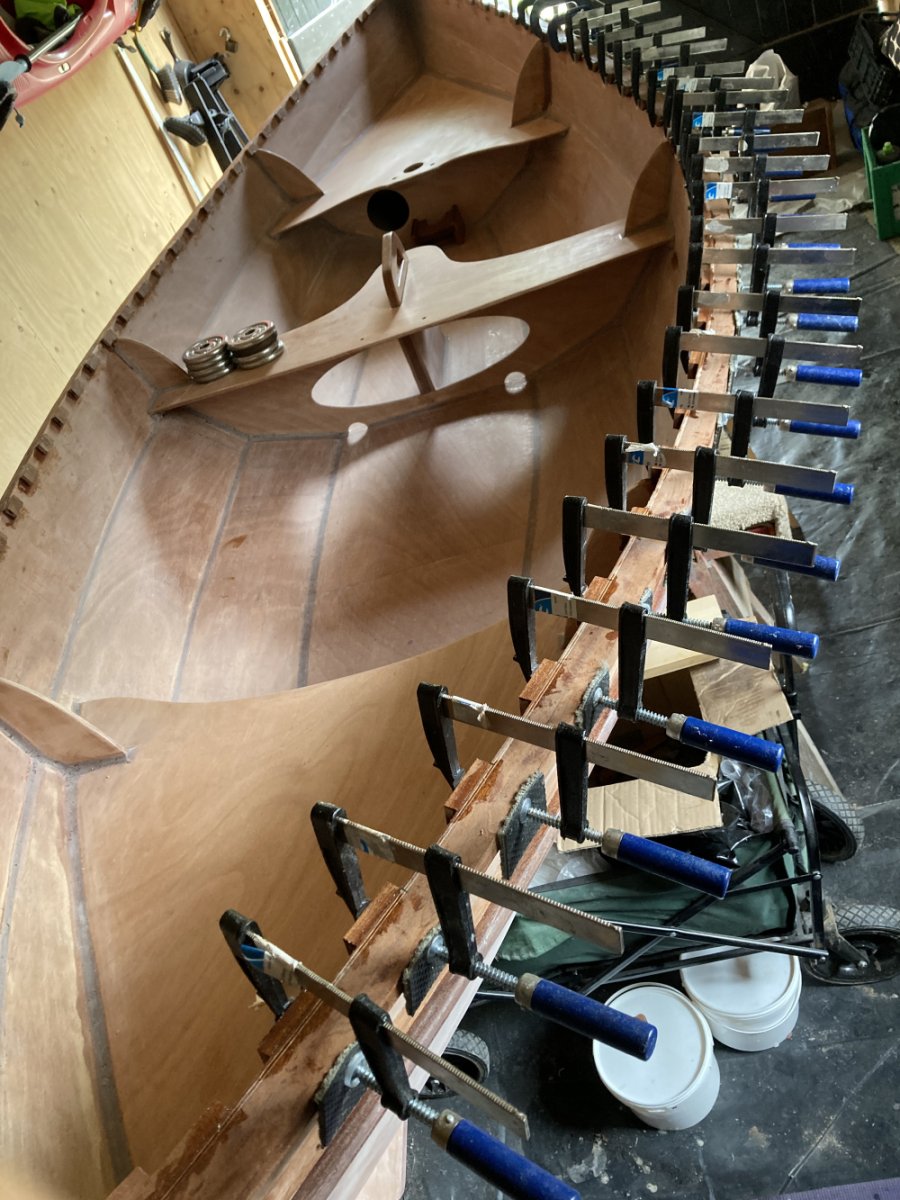
I've also started on the broken inwales, and surprisingly I had enough clamps to do one whole side.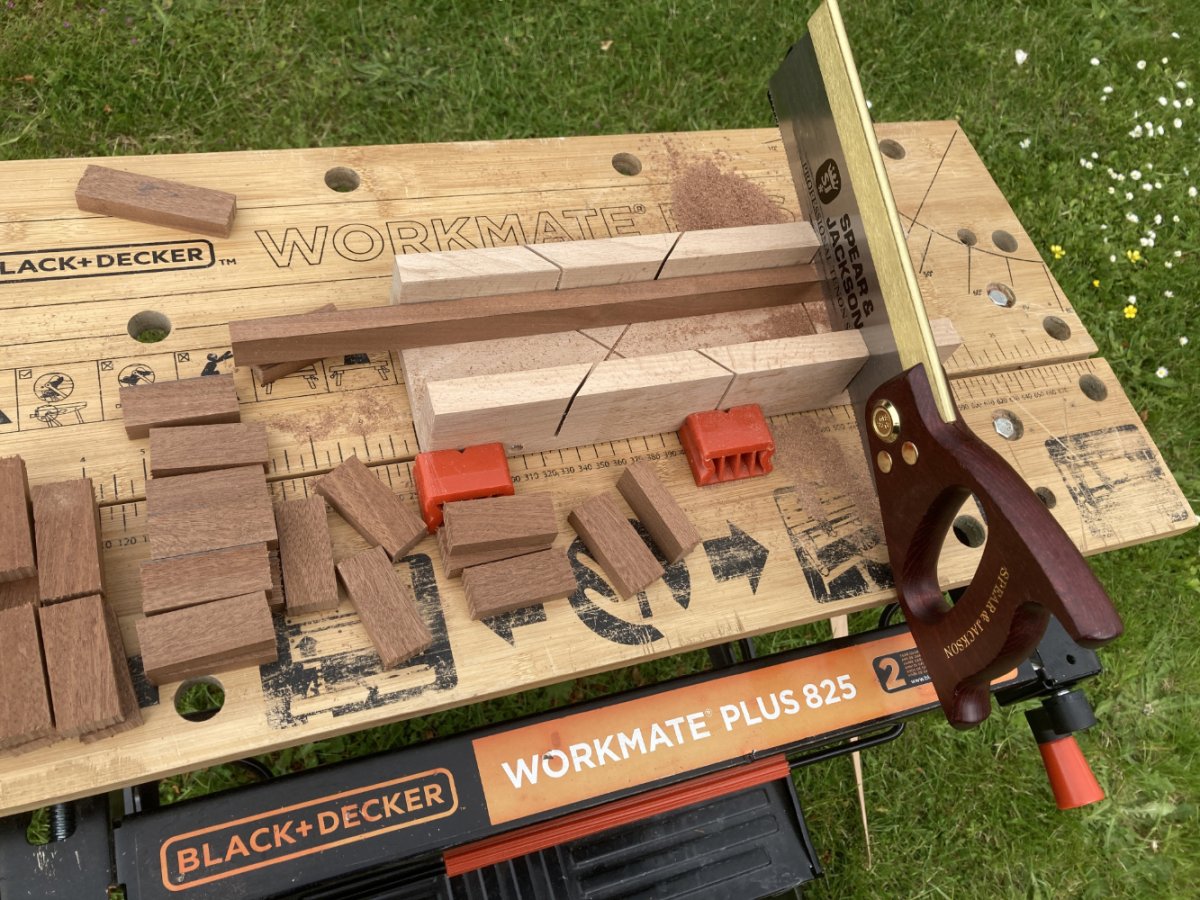
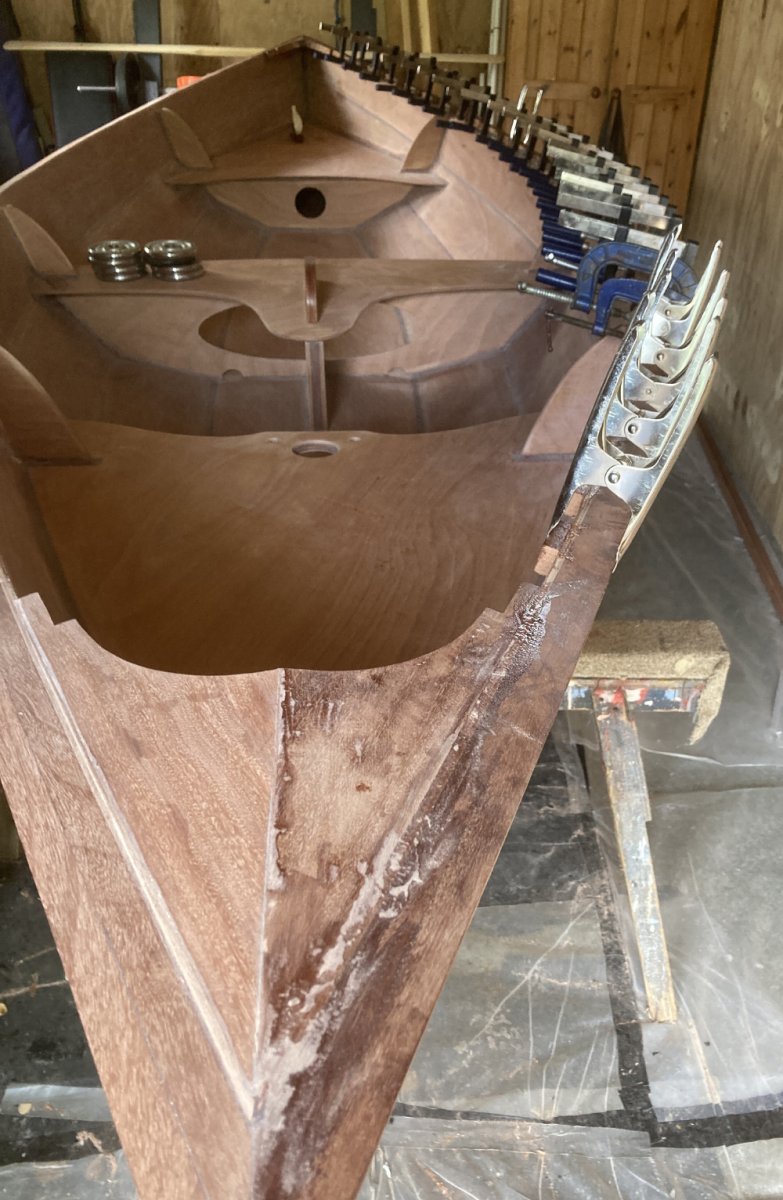
The bow looks like it is off-centre in the photo, but it's just a camera optical illusion thing, everything is aligned correctly, more or less.
Last edited by Rob (12 Jun 2024 6:05 pm)
Offline
#43 13 Jun 2024 12:12 pm
- Rob
- Member
- From: England
- Registered: 29 Jun 2021
- Posts: 66
Re: Skerry built from plans (build log)
I glued on the starboard inwale blocks this morning, and dry clamped an off-cut onto part of the port side stern sections to get an idea of how it will look, and I am very happy with my progress. I've got a couple of days off from boatbuilding now, but will continue next week. 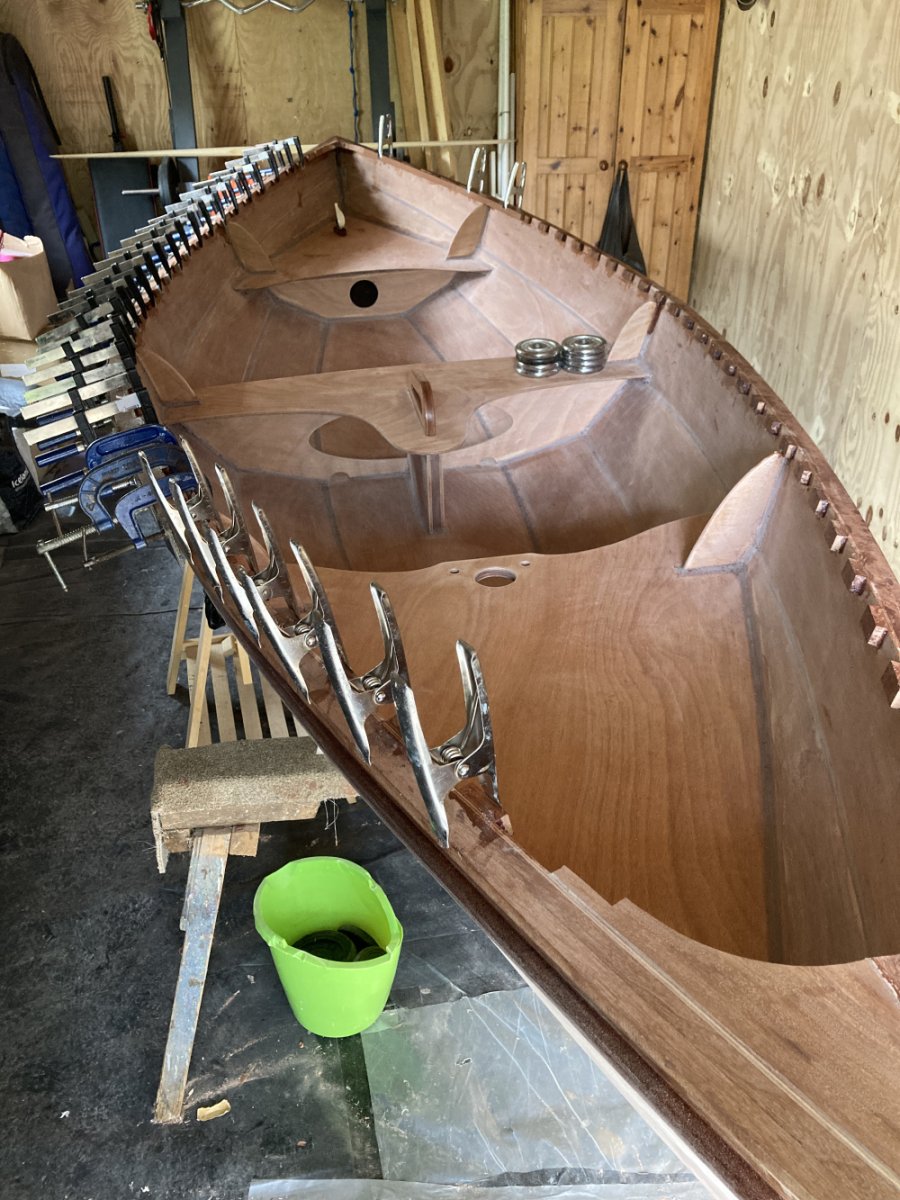
Offline
#44 28 Jun 2024 5:37 pm
- Rob
- Member
- From: England
- Registered: 29 Jun 2021
- Posts: 66
Re: Skerry built from plans (build log)
Some more progress. I have now installed the mast-step, and as I didn't have someone on hand to press down on it while I screwed it in from underneath with bronze screws, I used nine 1KG weights stacked up on top of it, which worked really well! I had drilled some pilot holes in it, which helped too. I have filleted it around the base, but not the back, for aesthetic reasons, but as I have the additional piece of wood on the base which holds the coin, there is plenty of surface area that is glued and filleted. As the step is jointed, screwed and glued together, I feel it's as strong as it could ever be...I don't intend to take the boat round Cape Horn in a gale, so it should be fine.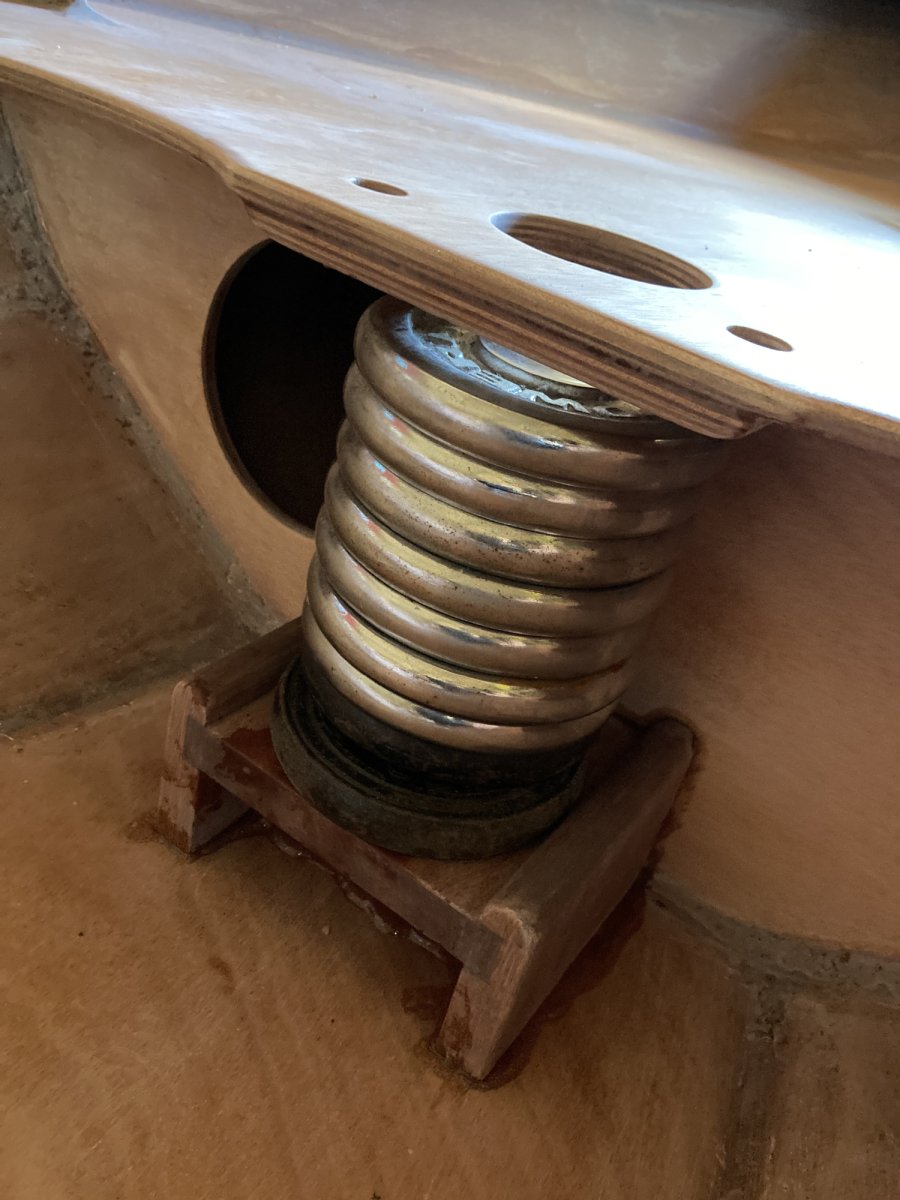
I have also put some oak dowels into the breasthooks and rails. I didn't screw the breast hooks in, instead there is one oak dowel going through the outer rail (about half way along) into the breasthook on port and starboard sides, set in and then the hole filled (left picture). Then the same going from inside the breasthook section where the rails attach, into the outer rail, (middle picture). I have also put one going through the broken inwale blocks on each bulkhead and one through the middle block fore and aft between the breast hooks and bulkhead, (final picture), so 9 on either side. Probably unnecessary, but as they will inevitable get handled a lot, I thought it a good idea. I could have used bronze screws instead, but I felt that oak dowels make it easier to replace/repair the rails should it ever be required.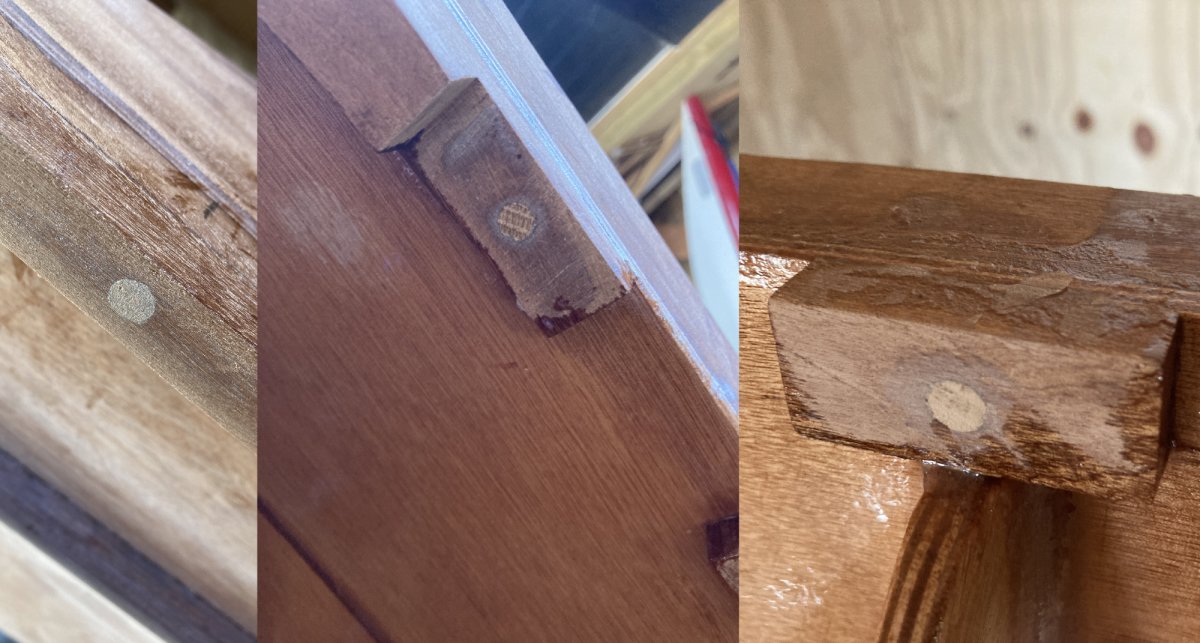
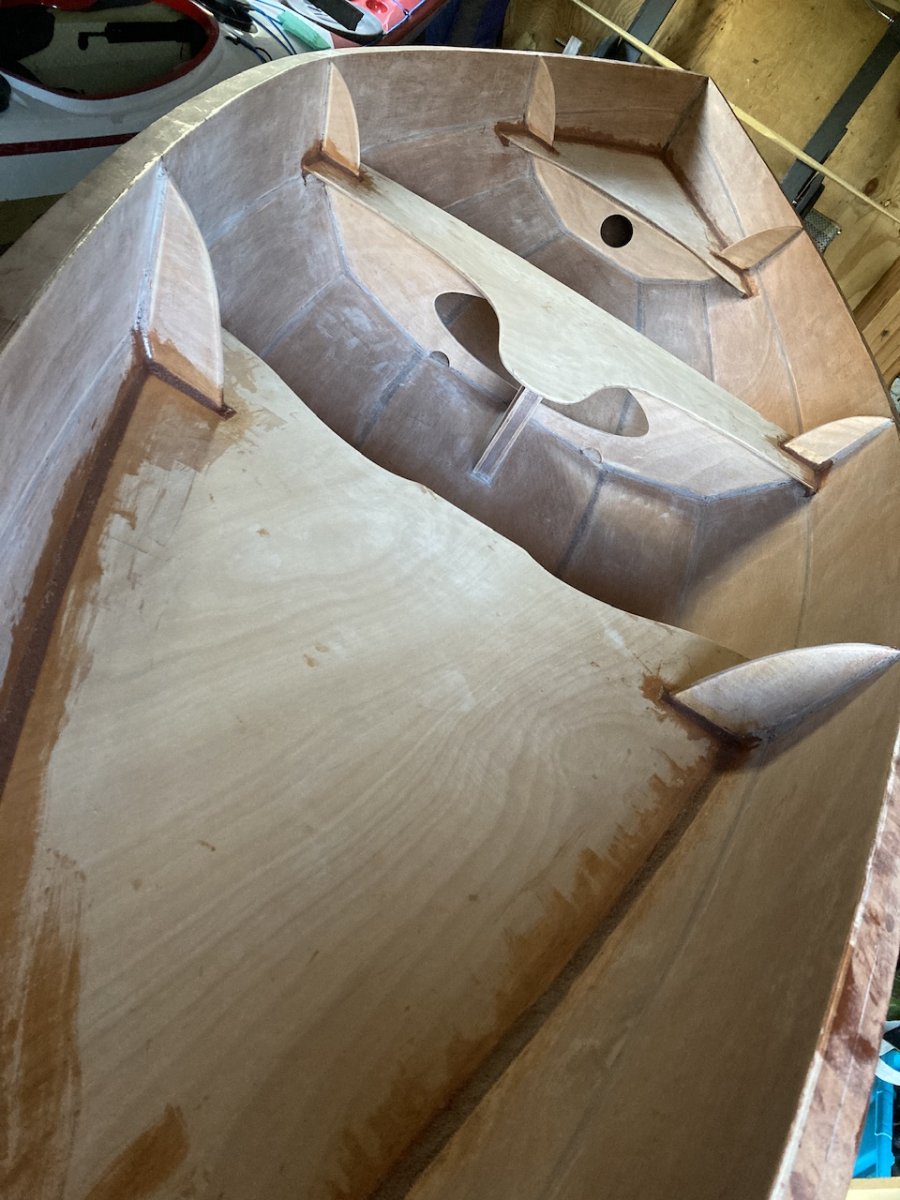
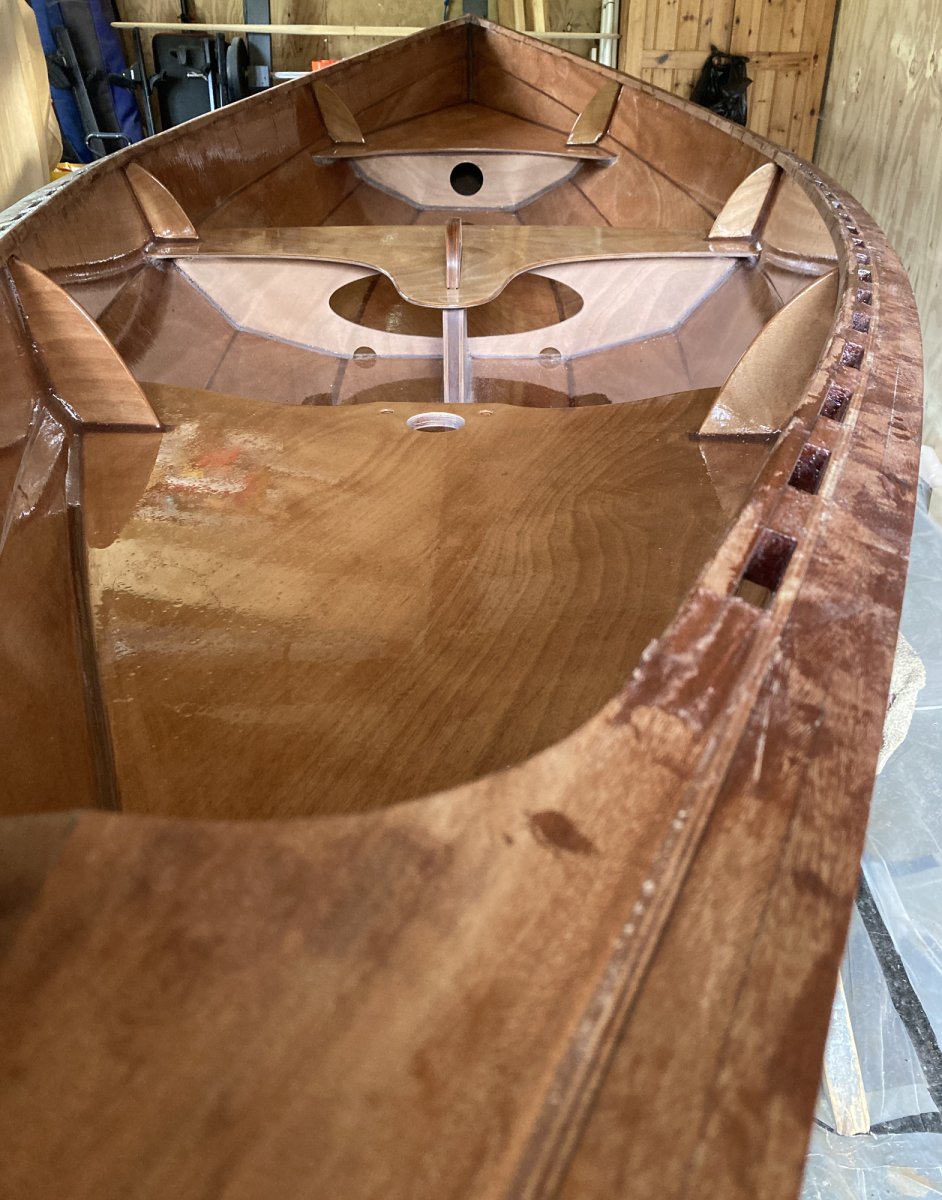
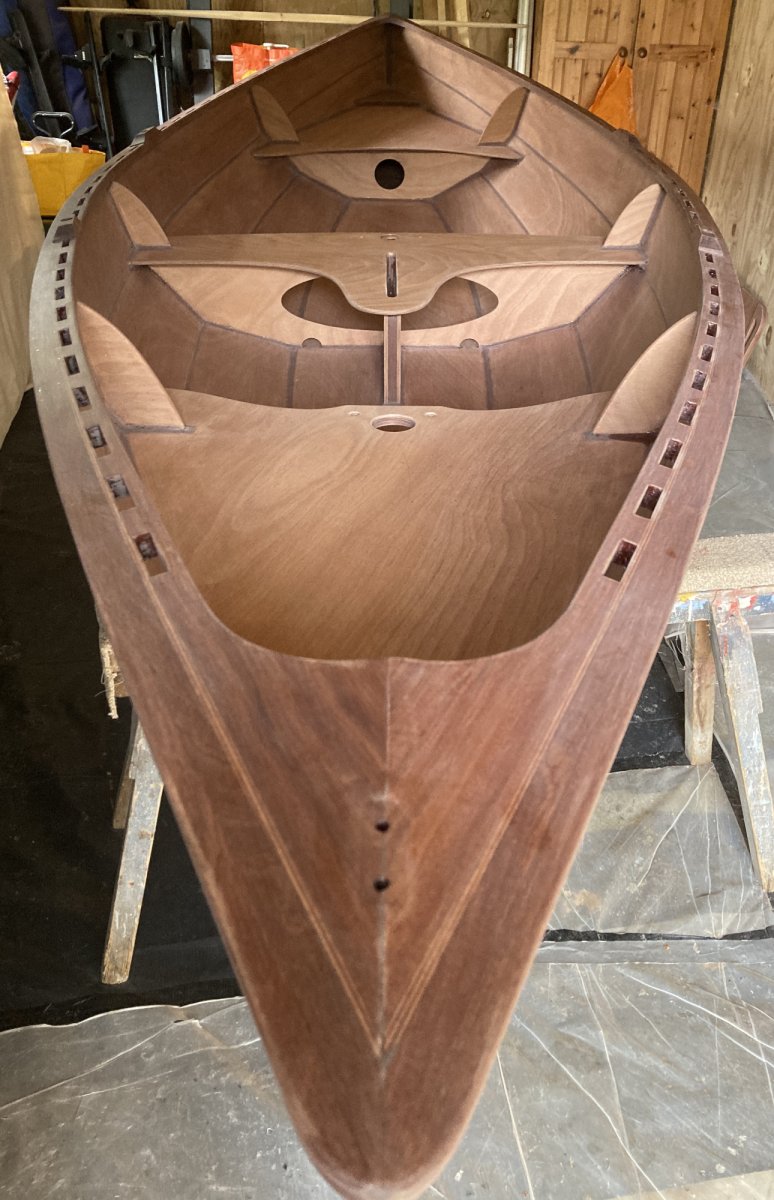
If that wasn't enough work, I have now also put two final coats of epoxy on the entire interior. It should have been done a long time ago, but after all the problems I have been putting it off. Tomorrow I plan to do the same to the exterior.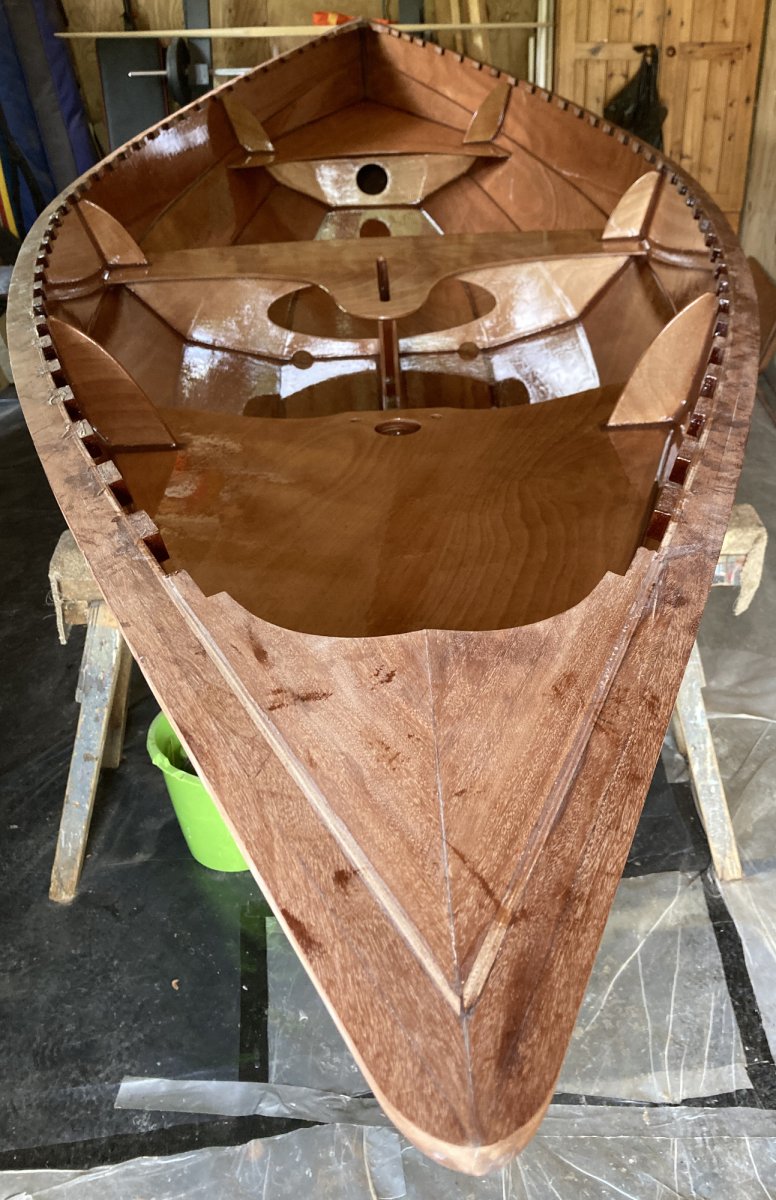
Those patches in the above are just reflections, not areas I've missed with the epoxy!
Last edited by Rob (28 Jun 2024 5:44 pm)
Offline
#45 3 Jul 2024 4:25 pm
- Rob
- Member
- From: England
- Registered: 29 Jun 2021
- Posts: 66
Re: Skerry built from plans (build log)
I've put a final coat of resin on the hull exterior, and the underside of the rails, and started sanding it in preparation for painting. Just two planks port and starboard to sand now, I'm doing a plank each side a day, sanding by hand with 120 grit and finishing with 220 grit. It looks a bit scratchy in the picture, but it's actually as smooth as a mermaid's arm. The underside of the rails, and the tops, will be rounded off once I've installed the inner rail, which I hope to get done at the weekend. 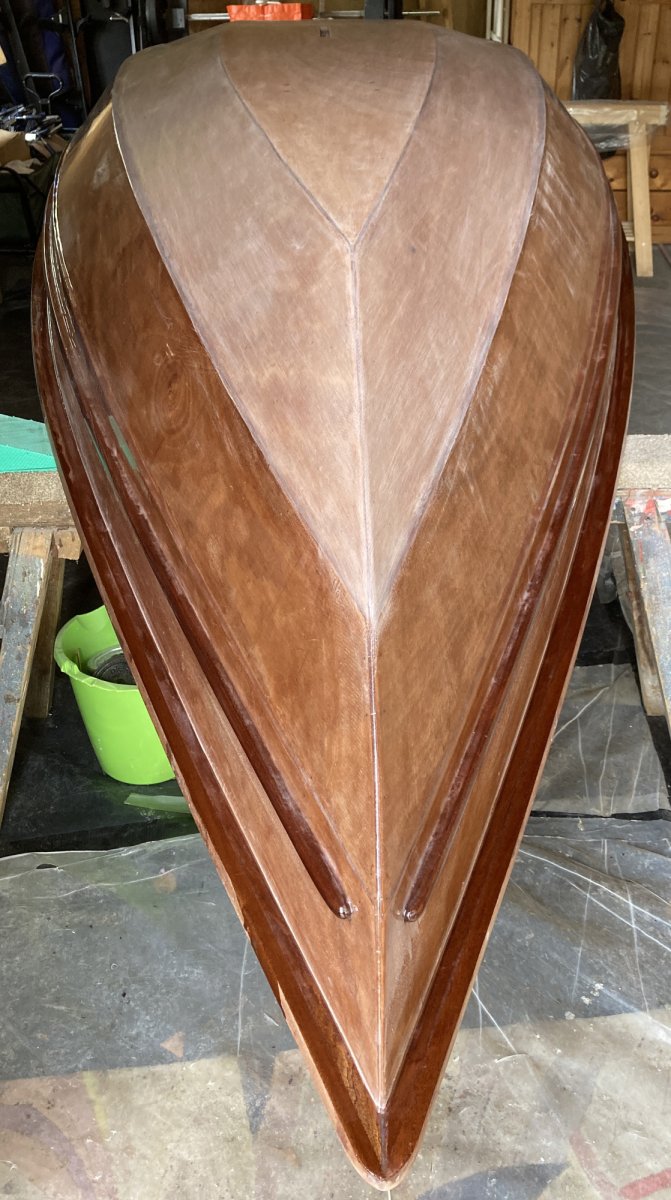
Last edited by Rob (3 Jul 2024 4:26 pm)
Offline
#46 10 Jul 2024 1:41 pm
- Rob
- Member
- From: England
- Registered: 29 Jun 2021
- Posts: 66
Re: Skerry built from plans (build log)
The exterior of the hull has now been sanded in preparation for paint, and I've sanded the lower bulkheads and daggerboard trunk on the inside too, but I still need to sand the remainder of the interior. The inner rails have been glued, and I added some more dowels going through the spacers into the exterior rails, as I had the oak to do it. So most of the blocks on the bow and stern sections have a dowel now, then every other block on the remainder. Probably unnecessary really, but it gives me extra peace of mind. There is lots of cleaning up to do on the inner rails, after which it will be sanding the interior. I do need to give the rudder a sand and a final coat of epoxy too, which I think I will do when I coat the rails. I can't remember how many coats I put on the daggerboard, but I think it must have had two, which will do.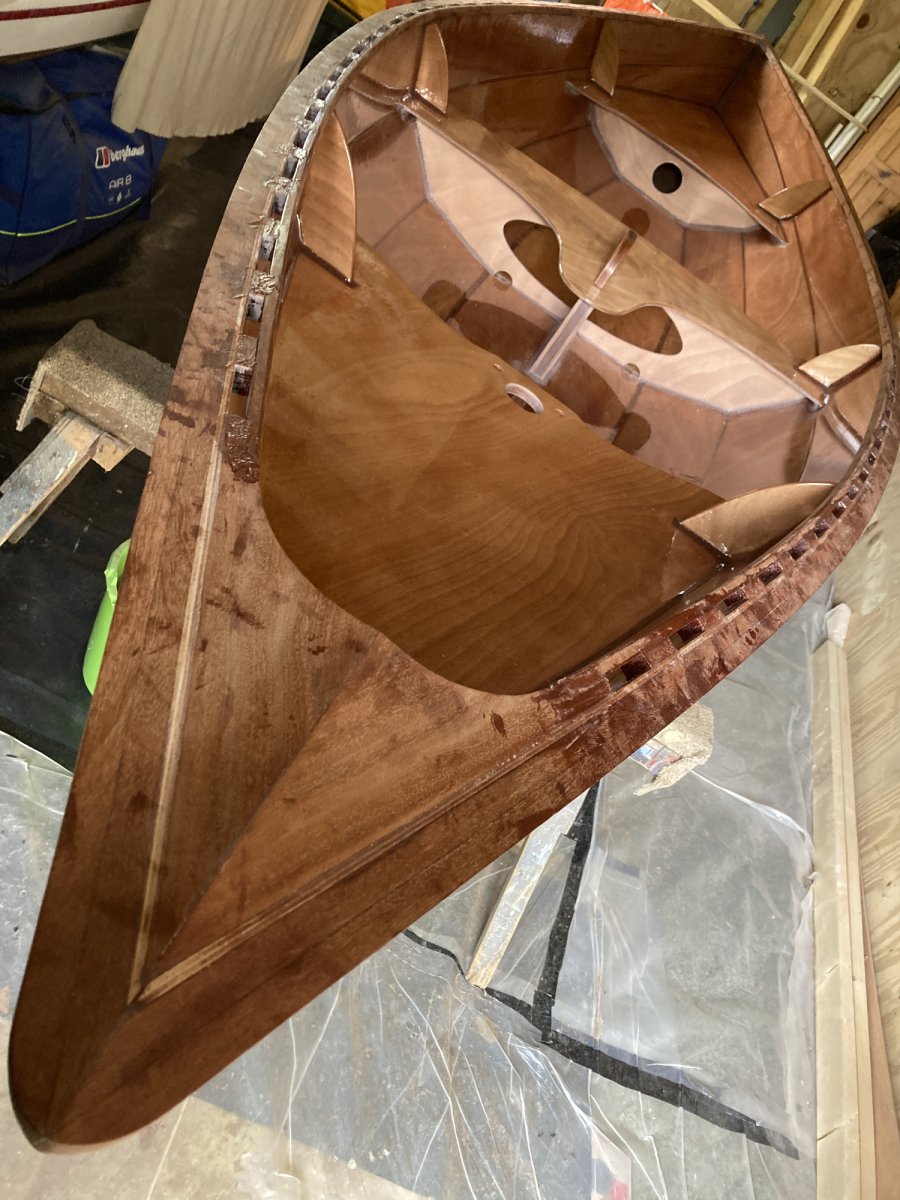
Offline
#47 15 Jul 2024 4:41 pm
- Rob
- Member
- From: England
- Registered: 29 Jun 2021
- Posts: 66
Re: Skerry built from plans (build log)
I’ve cleaned up the rails now, they just need a bit more rounding off to even them up a bit, then a final sand and clean up on the insides. I will then attach the rowlock riser blocks, then a couple of coats of epoxy, and it's on to sanding those and the inside in preparation for varnishing.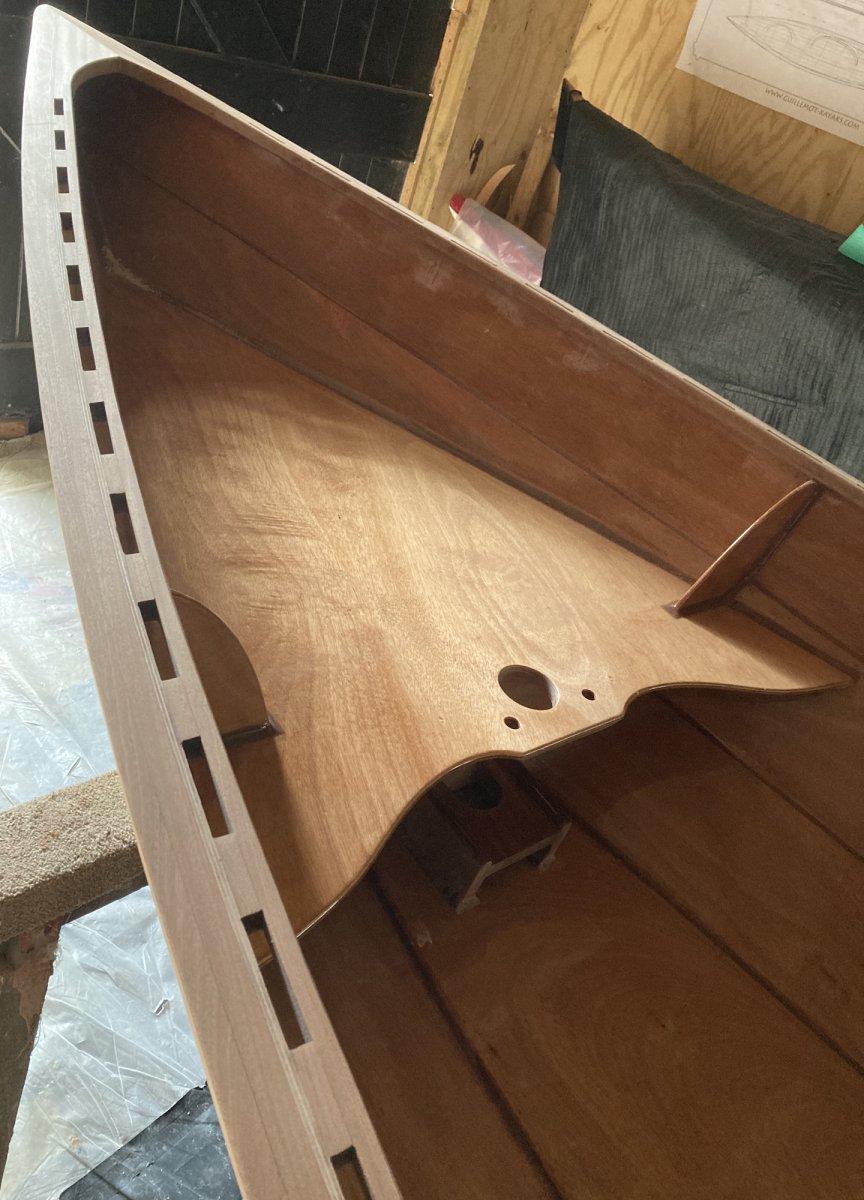
Offline
#48 19 Jul 2024 4:54 pm
- Rob
- Member
- From: England
- Registered: 29 Jun 2021
- Posts: 66
Re: Skerry built from plans (build log)
I managed to get a first coat of epoxy on the rails this afternoon, and I'm very pleased with how it is starting to look now.
Last edited by Rob (19 Jul 2024 4:54 pm)
Offline
#49 6 Aug 2024 3:10 pm
- Rob
- Member
- From: England
- Registered: 29 Jun 2021
- Posts: 66
Re: Skerry built from plans (build log)
Over the last couple of weeks I have been sanding the boat ready for paint and varnish, which is now all done save for a couple of little jobs.
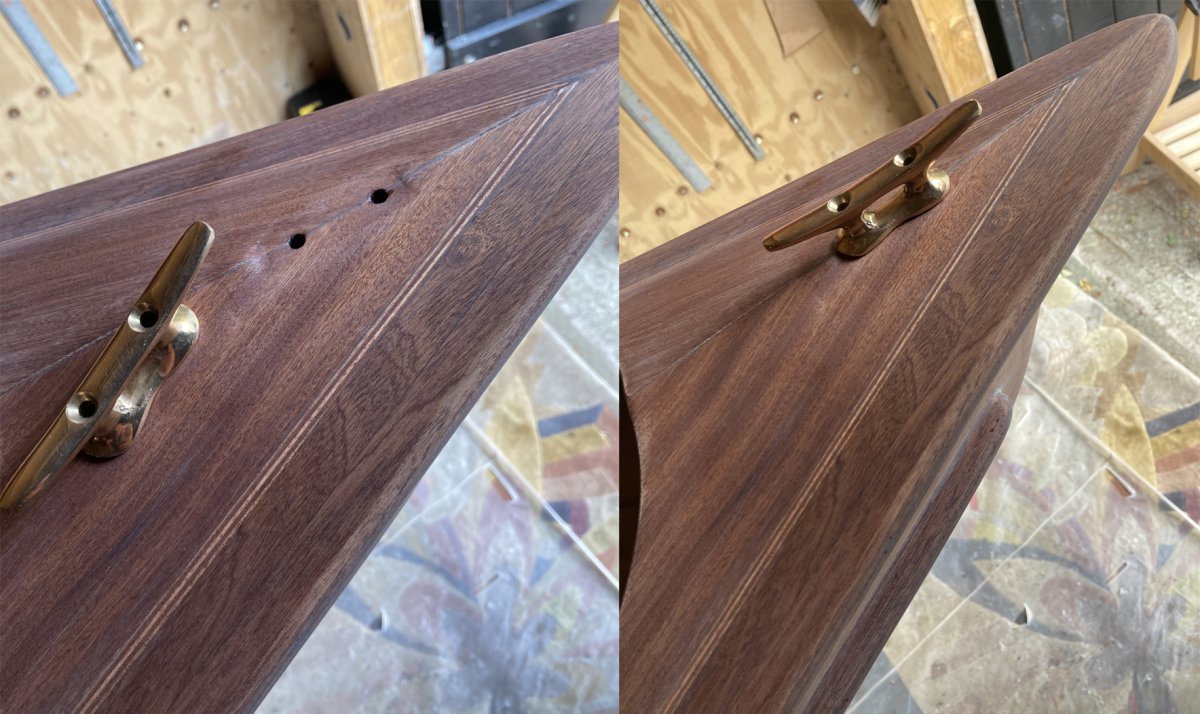
I have added a piece of sapele on the stern seat onto which I will screw a bronze flag socket for the ensign, which has just had a final coat of epoxy. I am also fitting the inset for an oar-clamp socket, and am using the circular cut-out from the sapele mast-step I made to go under the seat to thicken the seat so the screws will go in deeply enough. That has been drilled, rounded off and given a coat of epoxy, and will get a second coat before it's glued in place. Another job done was to slightly flatten and drill holes in the area on the breasthooks where the bronze cleats will go.
I have started to gradually get the bronze bits I need, but still need to get another pair of top sockets for the rowlock riser blocks, another large cleat, two pairs of rowlocks, flag socket and the oar clamp...I think that's it!
The stern section piece for the flag mount.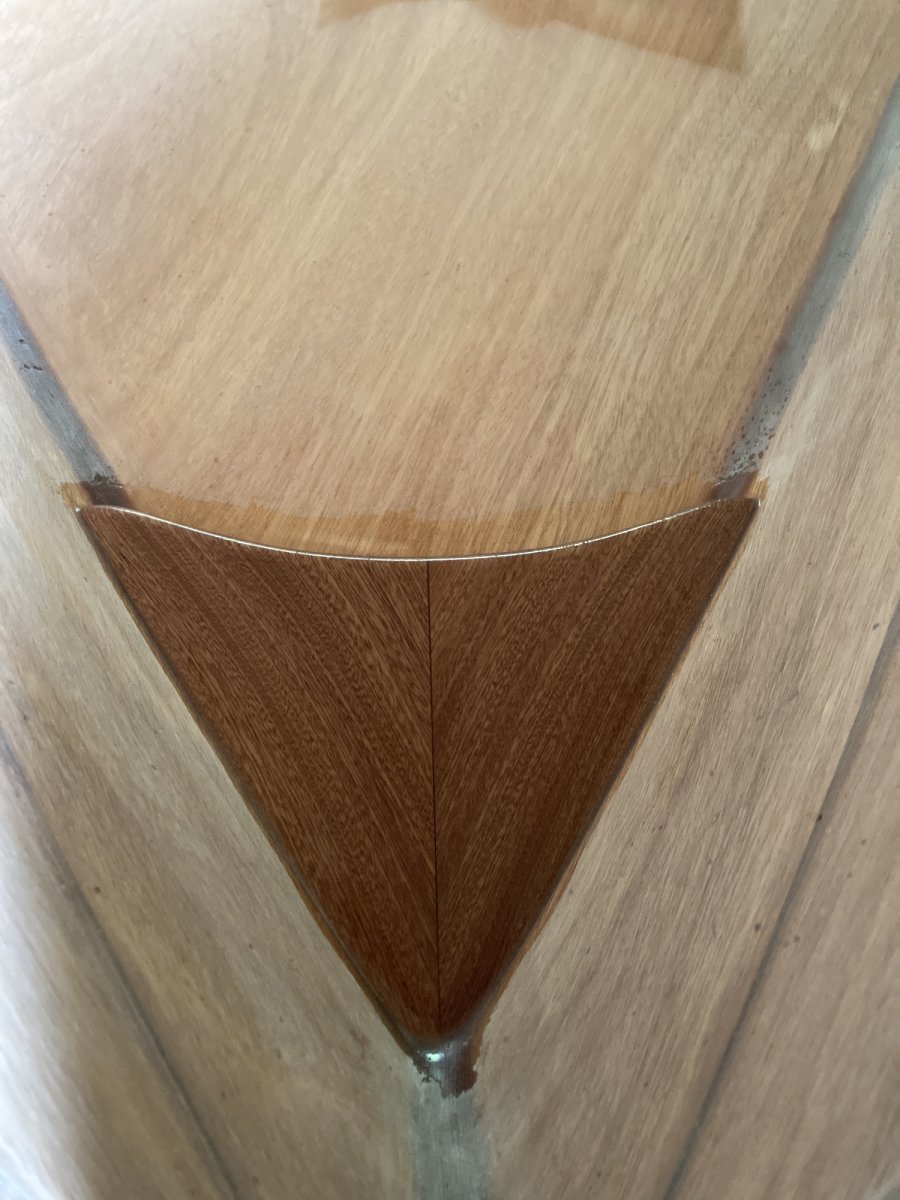
The cut out for the oar-clamp.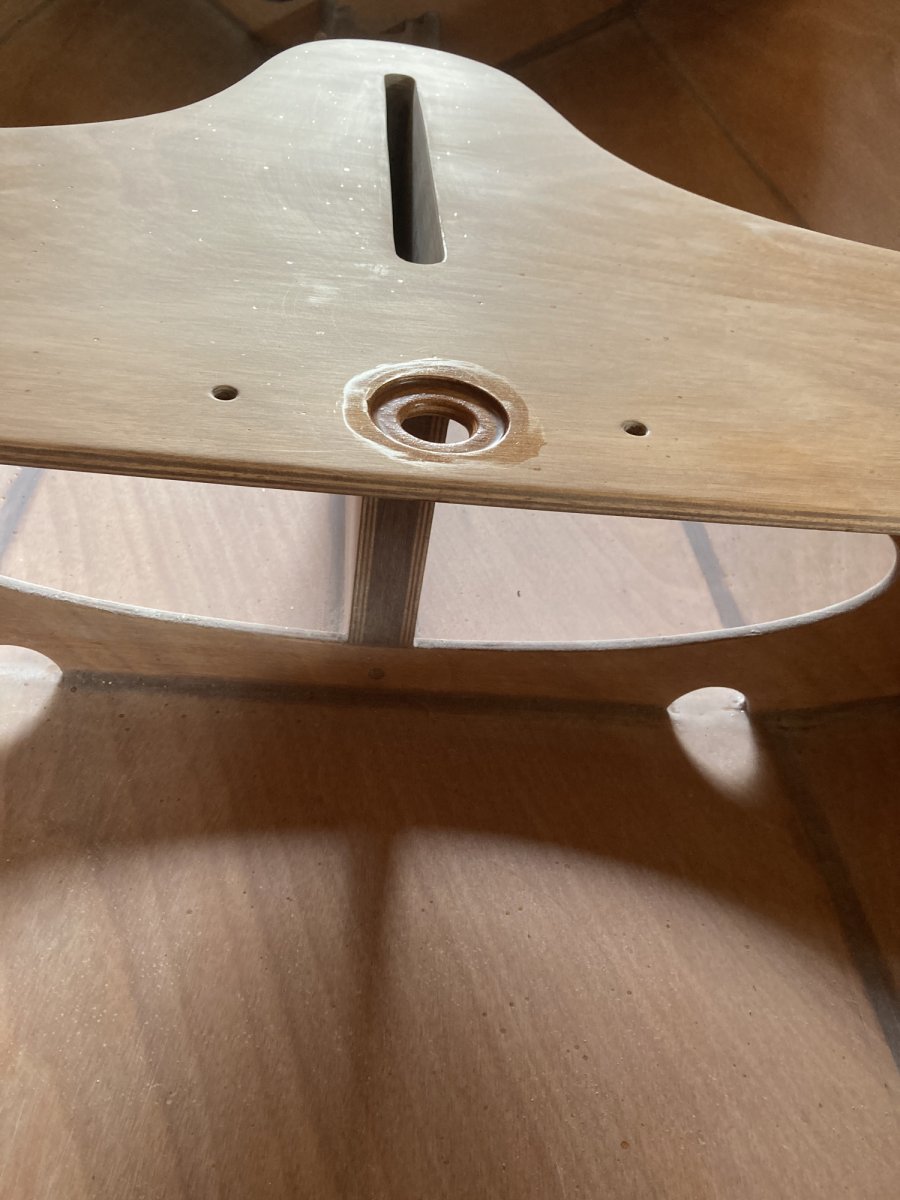
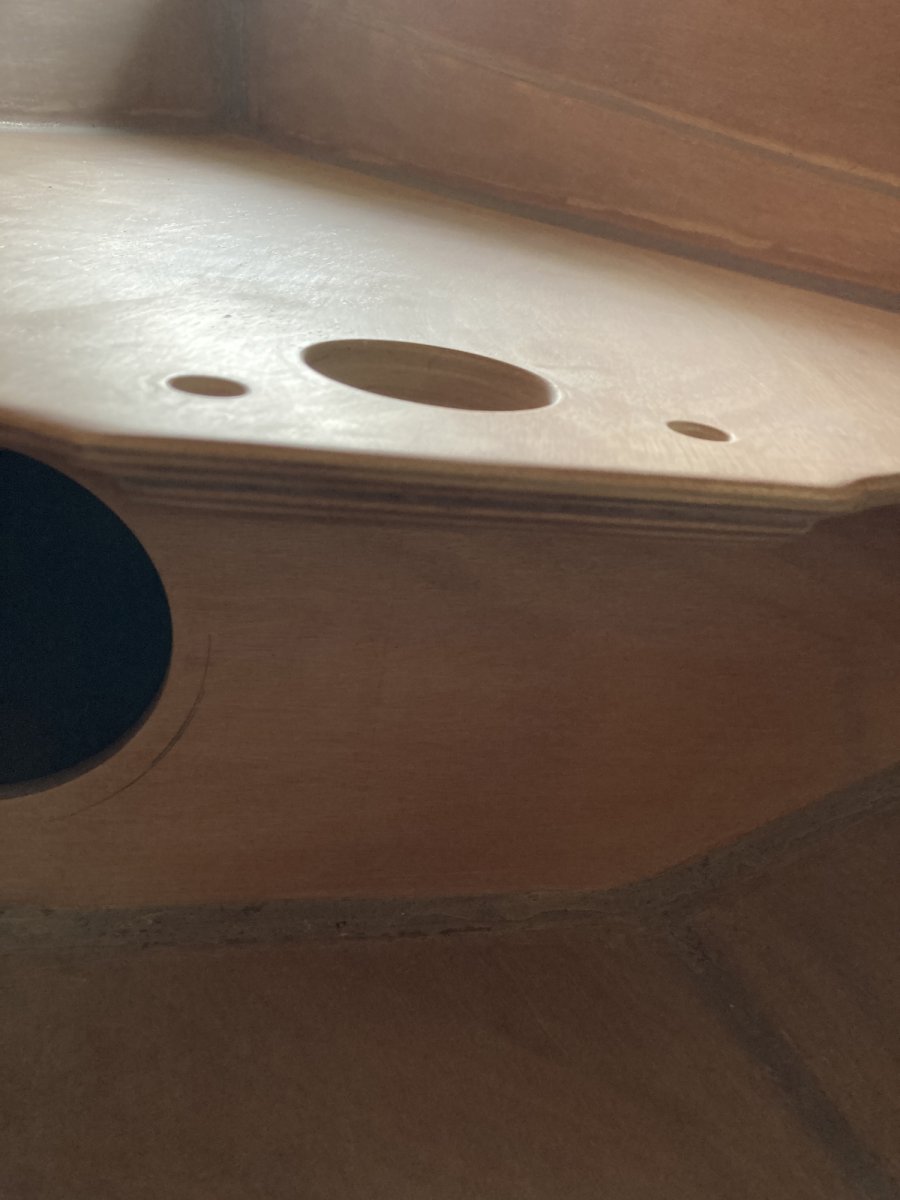
The piece that will go under the seat below the oar-clamp. I could have added another piece of ply, like the piece under the mast hole, which was my initial plan, but as I had this circular piece as an off-cut, which was the perfect size, I thought it would look quite nice instead.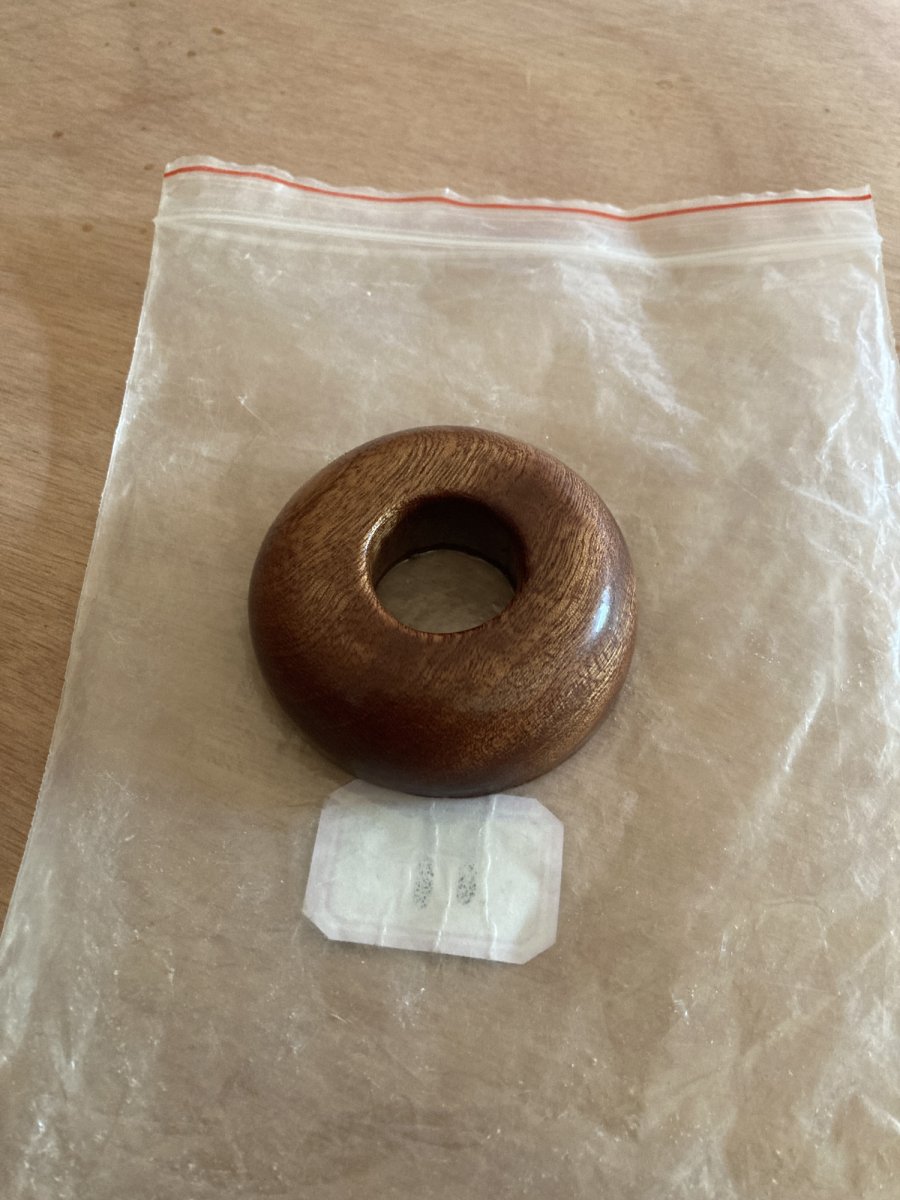
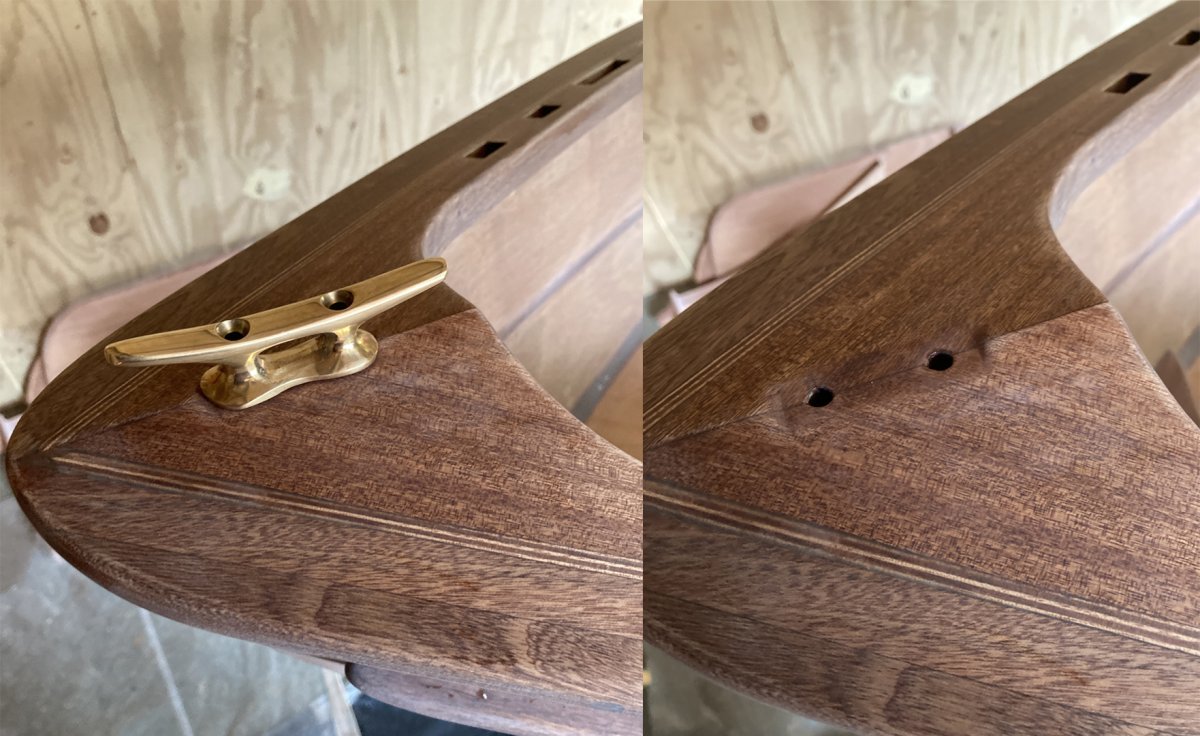
The large cleat (4 inches) will go on the bow, and I need another for the stern. A larger one would be more practical perhaps, but doesn’t look quite right, this is as big as I would want to go really; the small cleat (2.5 inches) will go on the mast to tie off the burgee halyard. I might make the mast a foot longer to allow for a burgee if the mast would still fit in the boat for storage, or I might make a removable pig stick, I haven't decided yet; the oar-clamp socket; a pair of top sockets for the rowlocks riser blocks. 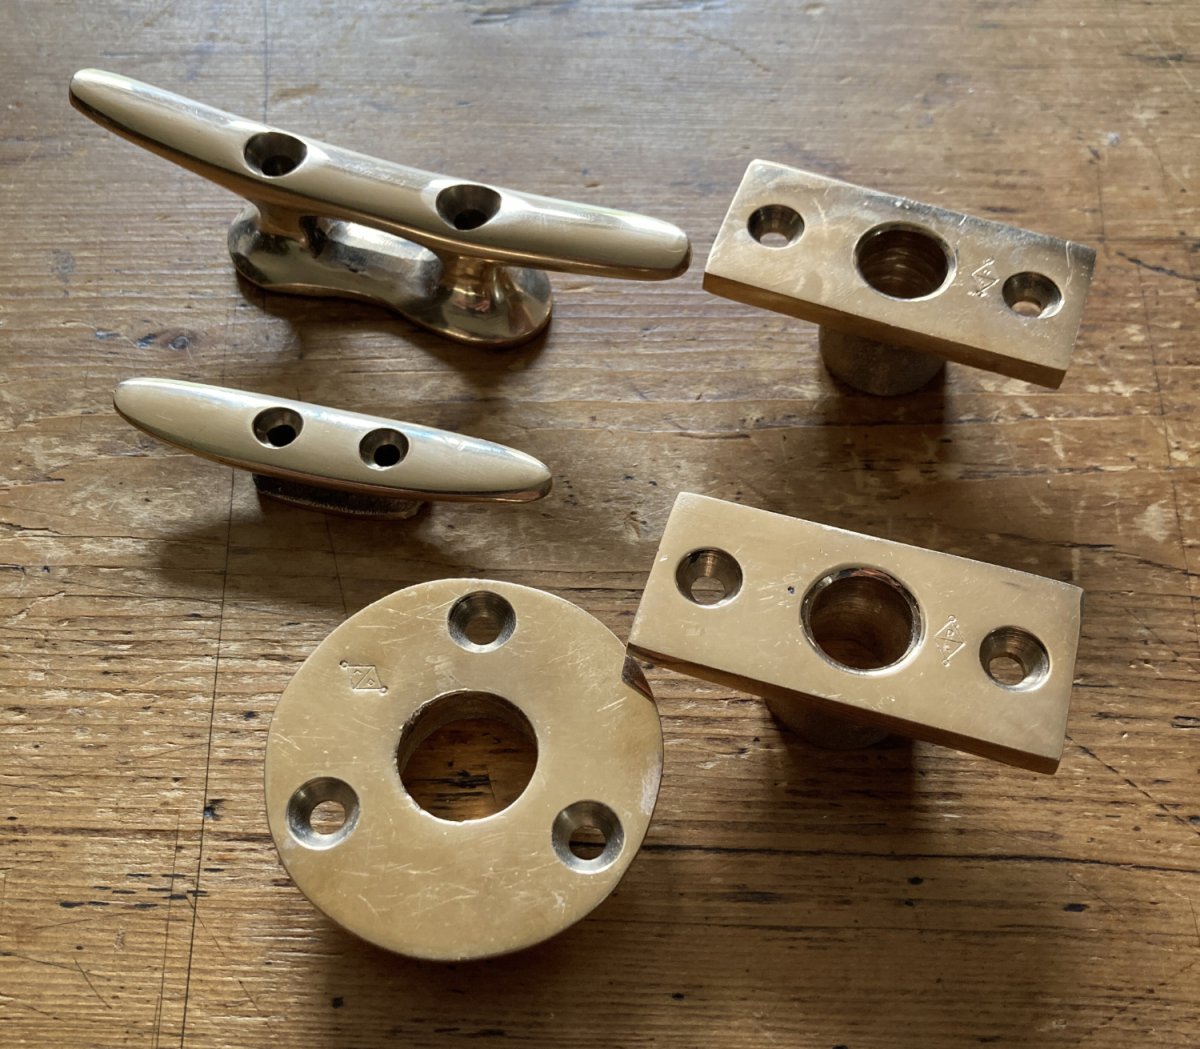
Last edited by Rob (7 Aug 2024 10:30 am)
Offline
#50 12 Aug 2024 1:29 pm
- Rob
- Member
- From: England
- Registered: 29 Jun 2021
- Posts: 66
Re: Skerry built from plans (build log)
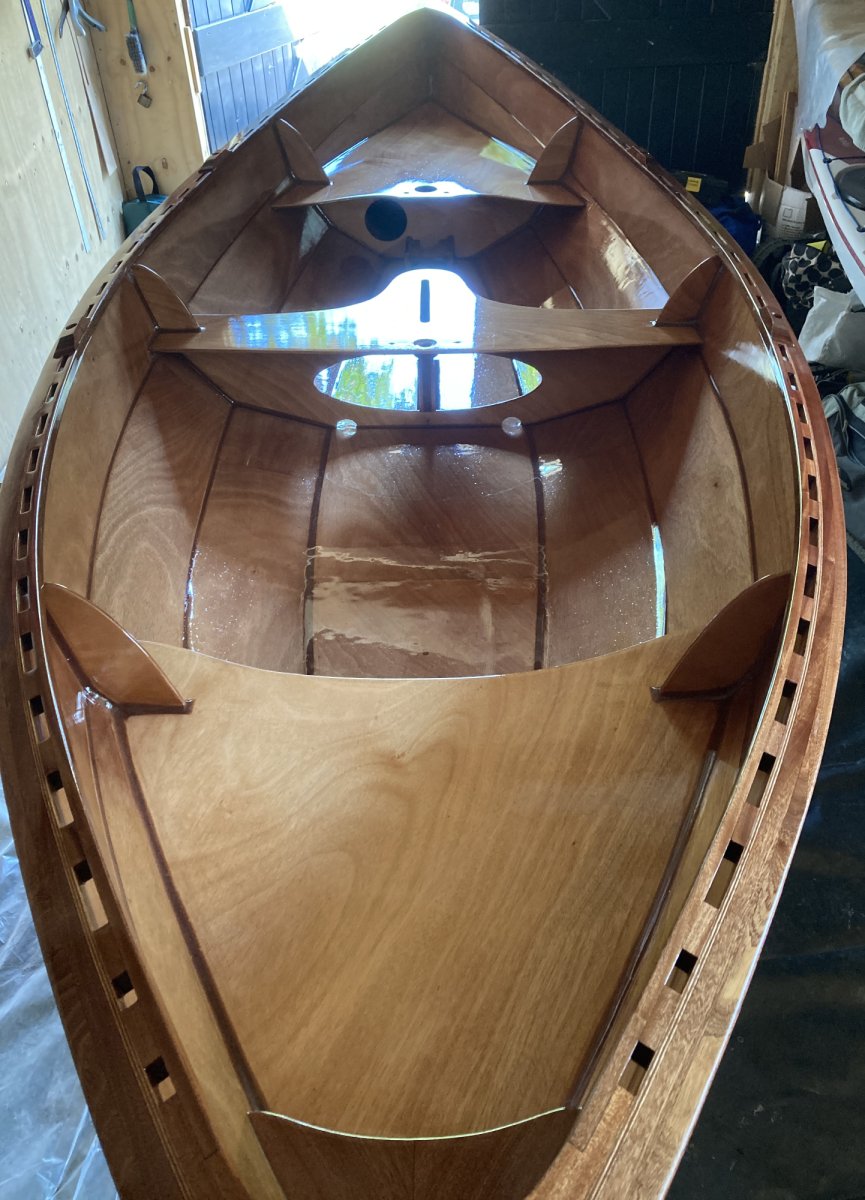
Moving forward very well now. Socket for the oar-clamp is completed and the underside in place. I have drilled the holes for the pillar cleats fore and aft, and generally fiddled about here and there where required in preparation for varnish. I hoovered it several times and then wiped it down with a damp rag to clean it up.
I kept changing my mind on the varnish, but finally decided to go with International's Compass Varnish, as I wanted to have a varnish with a slight bit of colour tint to pull the interior together nicely, but won't bother going over it with a satin as I had previously planned, I am happy with a gloss finish. The entire interior and rails have all now had their first coat of the varnish, and it's looking rather nice! I will be ordering the paint from Fyne in due course.
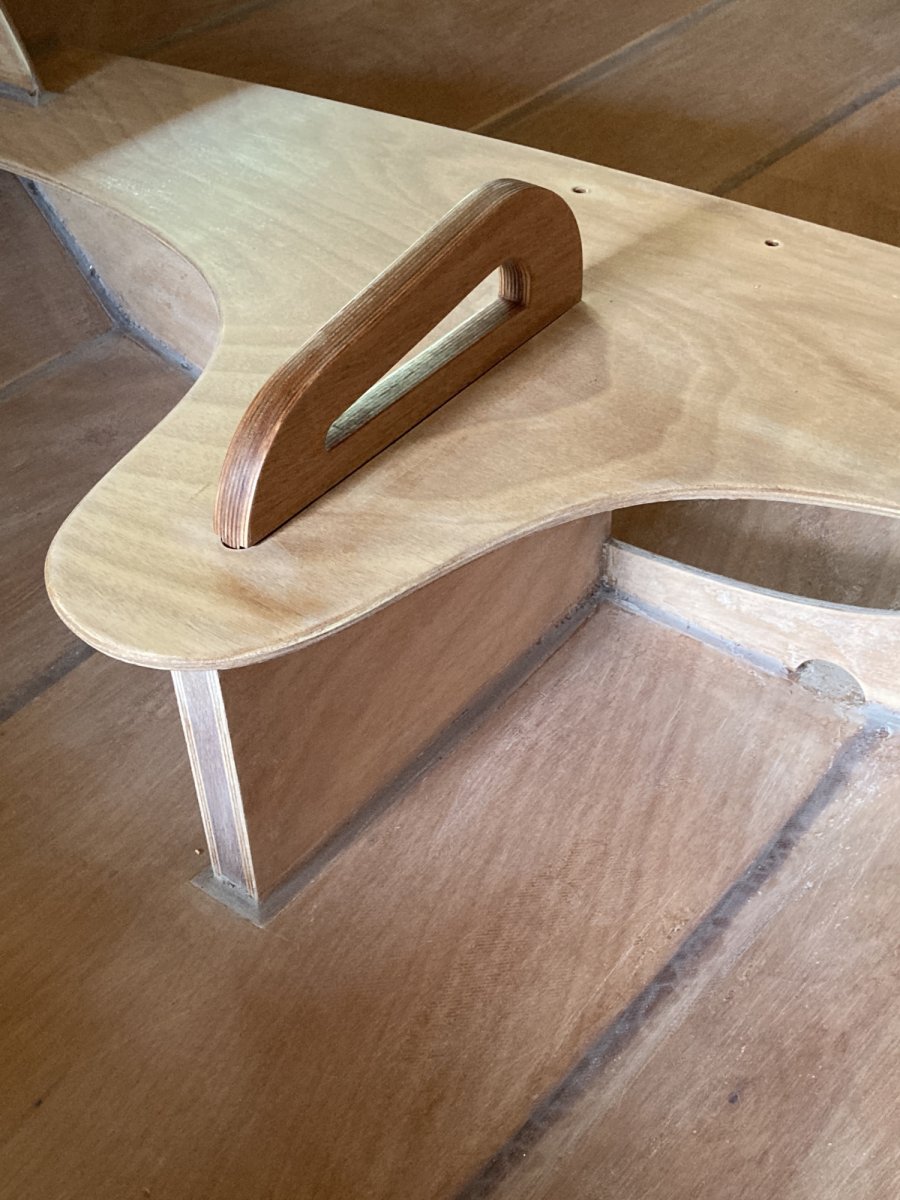
Testing the fit of the oar clamp socket.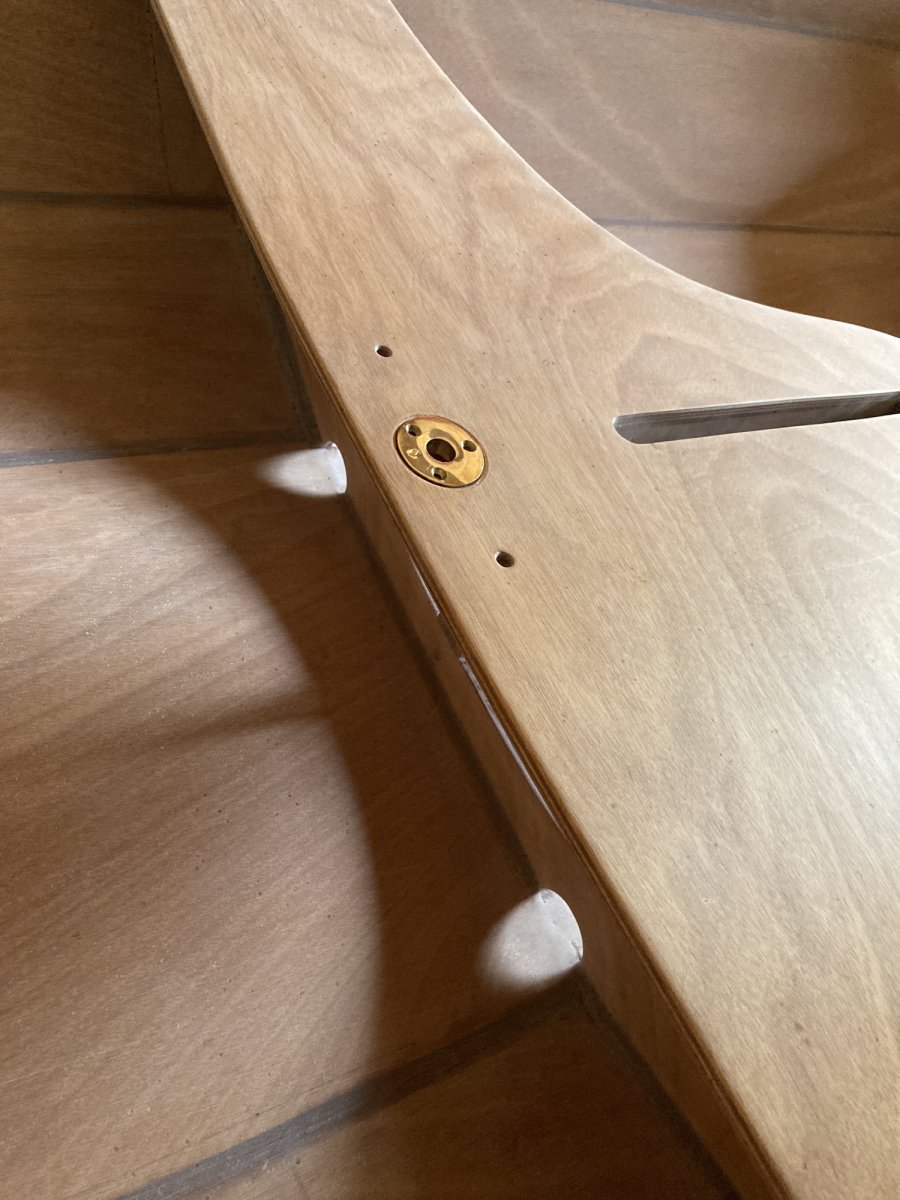
Socket and underside sapele thickener.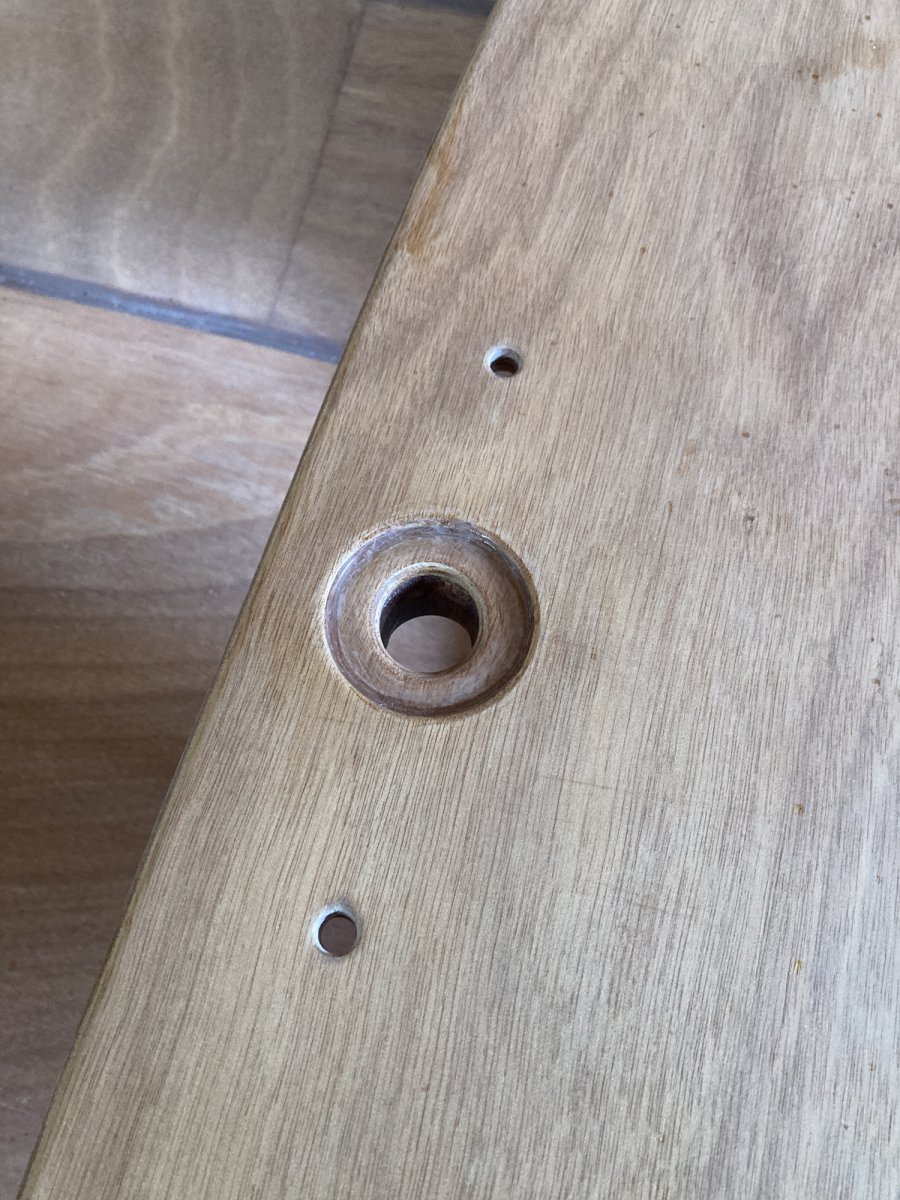
Drying off after being washed down with a damp rag to clean it for varnishing.
First coat of varnish!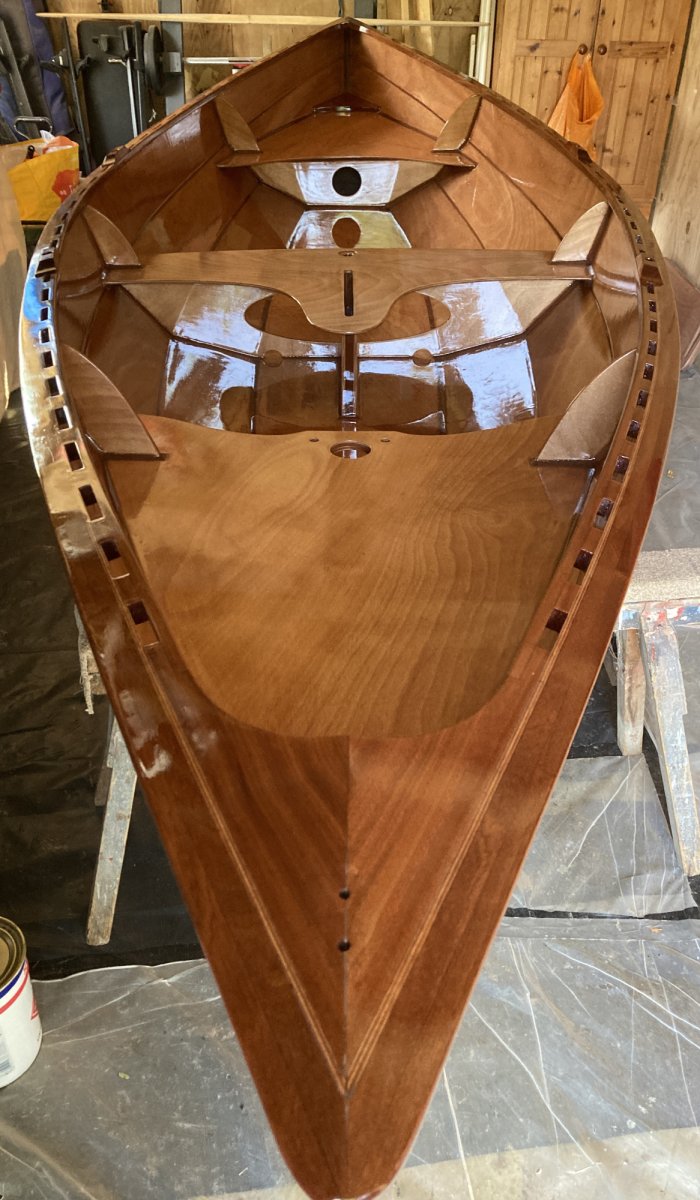
Offline