You are not logged in.
- Topics: Active | Unanswered
#26 30 Dec 2018 2:30 pm
- Jonathan
- Member

- From: Harwich Essex UK.
- Registered: 4 Sep 2018
- Posts: 32
Re: Ten years floating around in my head
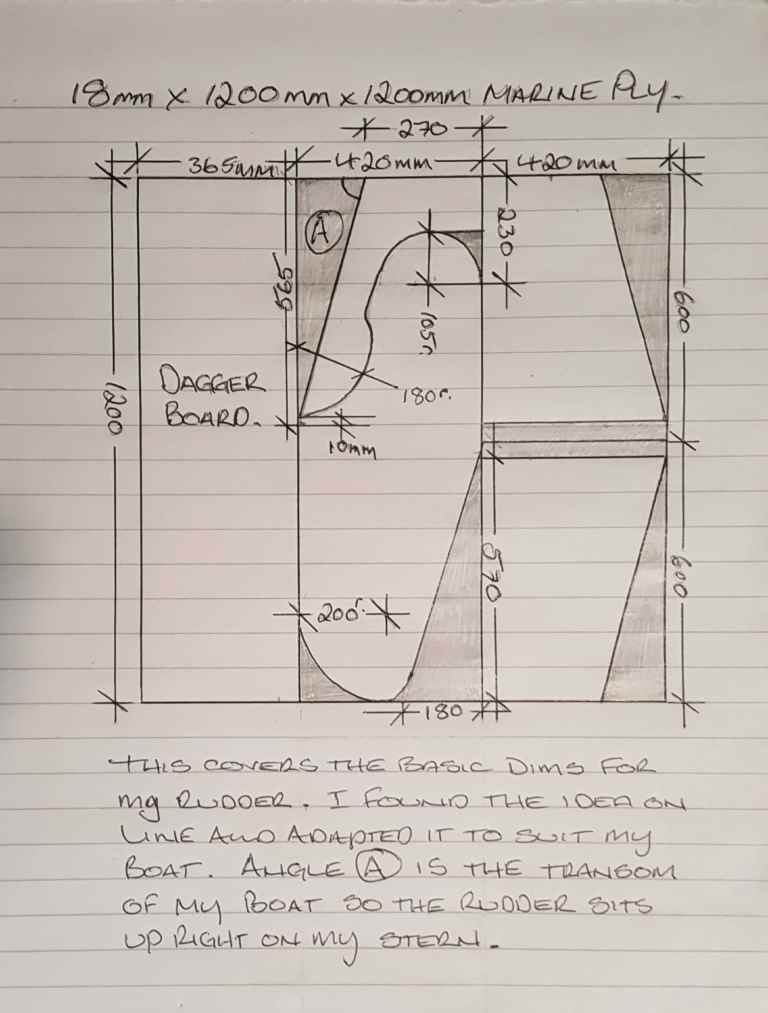
So I spent the Day yesterday working on my rudder. I had previously made a template very much like the one I found on the internet, but once I offered up my ironmongery I realised I needed to make a slight alteration to accommodate the lower Pintle.
I worked out I could make the rudder and the dagger board from half a sheet of 18mm marine ply and sketched up a simple plan should it be of interest to others.
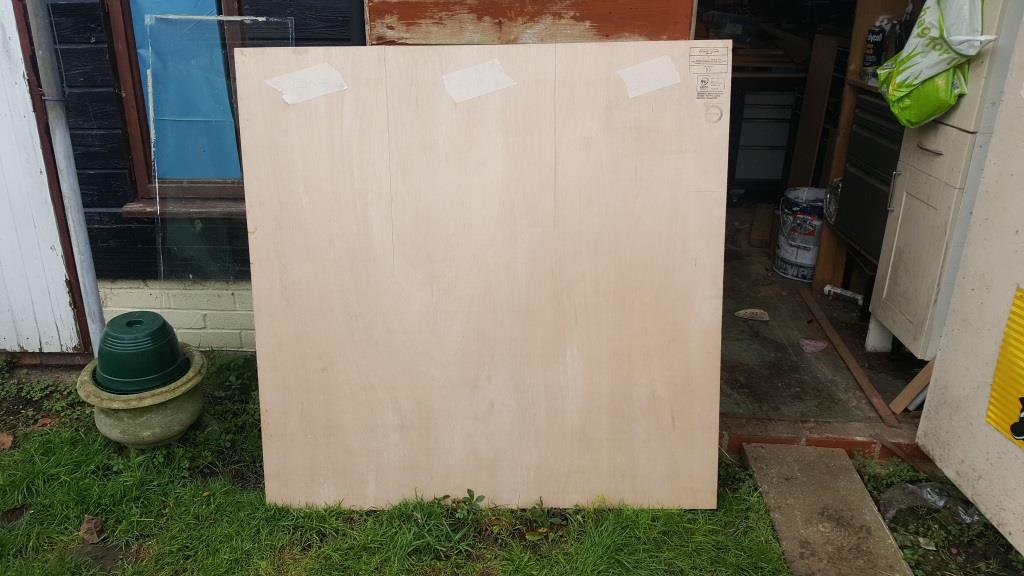
First I set out my sheet of ply ready to cut up
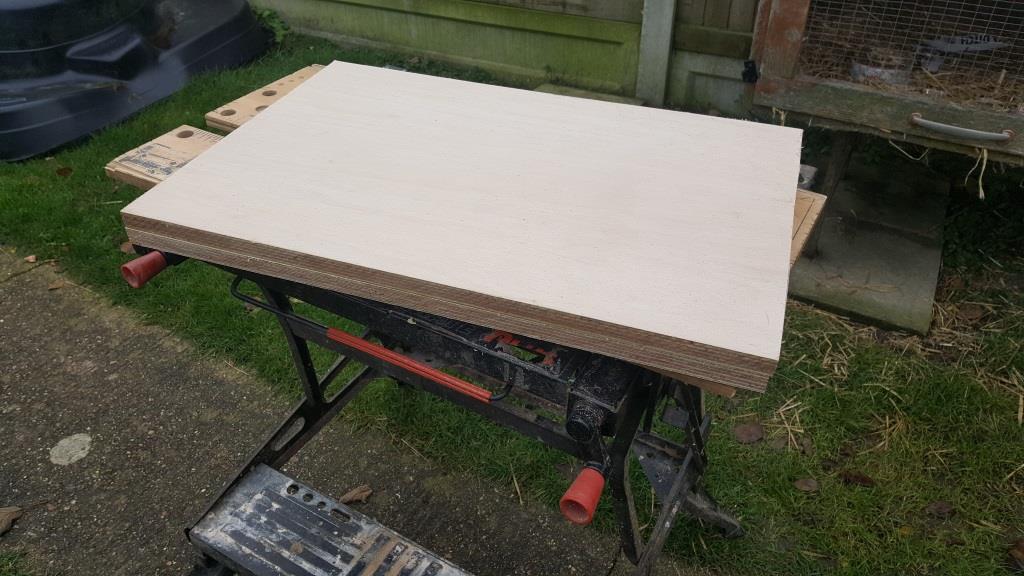
Next I took the two sides of the rudder and double sided sticky taped them together so both sides once cut were identical.
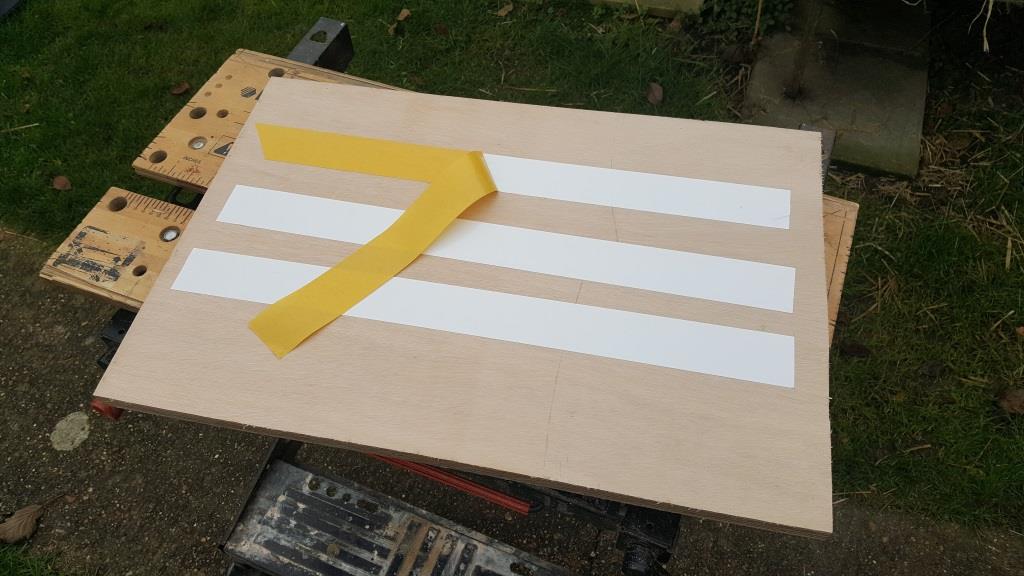
I would strongly advise you get a roll if you are going to do this type of thing as it gets a good grip, but will let go when you need it to without marking of damaging the surface of the ply.
I placed my template on the centreboard and marked round it.
There was a little wander from the jigsaw blade, so I taped the template on and ran my router round it with the edge trimming bit in.
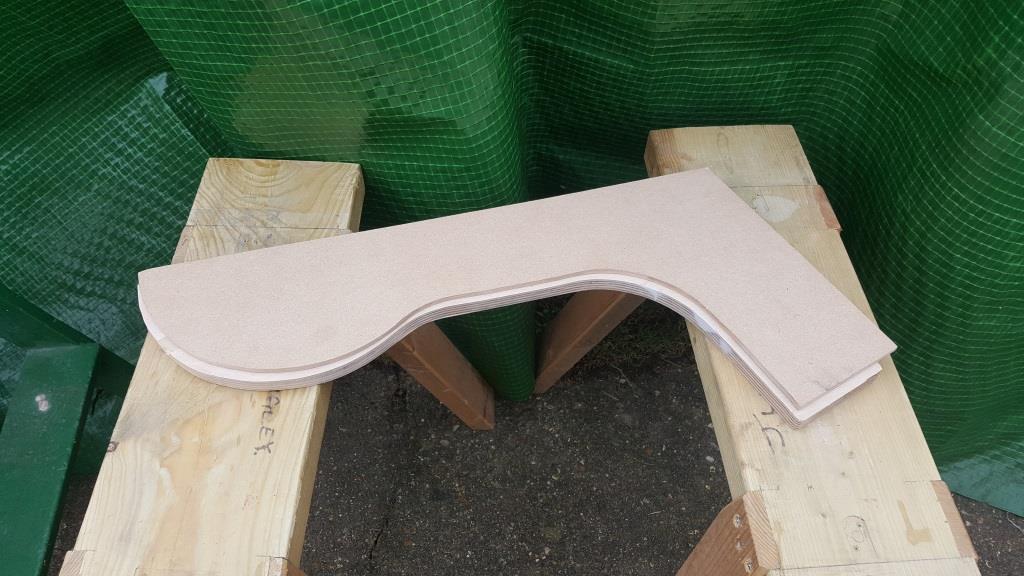
It didn't quite remove all the imperfection's so I had to use a small amount of two pack filler to get it right, although no one would have seen it as it would be on the inside of the rudder.
The blade also had a couple of imperfection's too.
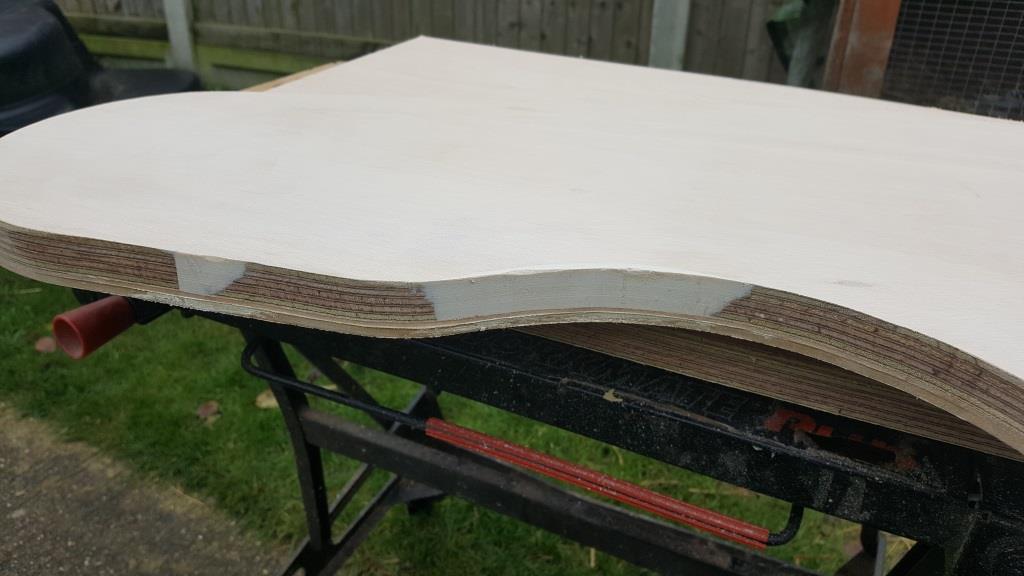
This ended up not being a problem, as during rounding off the edges the bit came out of the router and completely destroyed the blade. But all was not lost as I had the other half of the sheet of ply, and a template. so within 15 minutes I had made another one with no imperfections. All's well that ends well.
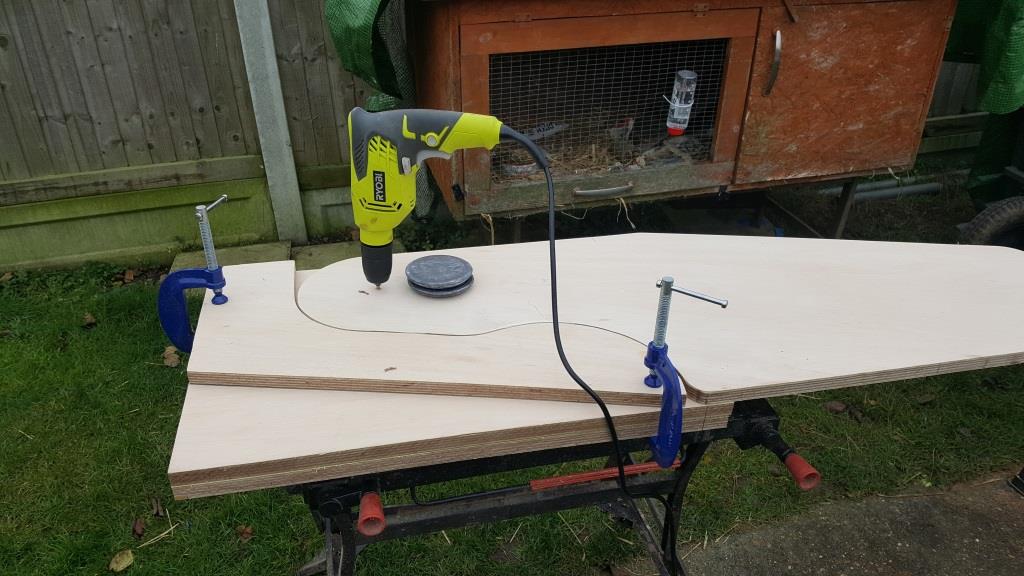
So New blade made I set it out on my workmate to establish the gap I would need to allow for epoxy and varnish.
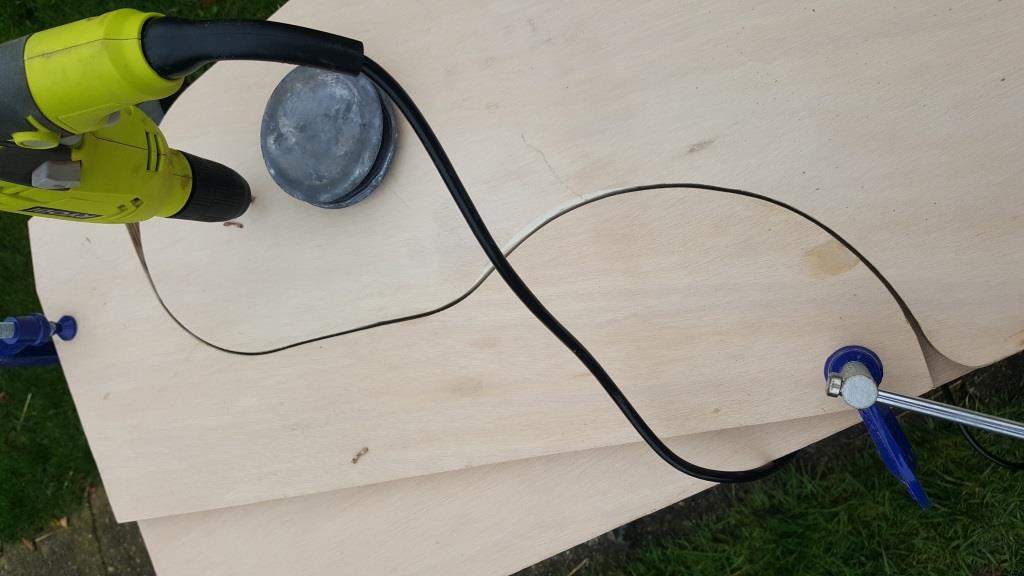
I also drilled my hole for the through bolt.
Next I assembled the rudder to make sure everything fitted and worked as it should.
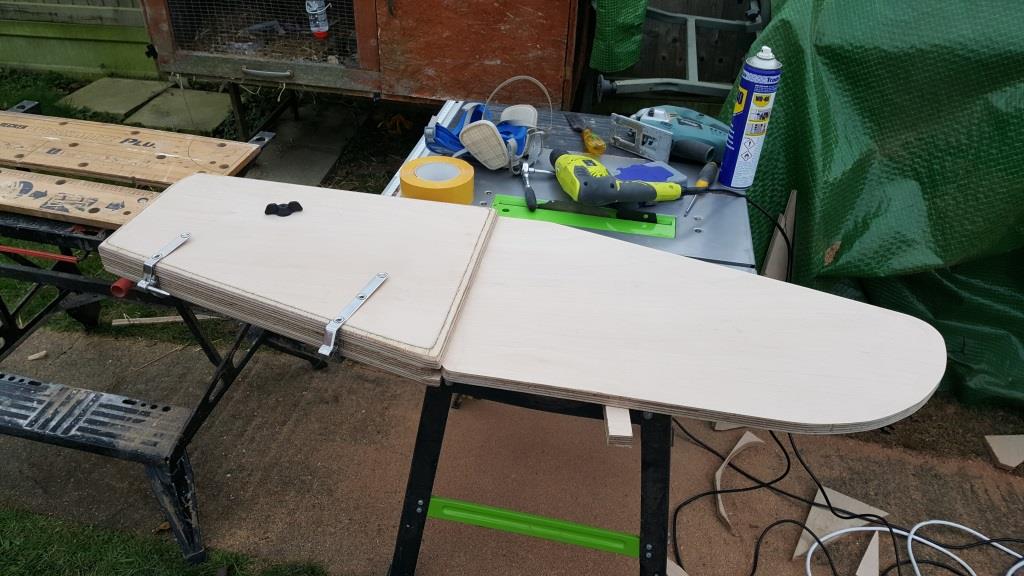
In both the down and up positions
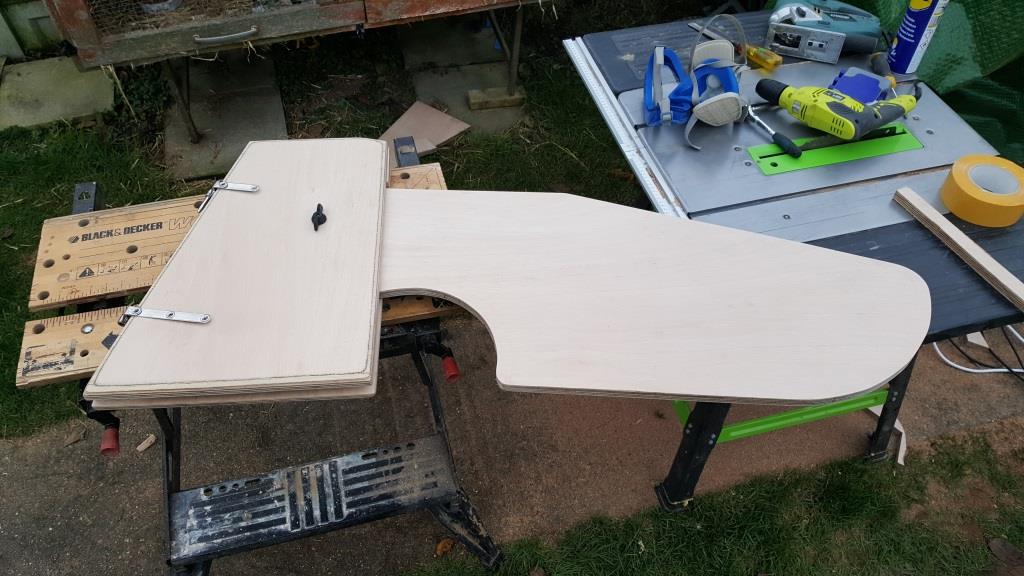
I still need to fair the edges of the rudder blade and give the whole thing a good sanding but the bones of the rudder are all in place.
I cant wait for the good weather to return so I can get back to the boat that is in hibernation at the moment by the garden fence.
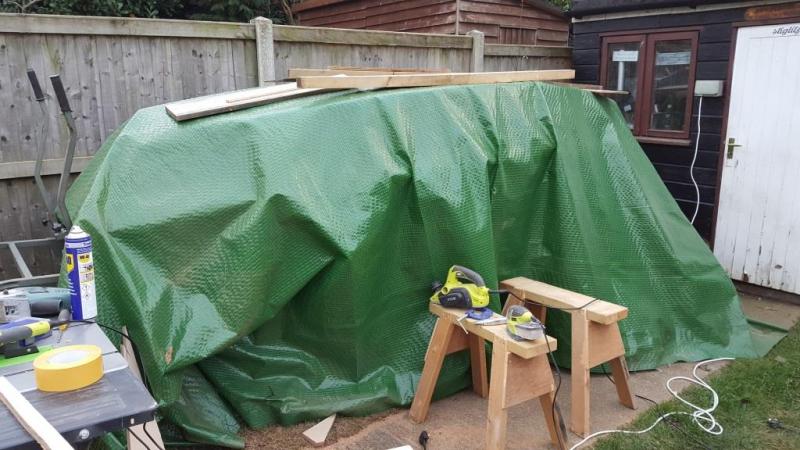
Never the less, I can still crack on with my dagger board so I still have a bit to keep me occupied during the winter months.
I hope that was informative and helped if you are thinking about doing something similar.
Bye for now and to all at Fyne Boats and the forum members
A happy and healthy 2019 to you all
Kind Regards
Jonathan.
Last edited by Jonathan (2 Jan 2019 2:16 pm)
Offline
#27 10 Jan 2019 3:53 pm
- Jonathan
- Member

- From: Harwich Essex UK.
- Registered: 4 Sep 2018
- Posts: 32
Re: Ten years floating around in my head
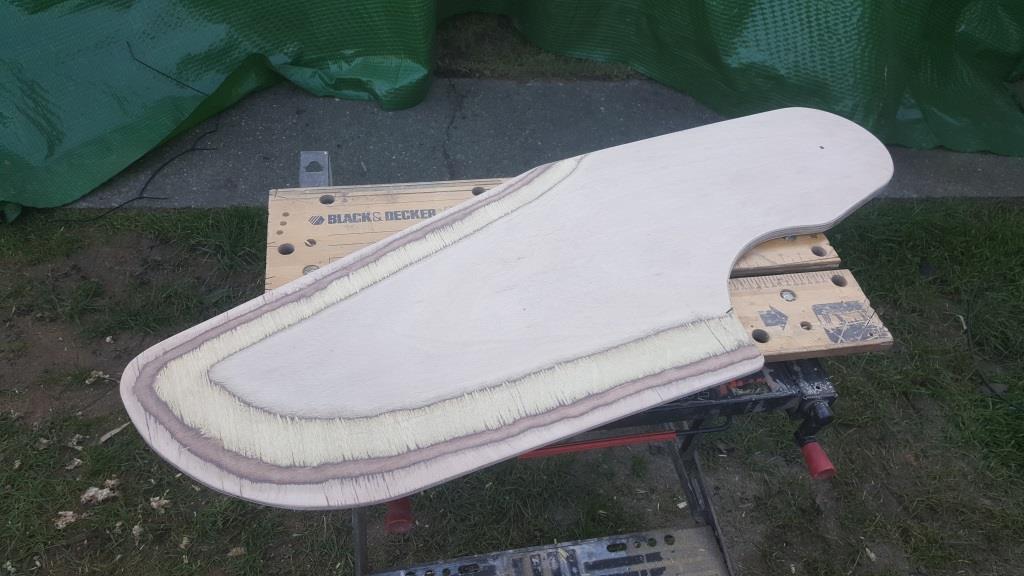
So, moving on, Ive done a bit more to the rudder profiling the blade with my belt sander and palm sander
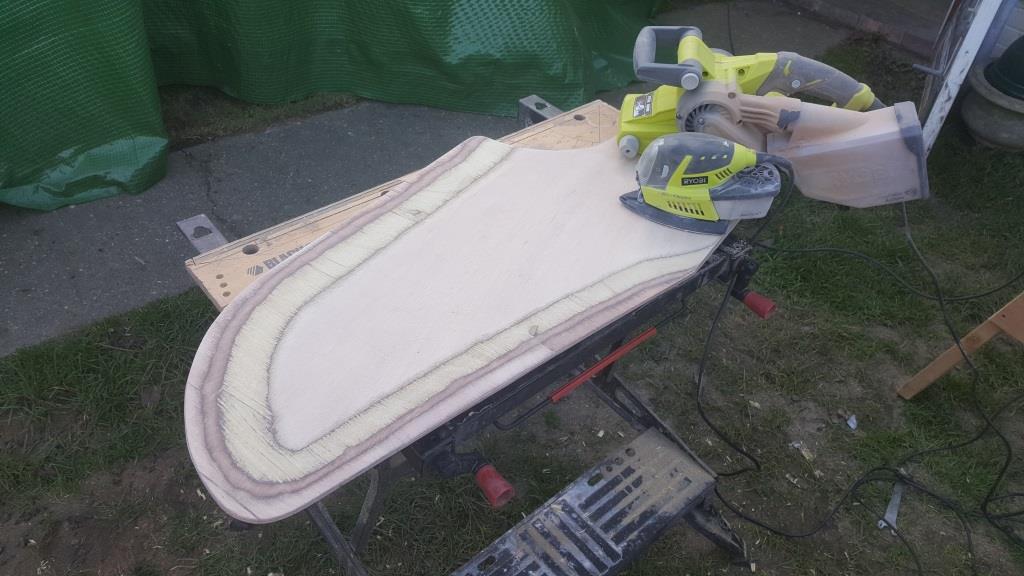
and so that done I started on the tiller.
First I glued up a small block to make a swell on the hand end of the tiller
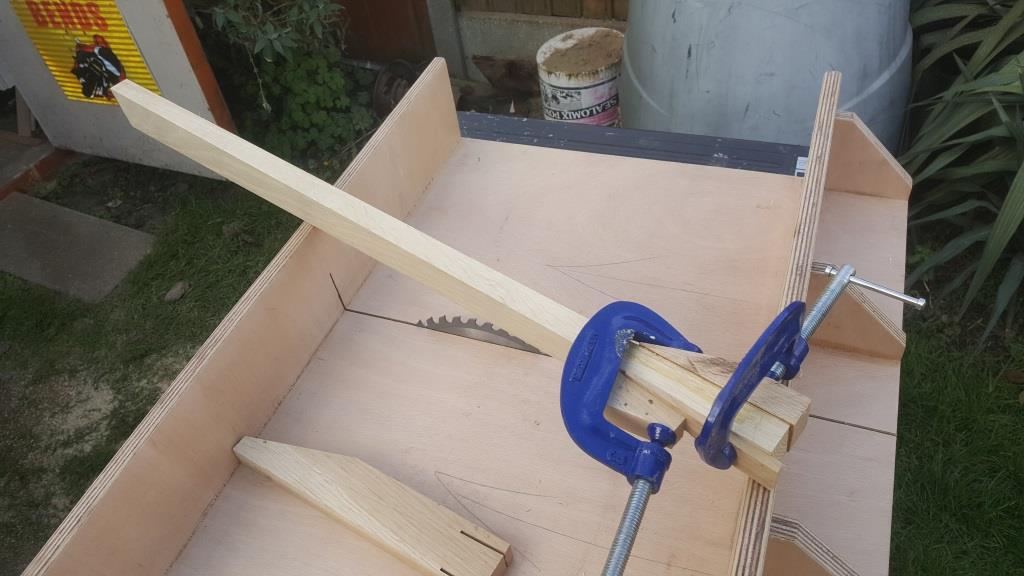
The next day I removed it from the clamps and did a rough sketch on the end of the shape I wanted.
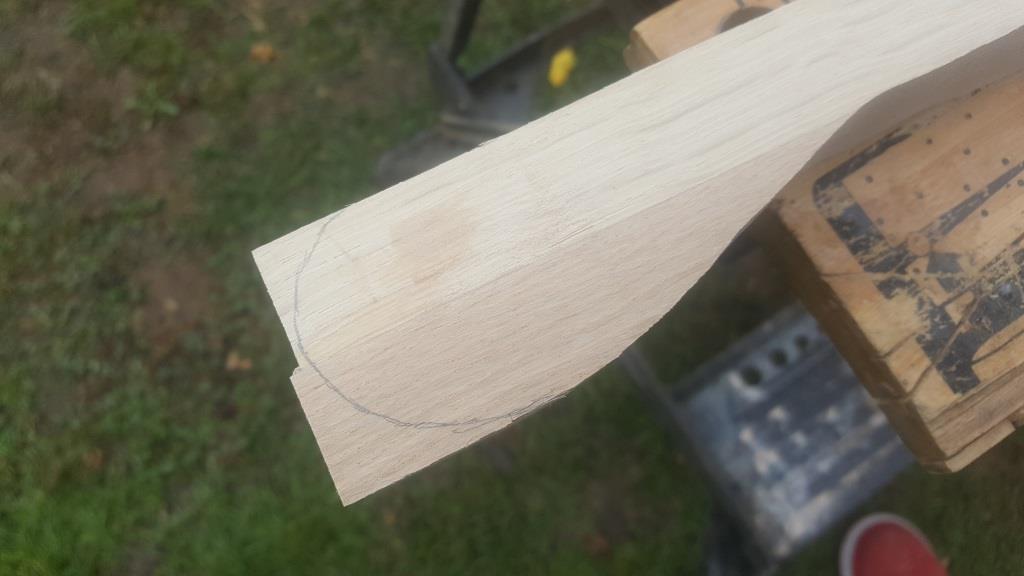
Then mounted my belt sander in my workmate and rounded off the end.
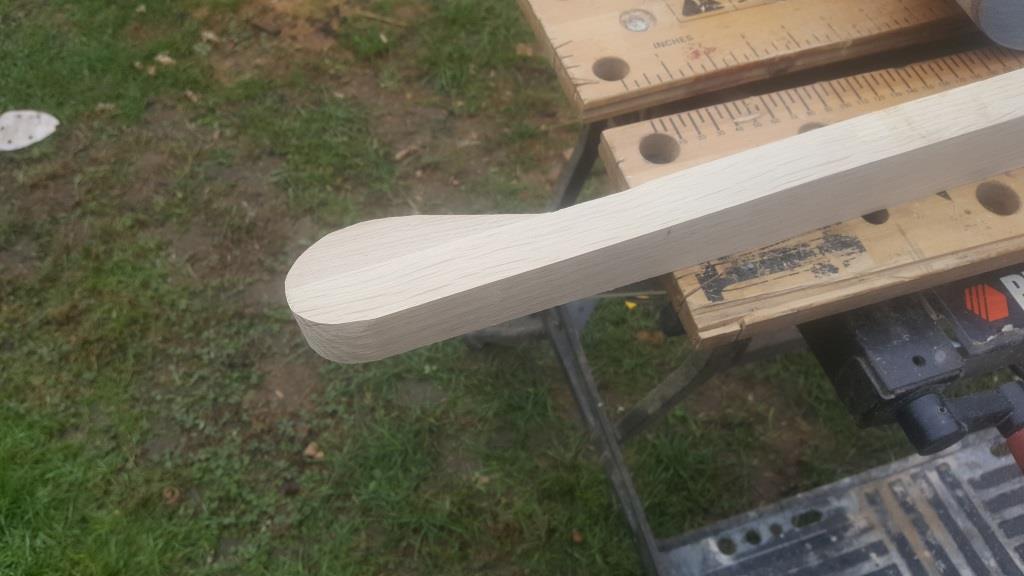
Next I used my router to knock off all the corners, then sand the edges
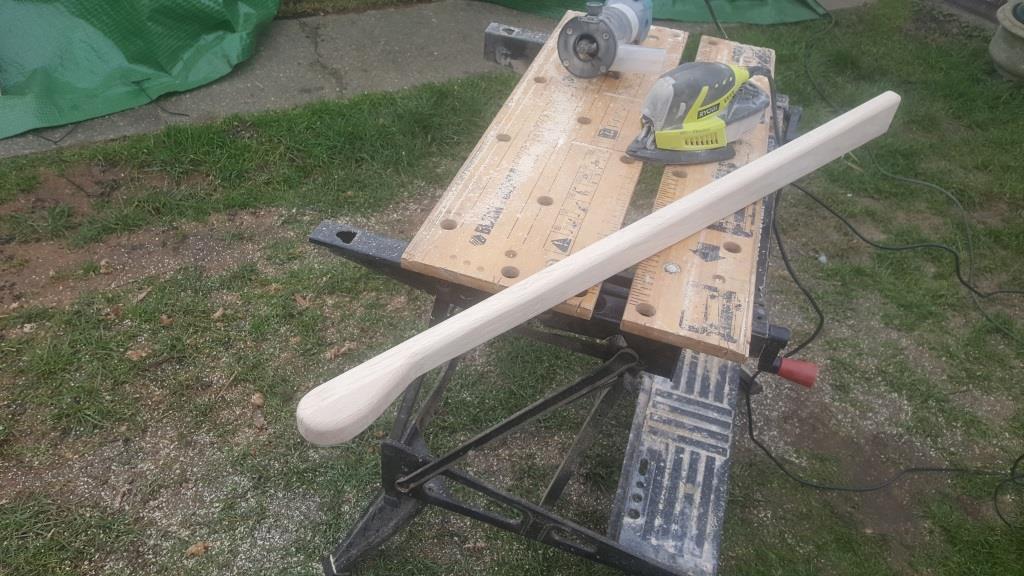
Now I need to make a small adaption to my rudder to except the tiller.
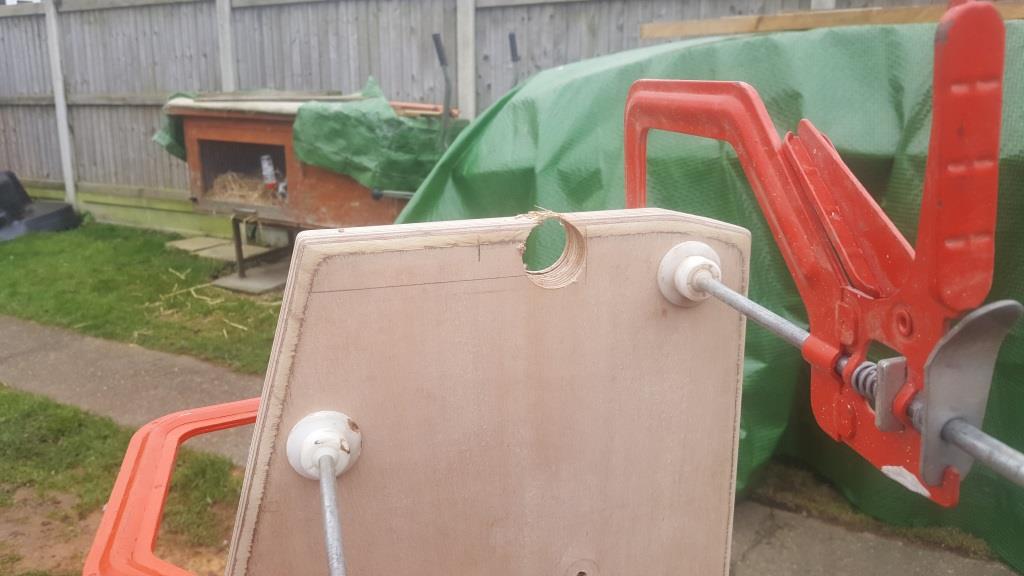
I started by clamping the two sides together and using a hole saw to cut out a pivot point where the tiller will be mounted.
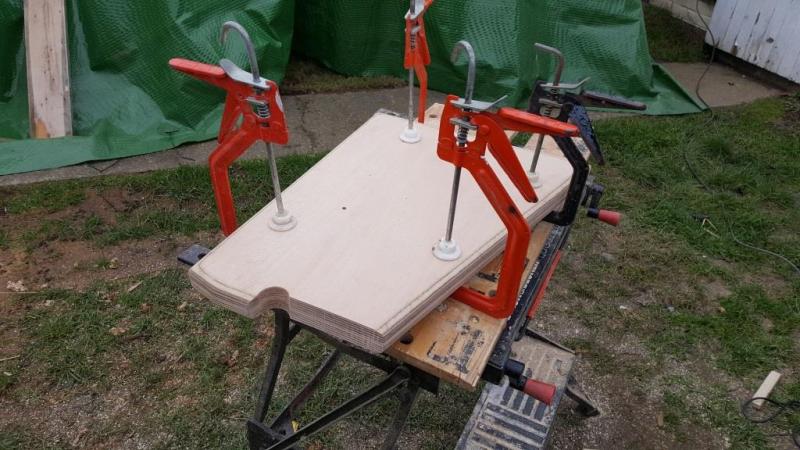
I then marked out and cut with my hand saw where the tiller will sit.
I clamped everything back together and fitted the tiller
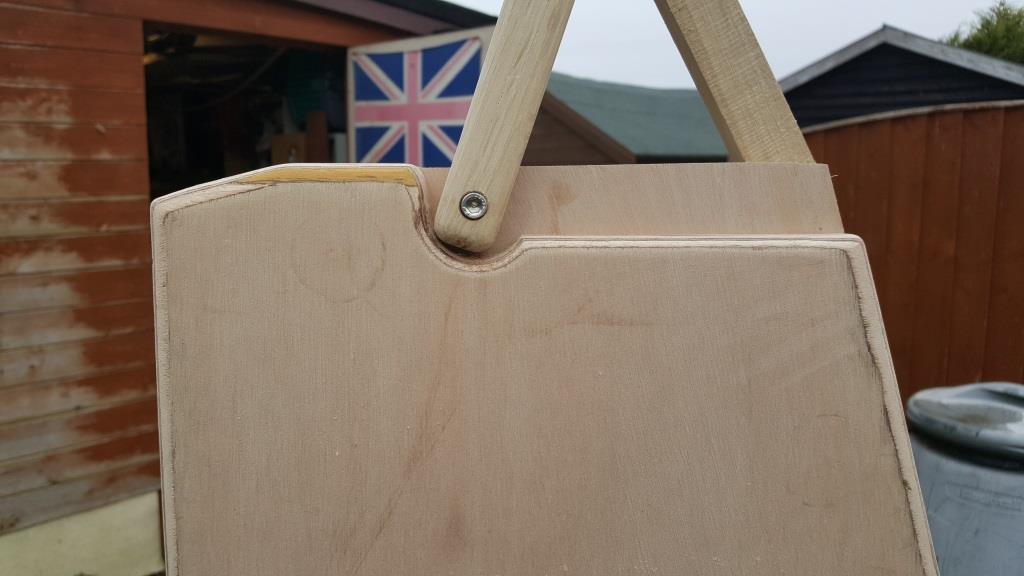
At this point the whole rudder comes together and is a little more easy to understand how the thing will sit on the rear transom of the Dinghy.
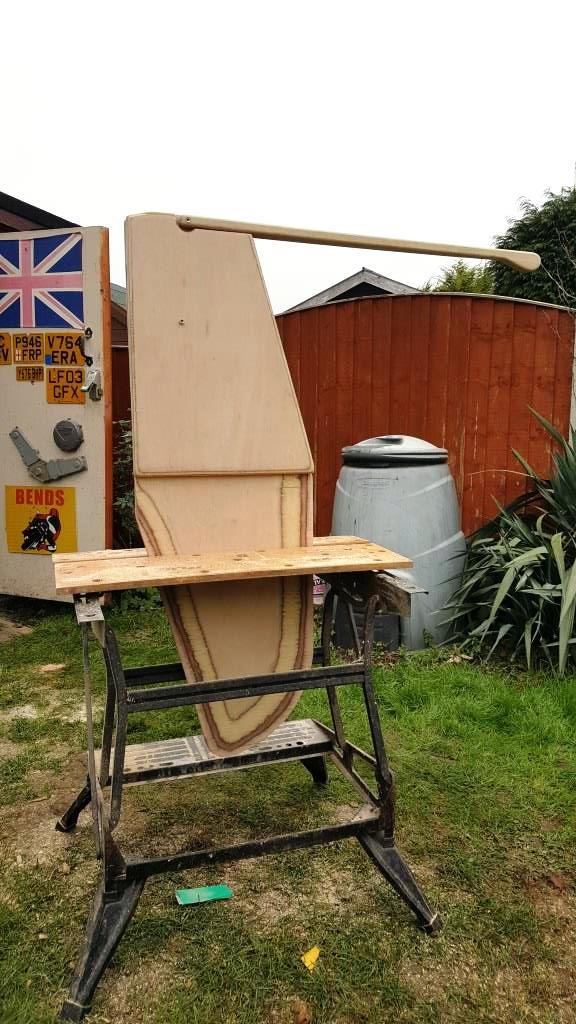
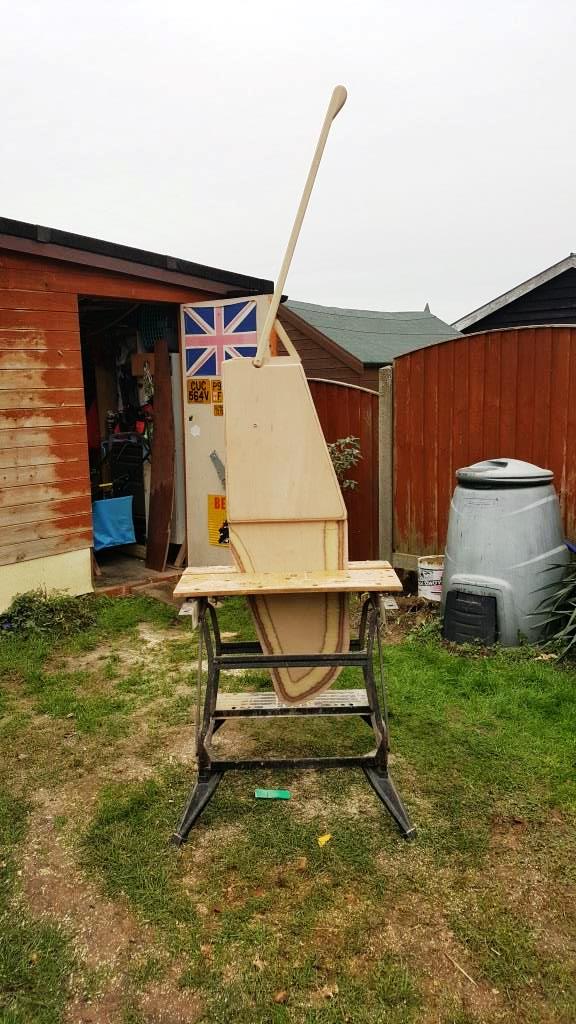
I am going to apply glass cloth to the fork of the tiller as I think it could be a weak point.
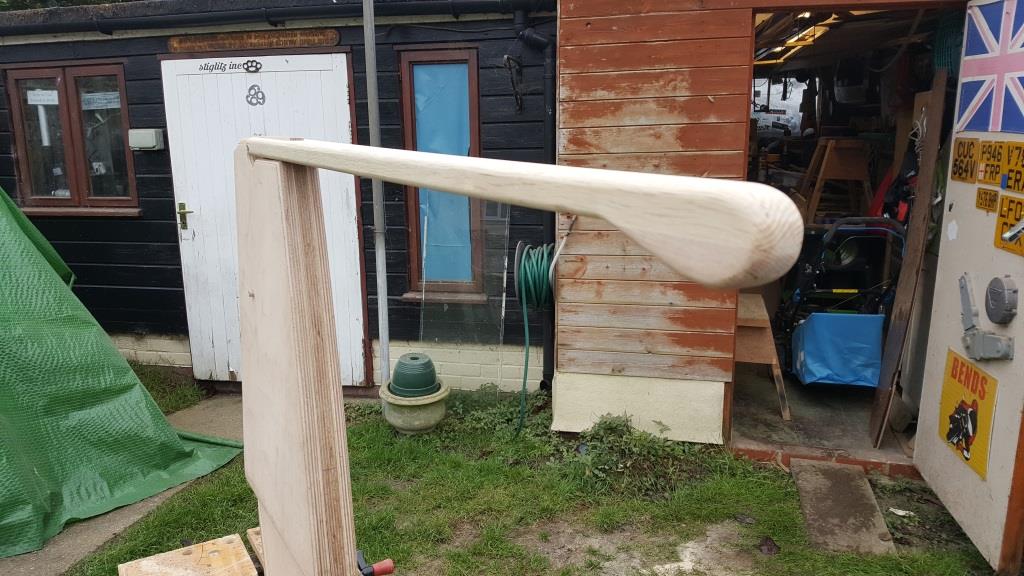
So there it is then.
I will leave it until it get a bit warmer to epoxy it.
Next its the dagger board.
Last edited by Jonathan (10 Jan 2019 8:57 pm)
Offline
#28 18 Jan 2019 8:26 pm
- Jonathan
- Member

- From: Harwich Essex UK.
- Registered: 4 Sep 2018
- Posts: 32
Re: Ten years floating around in my head
Before I make a start on my dagger board I thought I might make an extension for my Tiller.
I made it from the same material as the tiller, American white oak. 18mm x 75mm
I had a quick measure up of my tiller and decided to make the extension 700mm long. I first bevelled the end that attached to the tiller to fit the iron mongery.
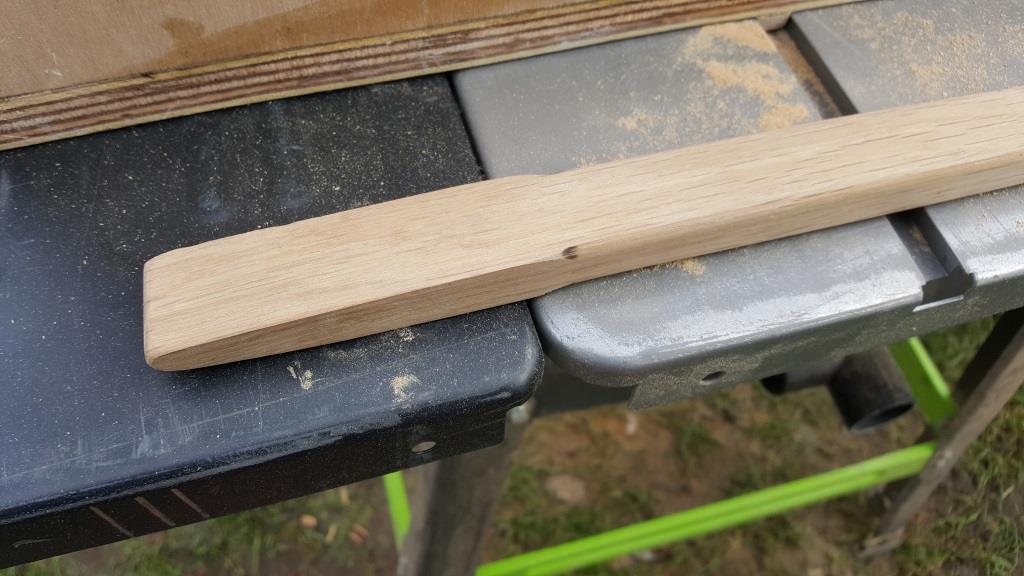
The other end I marked out and carved into a fish tail handle.
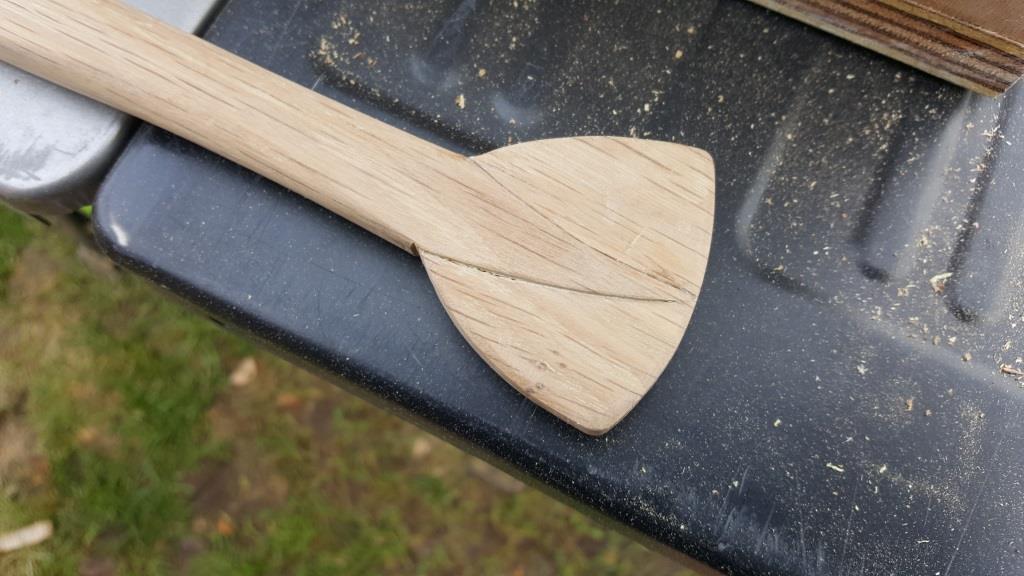
I might yet add a bit more detail to the carving before I'm done with it.
I used my router table to round over all the edges then used a hand rasp and smooth file to round over the handle. I've never used a rasp before and found it to be a bet aggressive.
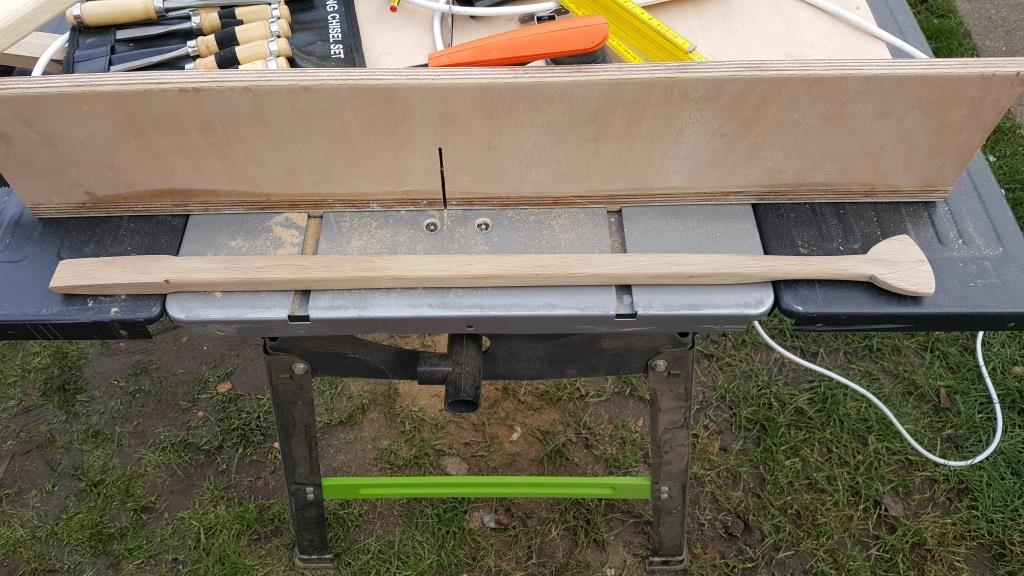
I gave it a finished sanding then attached it to the tiller.
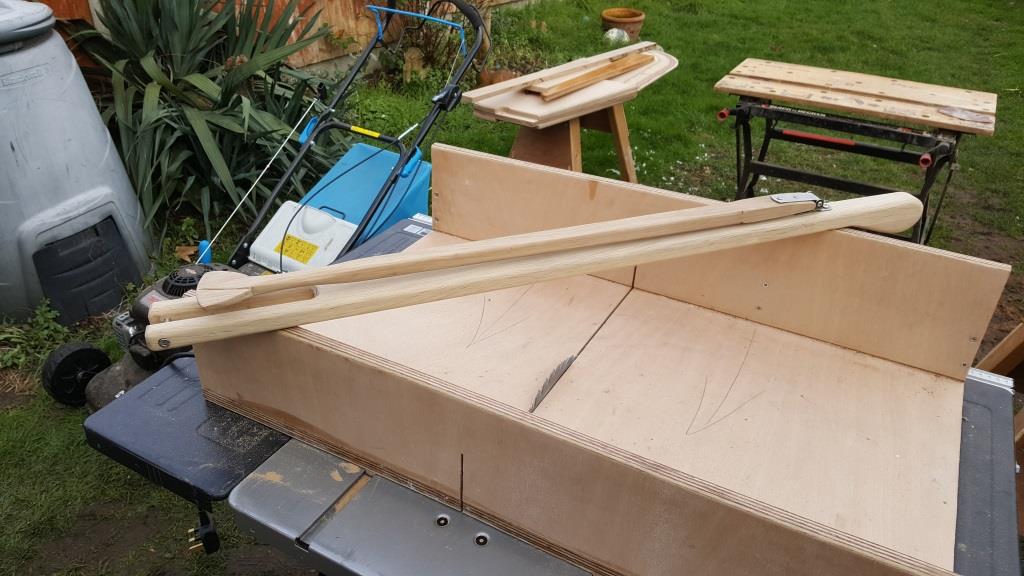
I need to get a clip to hold it in position when not in use, but all in all I'm happy with the result.
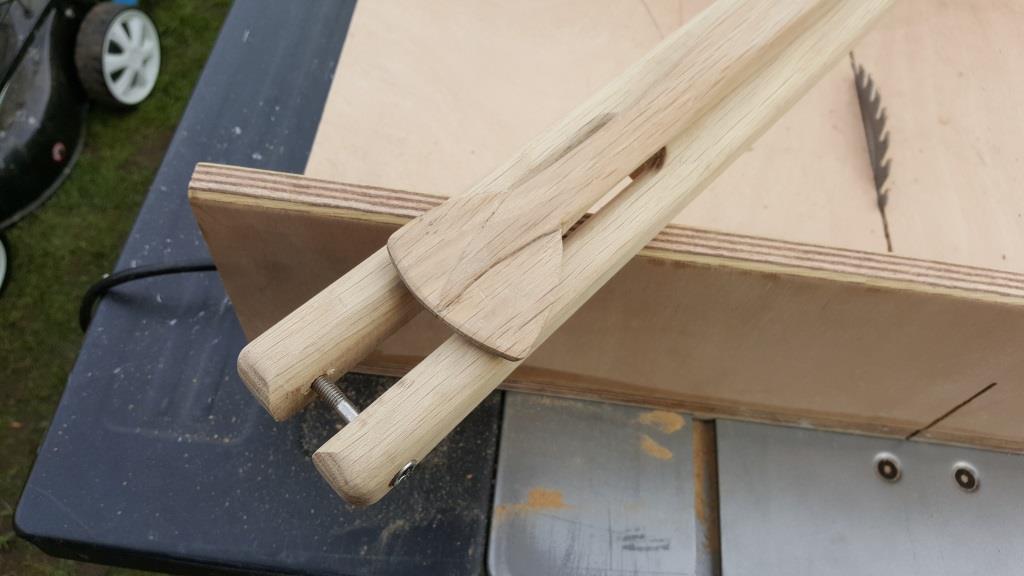
This will also get a coat of varnish when it gets a bit warmer.
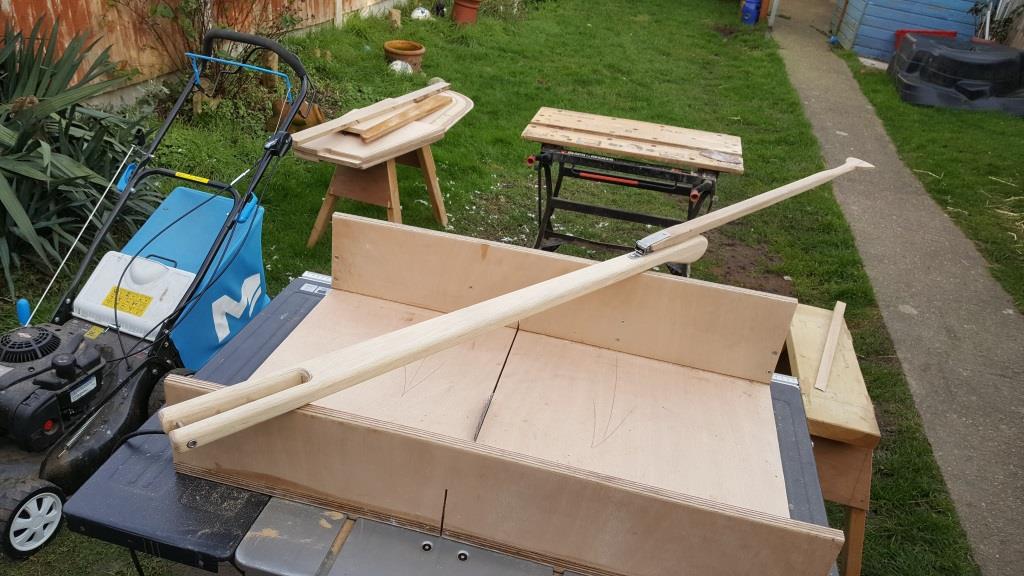
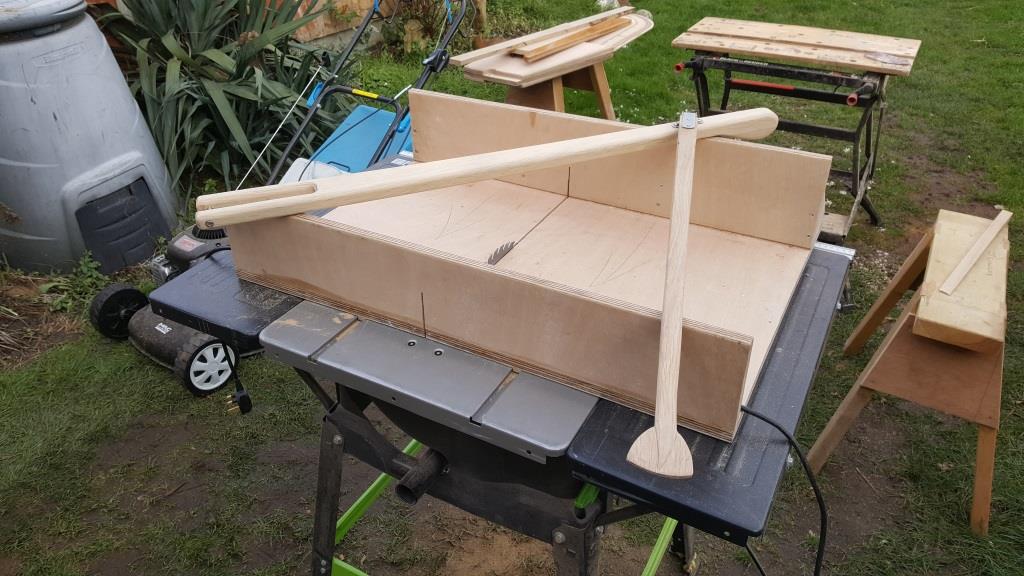

I might even bring them indoors and give them a varnish if I run out of things to do before spring.
If the weather is ok tomorrow I'll start on the Dagger board.
Offline
#29 19 Jan 2019 3:11 pm
- Jonathan
- Member

- From: Harwich Essex UK.
- Registered: 4 Sep 2018
- Posts: 32
Re: Ten years floating around in my head
So, a short while back I made a sled for my table saw and have found it to be an excellent addition to my tool kit.
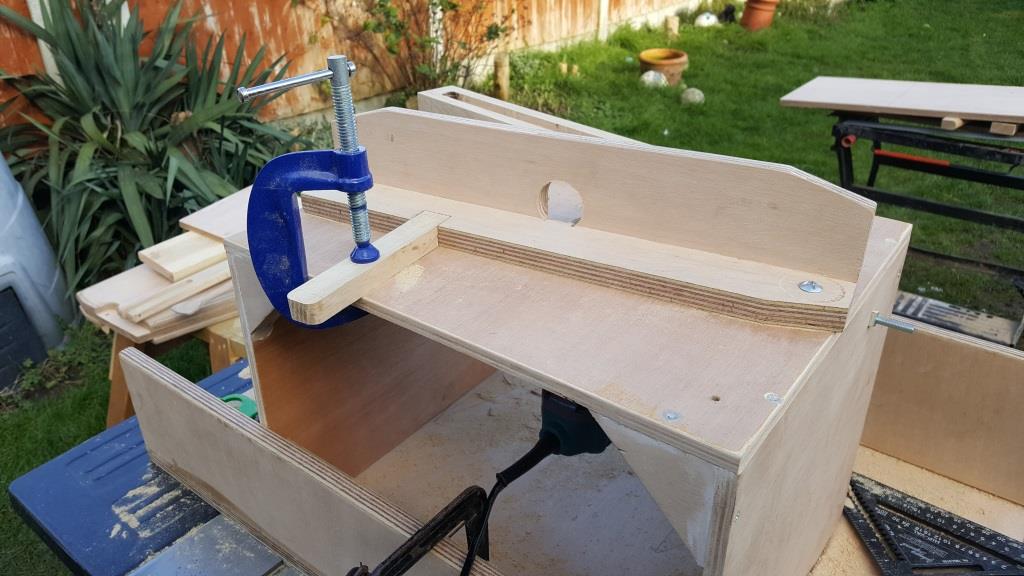
I have a router, but its a bit on the big side so at the end of last summer I brought a trim router off ebay for around 35 quid. The other day I decided to use a bunch of off cuts from my boat build to make a router table to mount the trim router in, and clamp it to my sled.
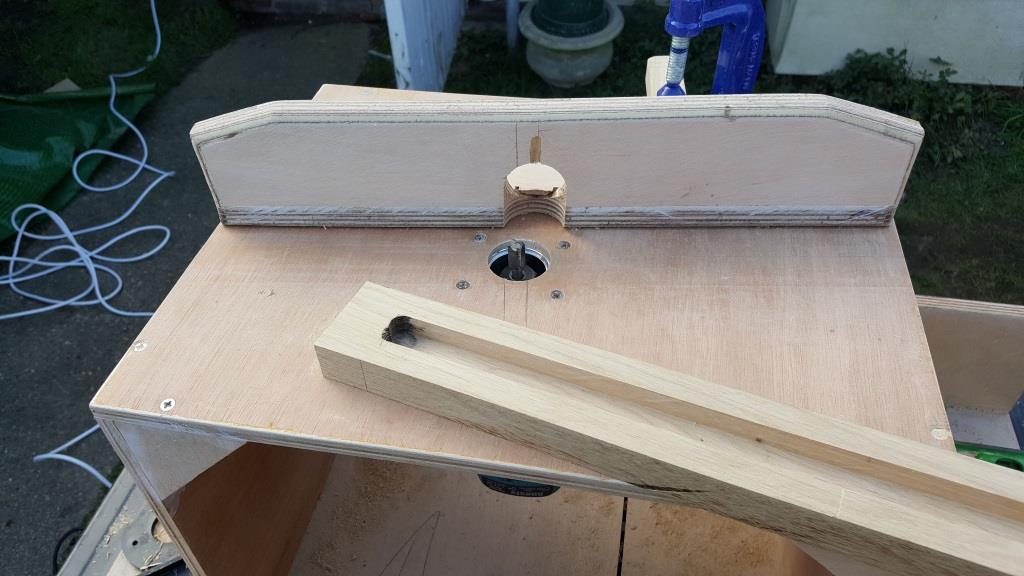
I made a simple box, then attached the router to it. I made a simple fence attached with a gutter bolt so it hinges on it, and can clamp it to where ever I want it. I half lapped a small oak strip and attached it to the fence to take the clamp.
So here are some photos to explain better.
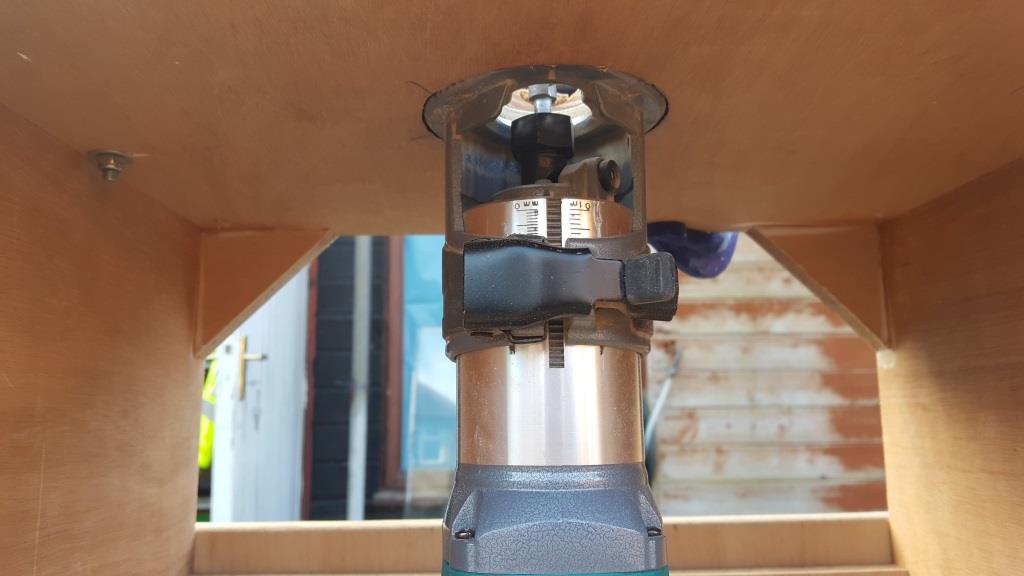
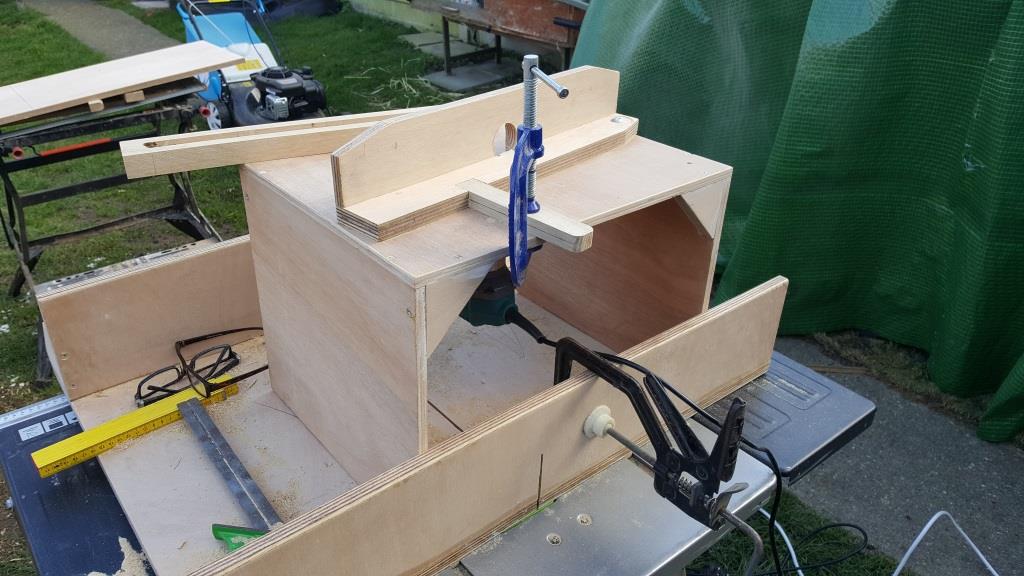
Now, to make the Dagger board I used the table with stop and start marks I placed on it to make a housing joint I can seat the ply into.
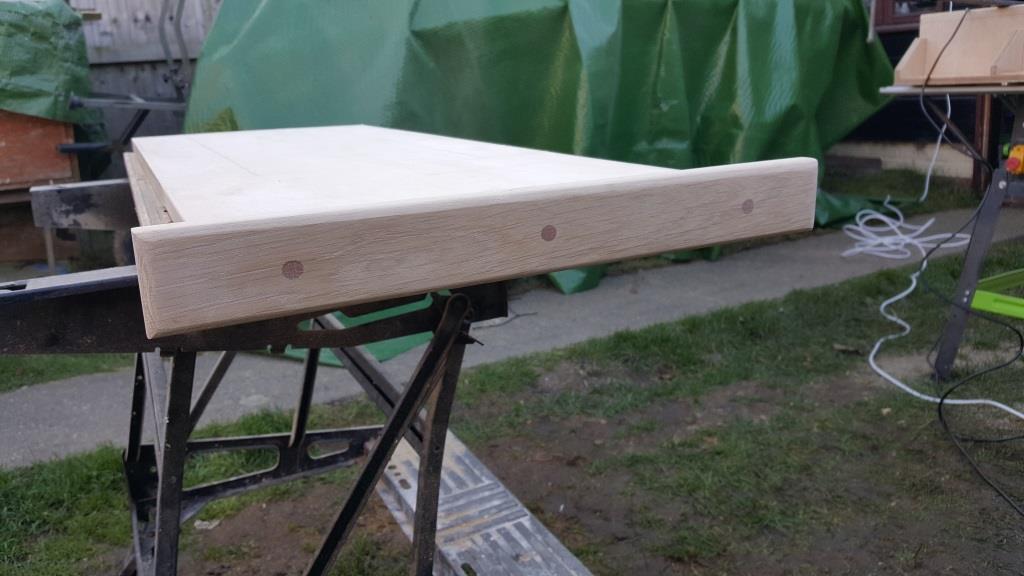
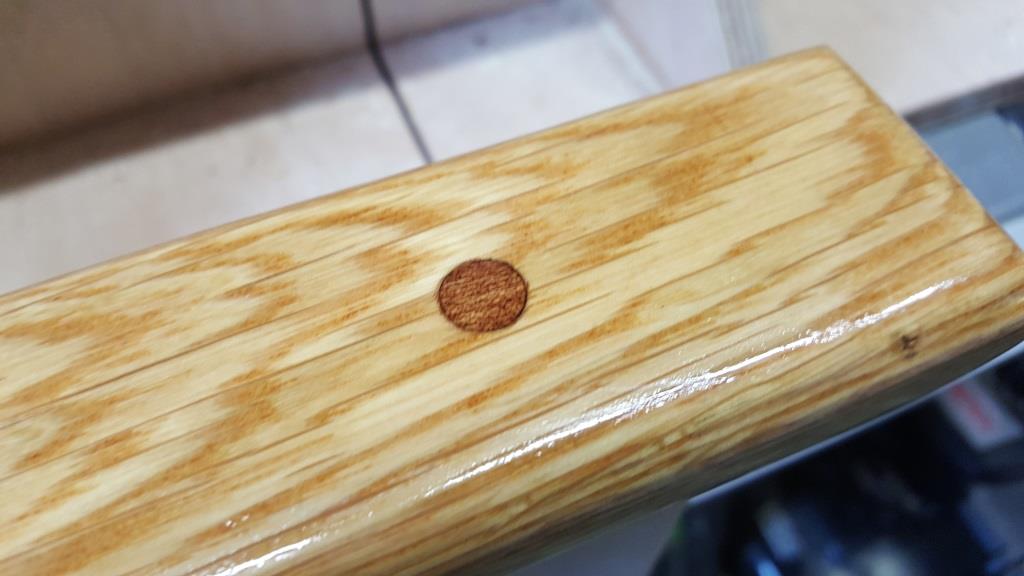
I used polyurethane glue to fix the two together, so I drilled, screwed and pelleted the handle cap on.
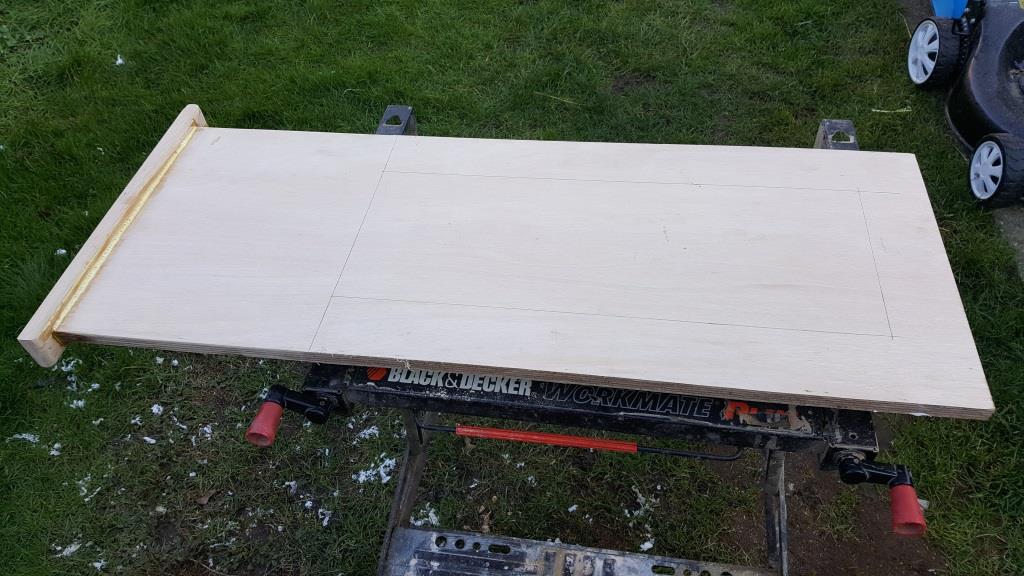
Then its back to the belt sander to profile it.
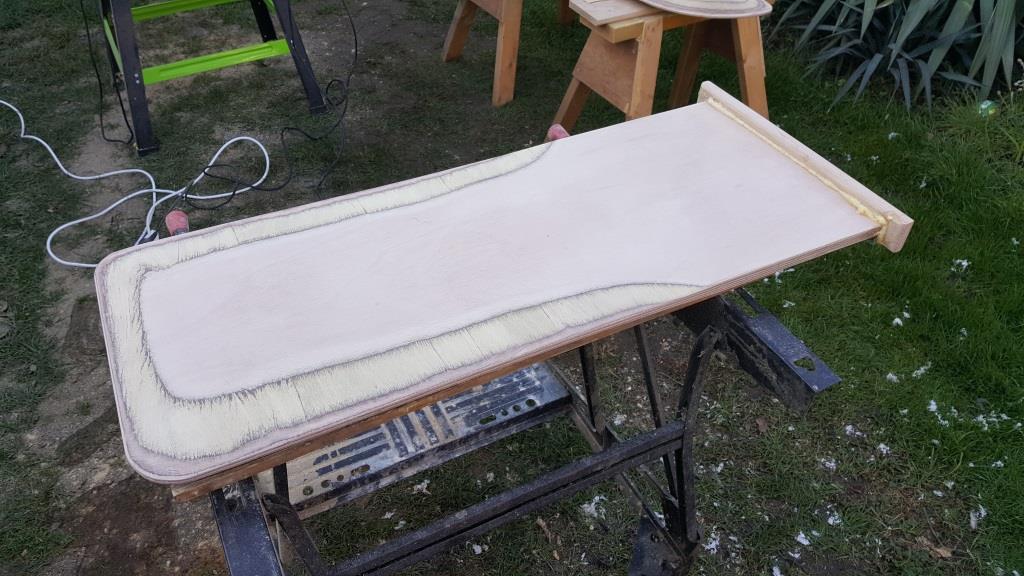
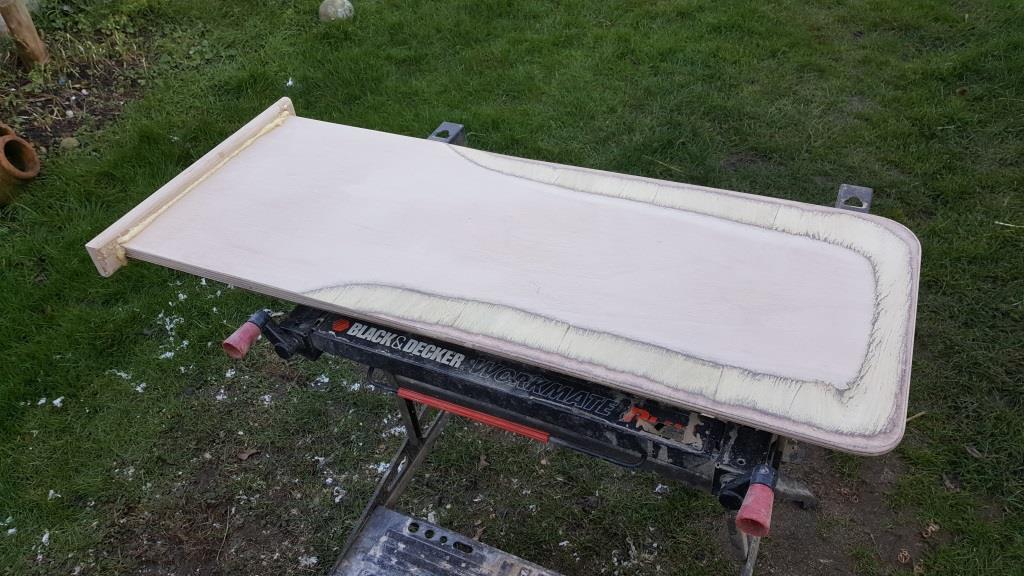
Still a bit of finish sanding to do and make the dagger slot, but I wont be able to do that until I get the boat out again as it needs to be made to fit.
So there we are then, another bit done and another box ticked.
Offline
#30 3 Feb 2019 5:17 pm
- Jonathan
- Member

- From: Harwich Essex UK.
- Registered: 4 Sep 2018
- Posts: 32
Re: Ten years floating around in my head
I've been occupying myself with a bit of sanding and varnishing.
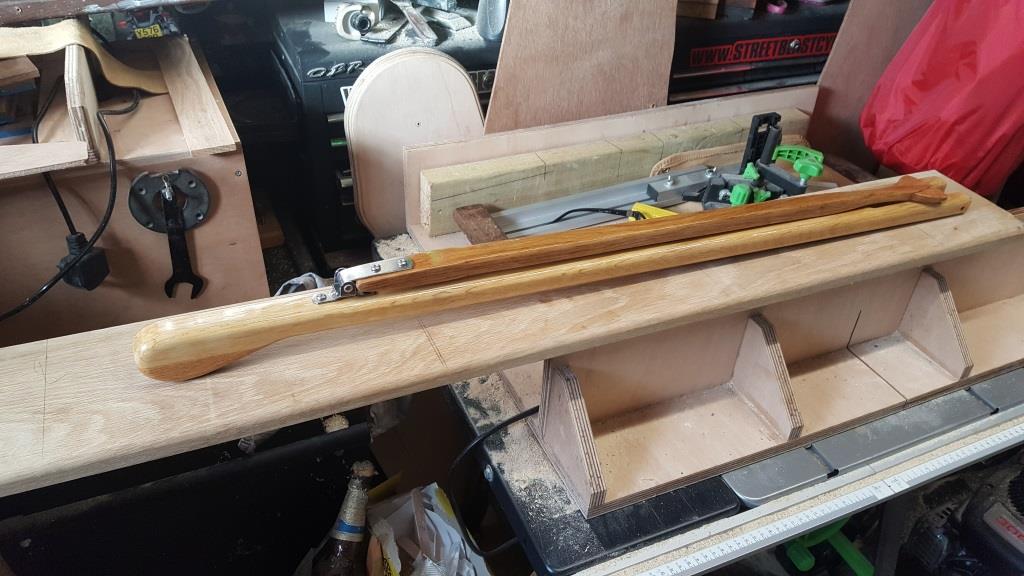
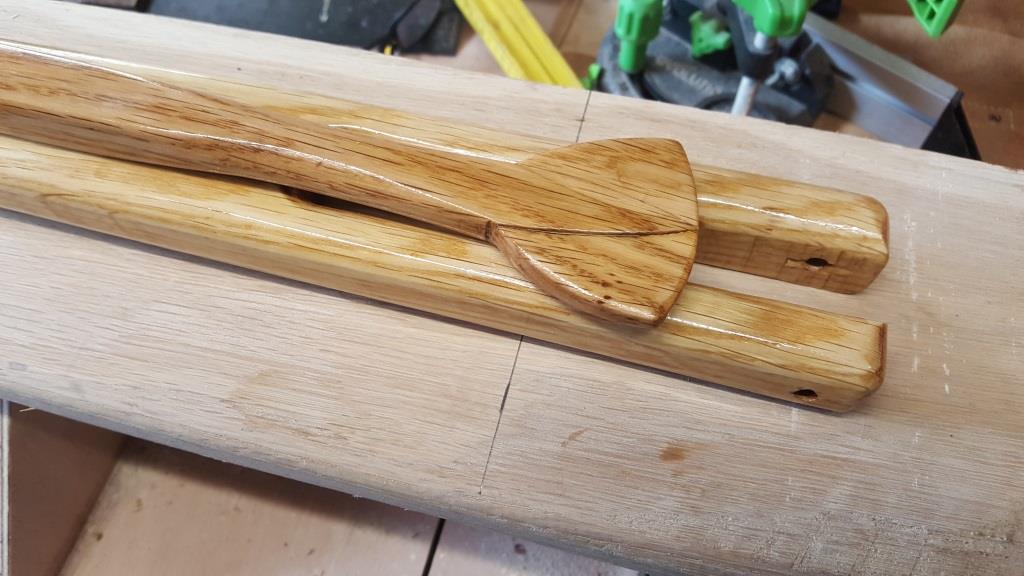
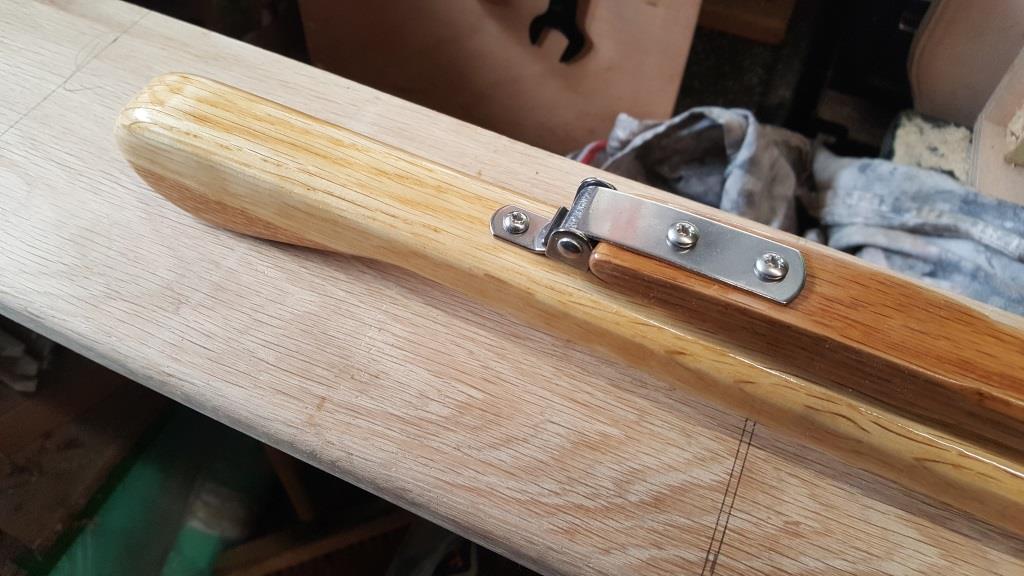
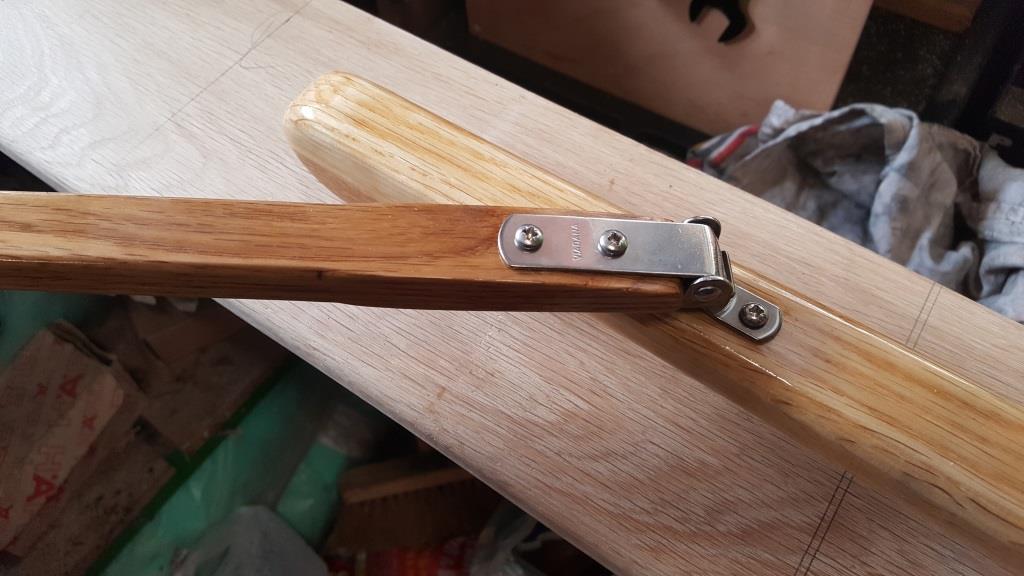
Tiller and Dagger board.
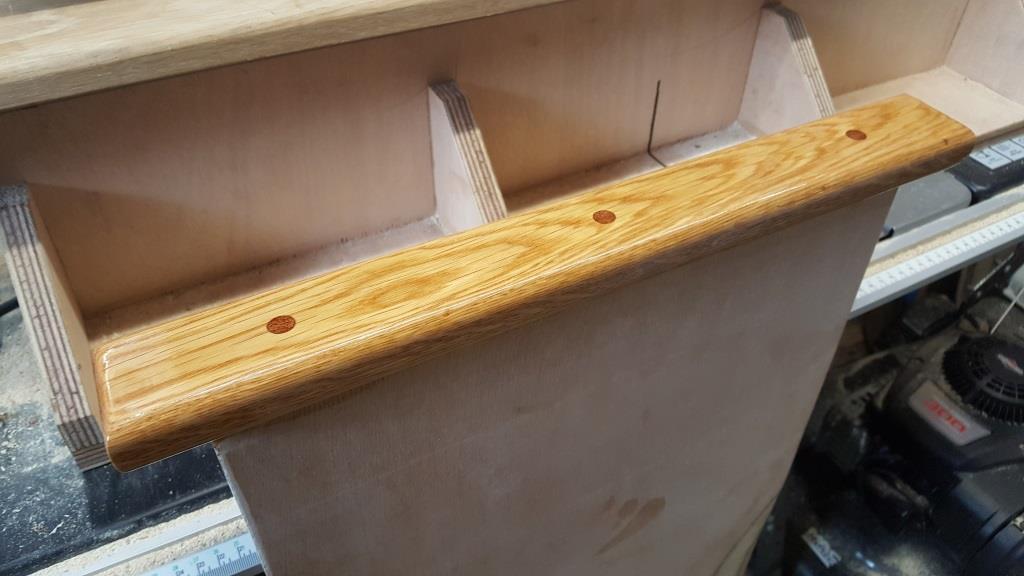
Iroko pellets look good in the white oak.
I'm looking forward to seeing them all varnished in the gunwales.
Roll on spring time.
Offline
