You are not logged in.
- Topics: Active | Unanswered
#1 16 Jun 2011 7:05 am
- fairplay
- Member
- Registered: 16 Jun 2011
- Posts: 109
...current status pics [Pax 18]...
...a few shots of the current status of my Pax 18 build...
...i made a few detours from the standard instructions like removing the wires completly after the initial (partial) fileting, glassing the complete interior instead of using the glass-stripes only etc. ...
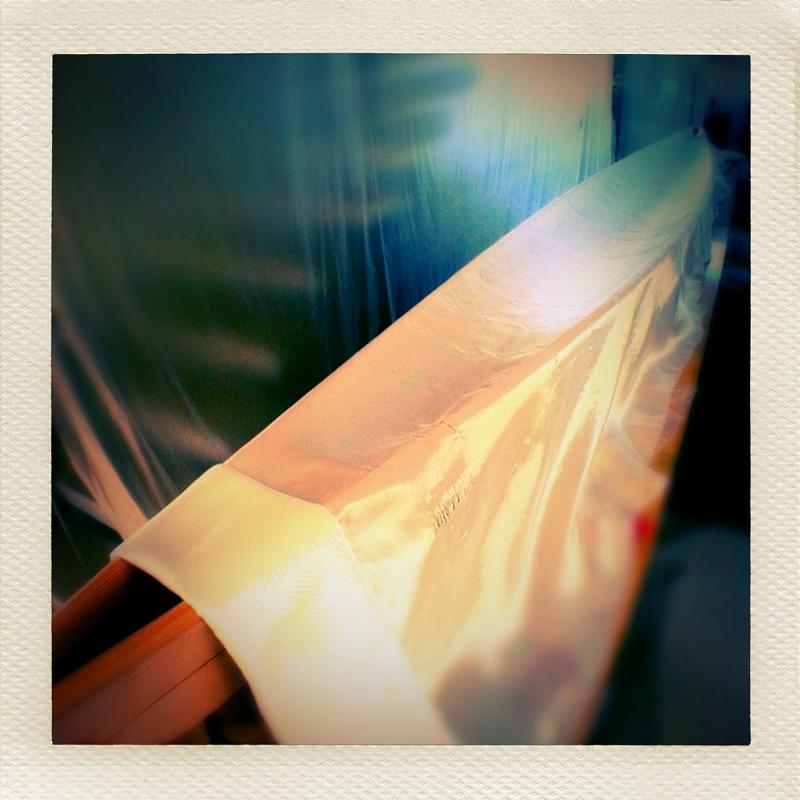
...laying the cloth for interior-glassing...
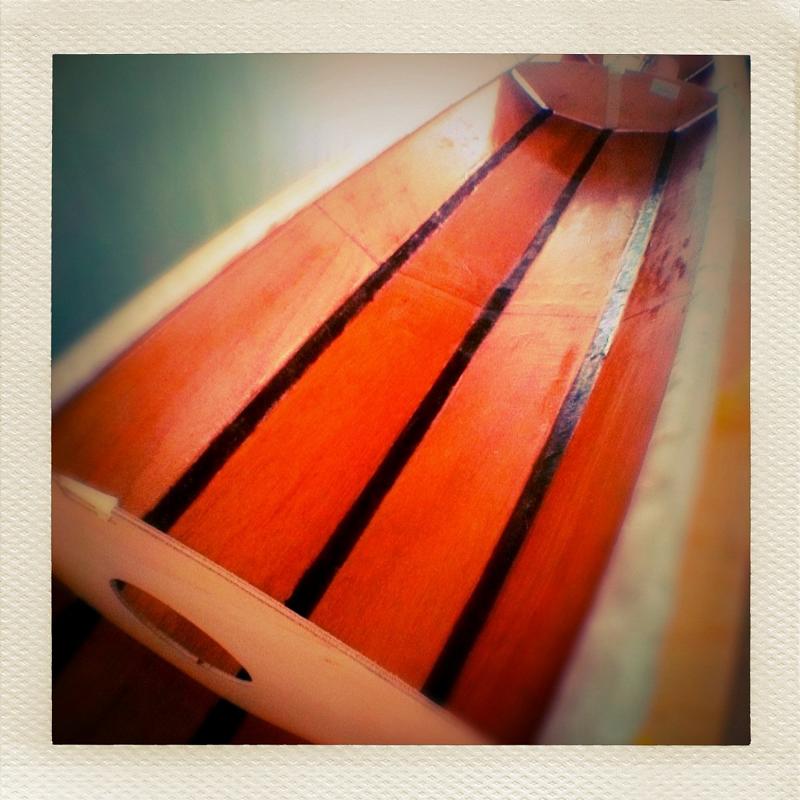
...the interior glassed (first application)....
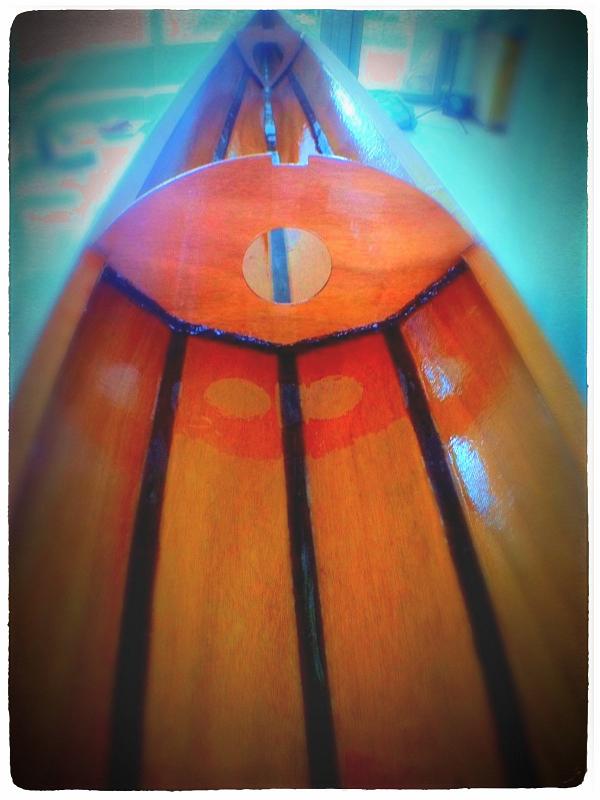
...the interior glassed (second application)...
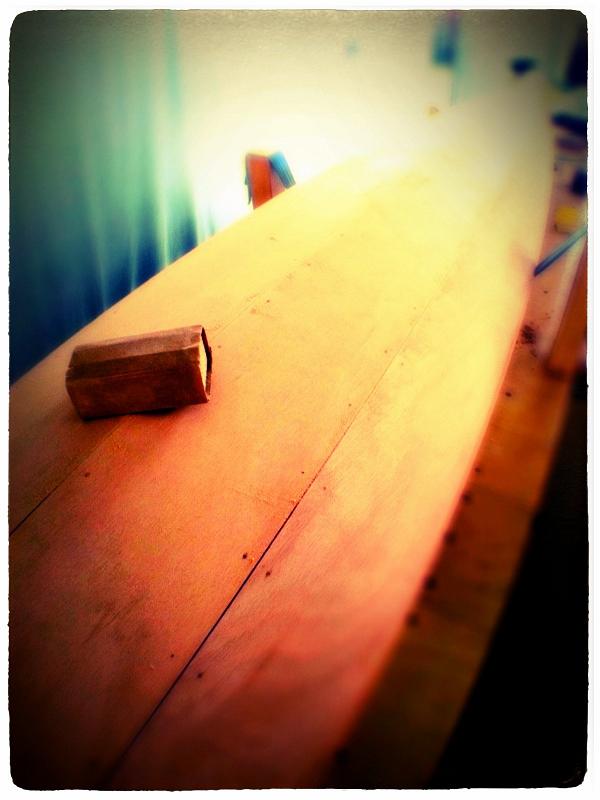
...exterior sanding...
...laying the cloth for exterior-glassing...
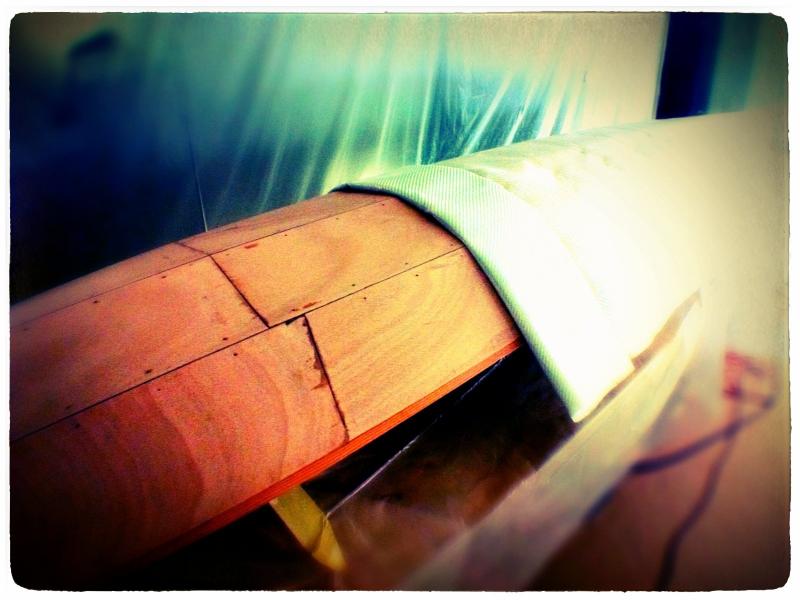
...first application of exterior epoxy (two more layers to follow)...
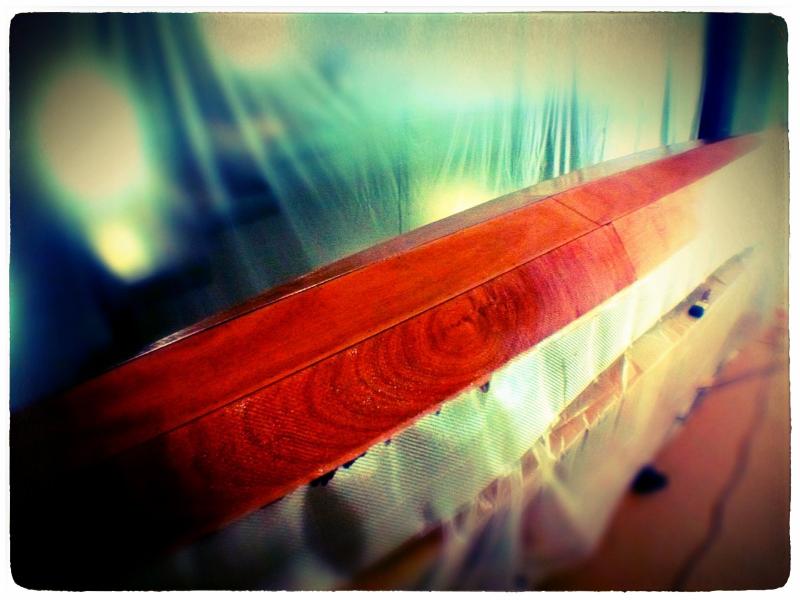
...seems i will run out of my 2MB upload-allowance quickly ![]() ...
...
Last edited by fairplay (16 Jun 2011 7:06 am)
'...so, how many kayaks do you really need?...' - '...one more!...'
Offline
#2 16 Jun 2011 8:21 pm
- Fyne Boat Kits
- Administrator

- From: Cumbria, UK
- Registered: 22 May 2011
- Posts: 156
- Website
Re: ...current status pics [Pax 18]...
...seems i will run out of my 2MB upload-allowance quickly
...
We have increased the upload limit to 10MB. We may increase it again later, if people want more.
Great pictures. We are looking forward to seeing it floating!
Offline
#3 22 Jun 2011 8:08 am
- fairplay
- Member
- Registered: 16 Jun 2011
- Posts: 109
Re: ...current status pics [Pax 18]...
We have increased the upload limit to 10MB.
...great news - thank you!...
...now, from chipping come chips:
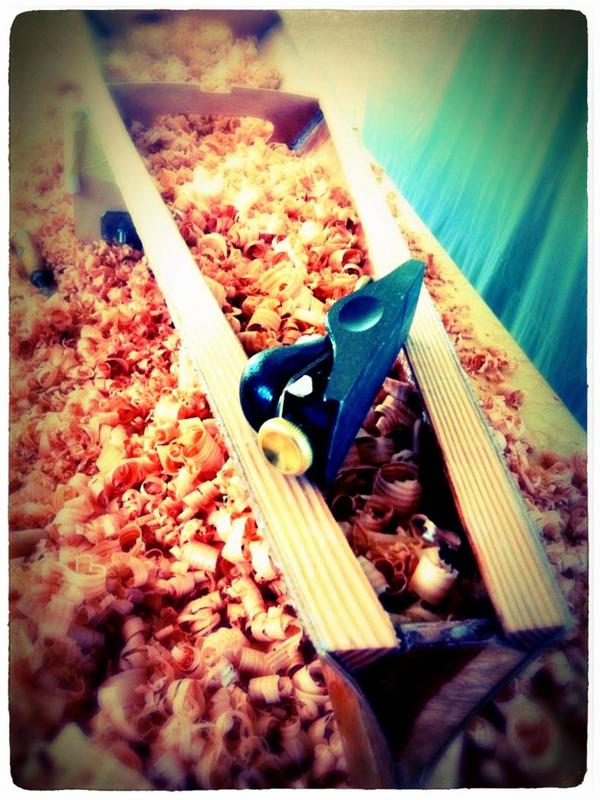
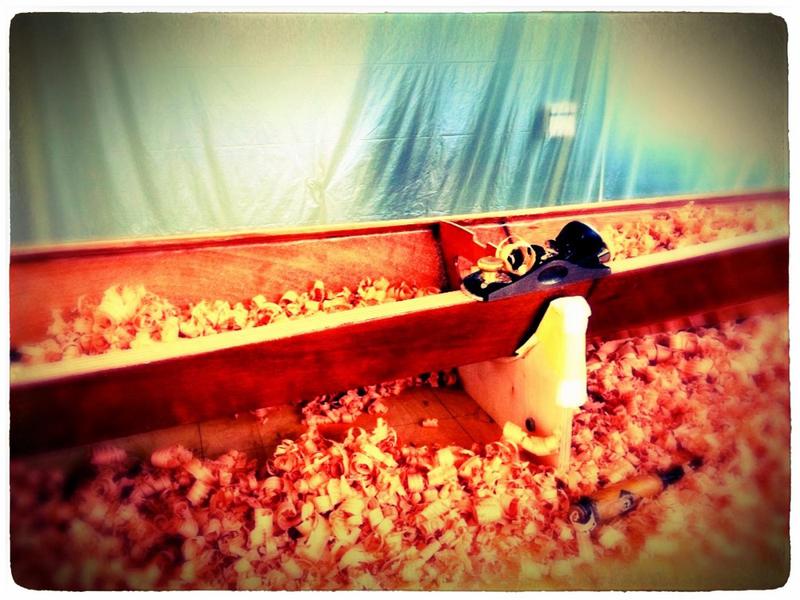
'...so, how many kayaks do you really need?...' - '...one more!...'
Offline
#4 24 Jun 2011 11:41 am
- Mikey
- Member
- Registered: 10 Jun 2011
- Posts: 20
Re: ...current status pics [Pax 18]...
Hi Fairplay,
Great looking boat! ![]() I'm thinking of building one myself. How long has it taken you so far?
I'm thinking of building one myself. How long has it taken you so far?
Mikey
Offline
#5 24 Jun 2011 12:32 pm
- fairplay
- Member
- Registered: 16 Jun 2011
- Posts: 109
Re: ...current status pics [Pax 18]...
...i am/my work is not in any way representative...i think i started back in february...but, being able to spend only a few days (about zero up to two or three) every month on it, you might be able to complete one much quicker...
...also in some areas i am deviating from the instructions considerably - so it might be that you can save time by just following the included instructions and not making extra steps like i have inserted...
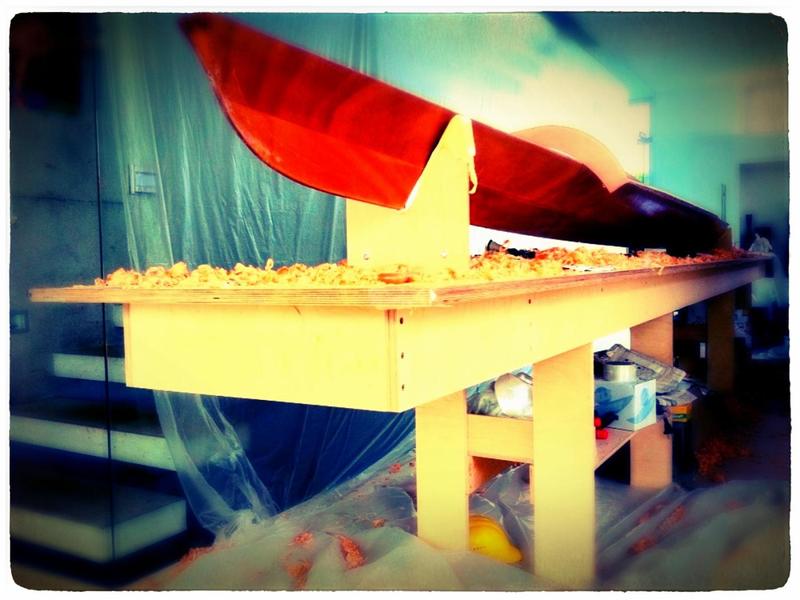
...and then: the building of the 8m-table just for the boat construction:
...additonally a table for mixing the epoxy:
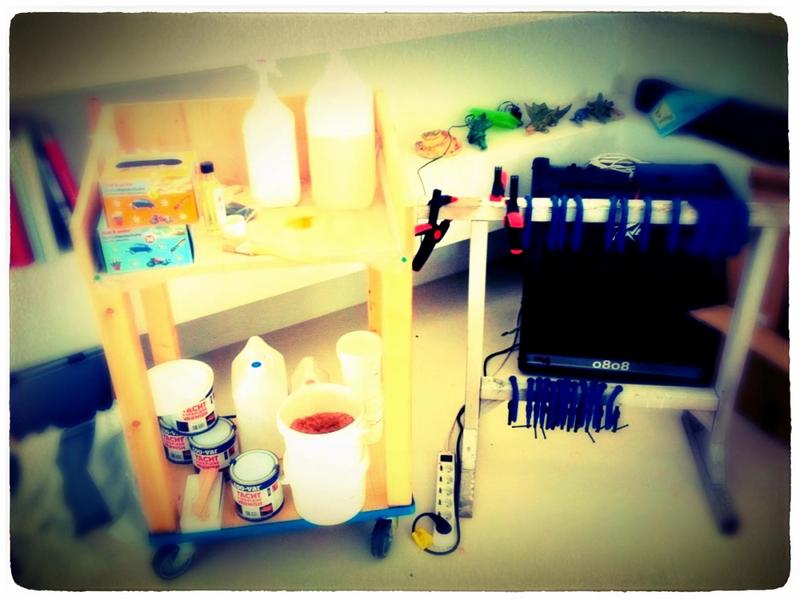
...took also some time ![]() ...
...
'...so, how many kayaks do you really need?...' - '...one more!...'
Offline
#6 24 Jun 2011 1:49 pm
- Mikey
- Member
- Registered: 10 Jun 2011
- Posts: 20
Re: ...current status pics [Pax 18]...
Fairplay,
Thanks for the quick reply.
Wow! It looks like you are a pro and seem very organised; I doff my hat to you. So you must be onabout 10 days work so far and you have a boat, table and mixing table. I hope to make a start on one this summer. Not too sure which one yet. I like the look of the Shearwater's. I'm new to paddling, so think the Pax would be a little too advanced for me. Bet you can't wait to get her in the blue stuff?
I look forward to watching your progress..
Mikey
Offline
#7 5 Jul 2011 7:58 am
- fairplay
- Member
- Registered: 16 Jun 2011
- Posts: 109
Re: ...current status pics [Pax 18]...
...hi Mikey,
i am absolutely no pro - this boat being the first one i ever built - and i am far from being organised - it's just that i obviously did a good enough job to hide the chaos from the photos ![]() ...
...
...actually, this boat was last years christmas-present for my wife - the wood and the idea - and i hope to be able to give her the finished boat for her birthday this summer...
...last time i paddled myself was about 20 years ago - i did some rowing during the last couple of years though with a 100% plastic skiff...so my plan is - after i have finished this one - to build another Pax 18 for myself and then have a very close look at the Oxford Shell ![]() ...
...
...somewhere i read 'Q: how many kayaks/rowers do you need? - A: one more!'...
...so - as for your plans to build a kayak: the most difficult part in building a boat might be the first step...
---
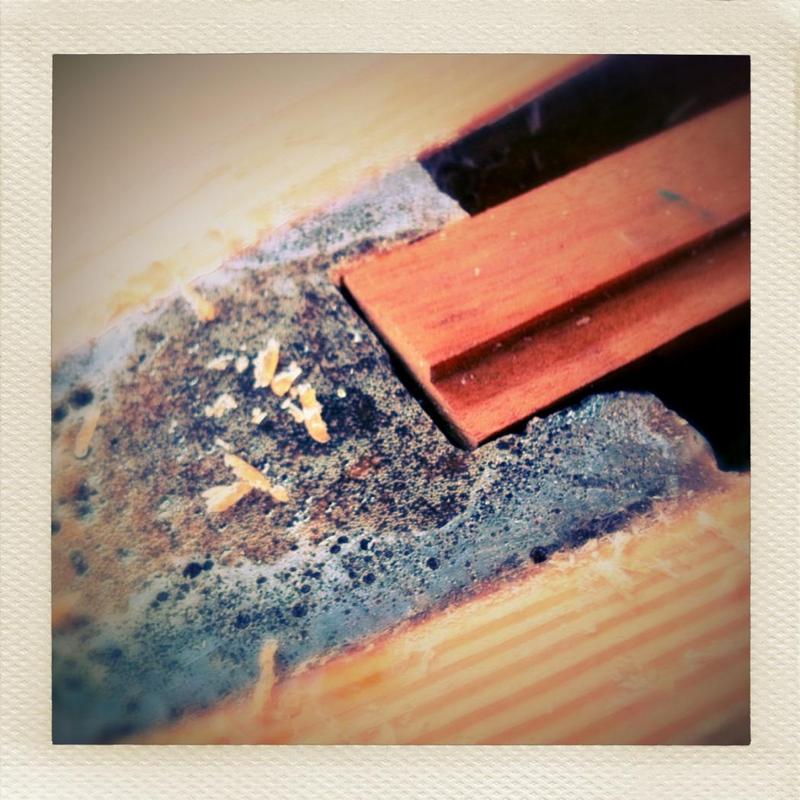
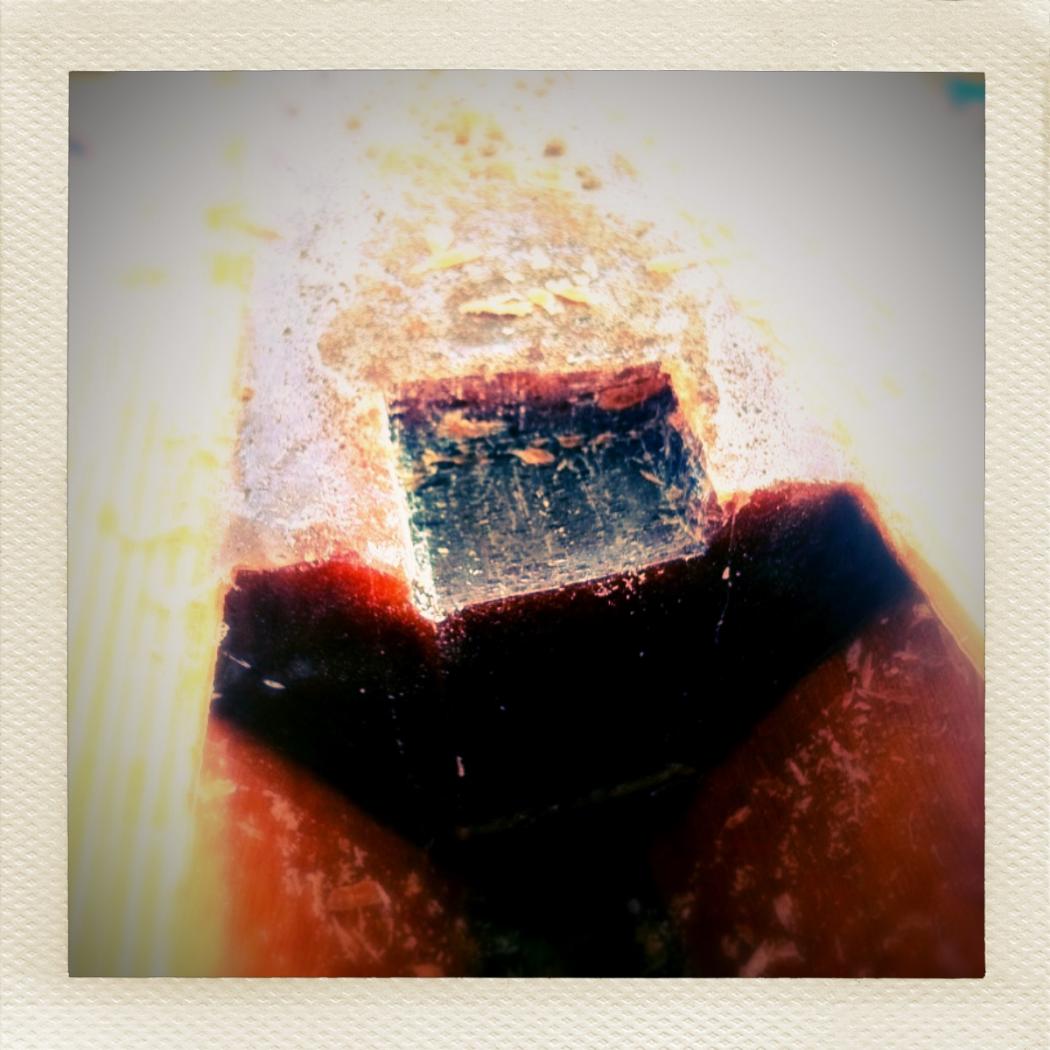
...here i made another little deviation from the instructions - cutouts from the epoxy-end-pour to rest the kingplanks:
'...so, how many kayaks do you really need?...' - '...one more!...'
Offline
#8 5 Jul 2011 9:21 pm
- fairplay
- Member
- Registered: 16 Jun 2011
- Posts: 109
Re: ...current status pics [Pax 18]...
...hmmm...i dont like the idea to penetrate the outer hull with screws or similiar...
...so i installed the footrest and the deck-beam without making holes; for the deckbeam i connected the deckbeam to the shearclamp by inserting a wooden plug through both:
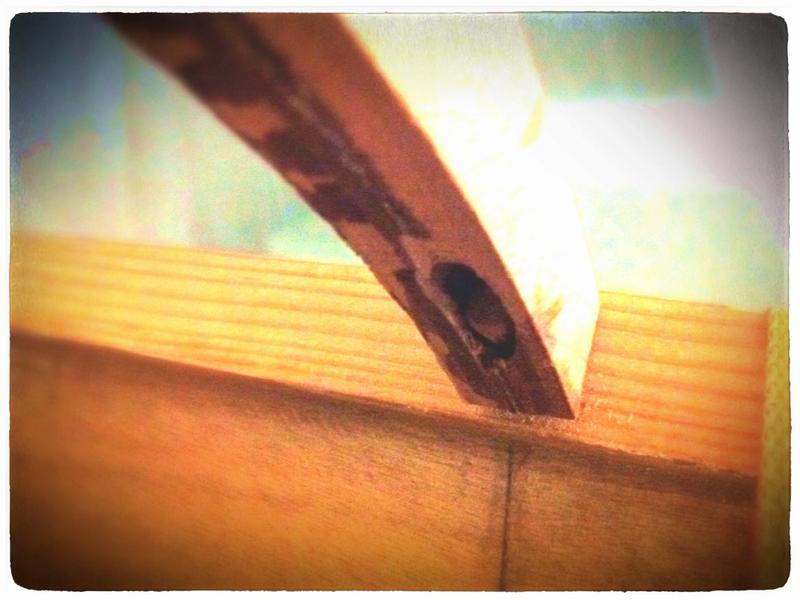
...in my kit the deckbeam was not as wide as shown in the plans and described in the instructions (i made sure the boat is not smaller or wider), so there was nothing to cut away but on the contrary, i had to build a 'bridge' with expoxy between the deckbeam and the shearclamp - that is why i inserted the wooden plug also:
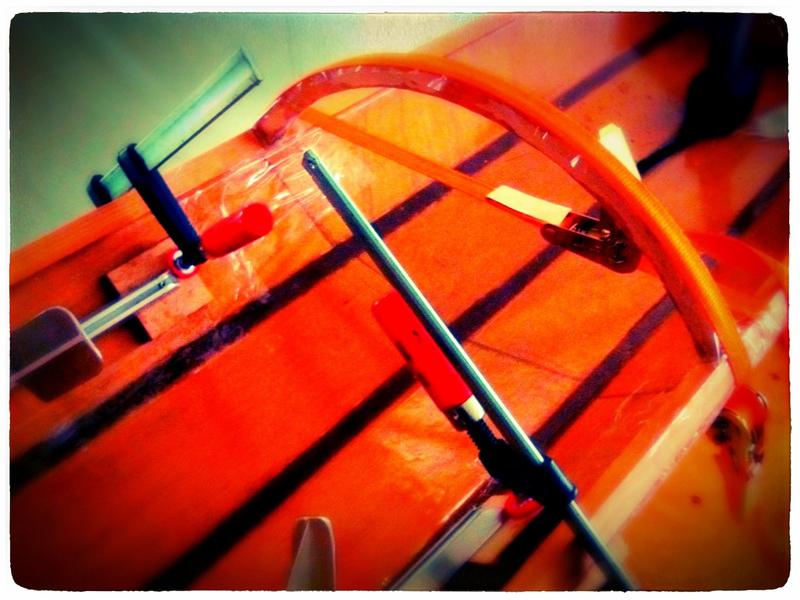
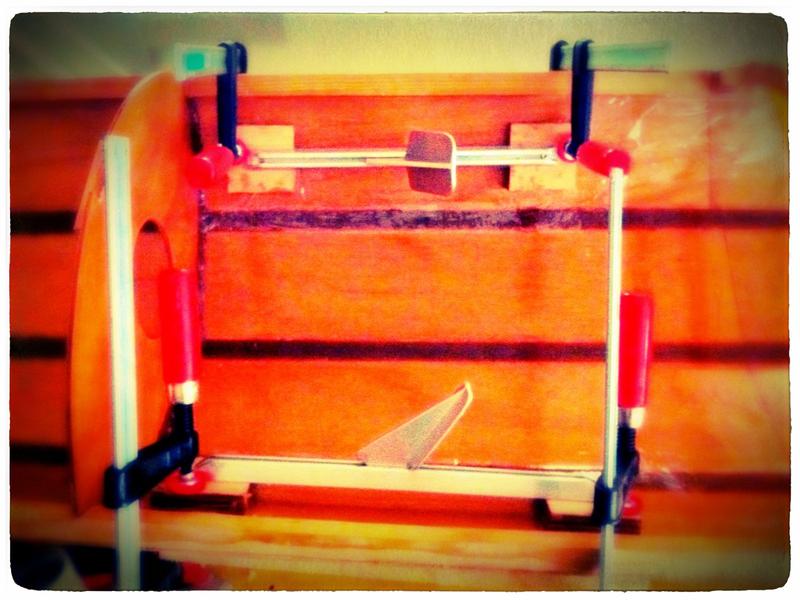
...for the footrest i used some pieces of mahogany from the packaging, that i cut and doubled up and then attached the footrest on; those wooden pieces are now glued onto the hull thereby avoiding to have to screw them tight through the hull:
'...so, how many kayaks do you really need?...' - '...one more!...'
Offline
#9 7 Jul 2011 7:45 am
- fairplay
- Member
- Registered: 16 Jun 2011
- Posts: 109
Re: ...current status pics [Pax 18]...
...hmmm...just wanted to upload another photo (229KB) of the deck-installation, but i have already exceeded my upload-allowance ![]() ...
...
'...so, how many kayaks do you really need?...' - '...one more!...'
Offline
#10 7 Jul 2011 12:11 pm
- Fyne Boat Kits
- Administrator

- From: Cumbria, UK
- Registered: 22 May 2011
- Posts: 156
- Website
Re: ...current status pics [Pax 18]...
...hmmm...just wanted to upload another photo (229KB) of the deck-installation, but i have already exceeded my upload-allowance
...
Sorry about that. We aren't sure how it happened, but the limit was returned to the default value. It is fixed now. Please keep sharing your super photographs!
Offline
#11 7 Jul 2011 7:04 pm
- Mikey
- Member
- Registered: 10 Jun 2011
- Posts: 20
Re: ...current status pics [Pax 18]...
Hi Fairplay,
SOunds like a kinda neat and cool present - Lucky wife. Your boat still looks great and it's obvious you are enjoying yourself. You are really inspring me to want to do this...
I think you might be right about the hardest step, it's taking the plunge. I am still keen on the Shearwaterm and the wooden strips on the deck look really cool, but also lots of work ![]()
Keep up yhr good work!
Mikey
Offline
#12 8 Jul 2011 3:27 pm
- Phil
- Employee

- Registered: 8 Jun 2011
- Posts: 74
Re: ...current status pics [Pax 18]...
Fairplay,
Thank you for the feedback about the deck beam. We will check our files. The workaround you did looks like it will be fine. Whilst there have been many boats made to both prove the deisgn and to check the kitset, and many more aside, we do not get to know about problems unless we are told, so thank you for letting us know and I will go and get checking.
We always appreciate feedback, thank you.
Keep up the good work.
Phil
Offline
#13 16 Jul 2011 10:18 pm
- fairplay
- Member
- Registered: 16 Jun 2011
- Posts: 109
Re: ...current status pics [Pax 18]...
The workaround you did looks like it will be fine.
Hi Phil,
thank you for the confirmation...
...tonight i finally got around to glue the deck - the glueing part took about 2 hours, while the preparations - cleaning, preparing tools and material - took probably another two or three hours...
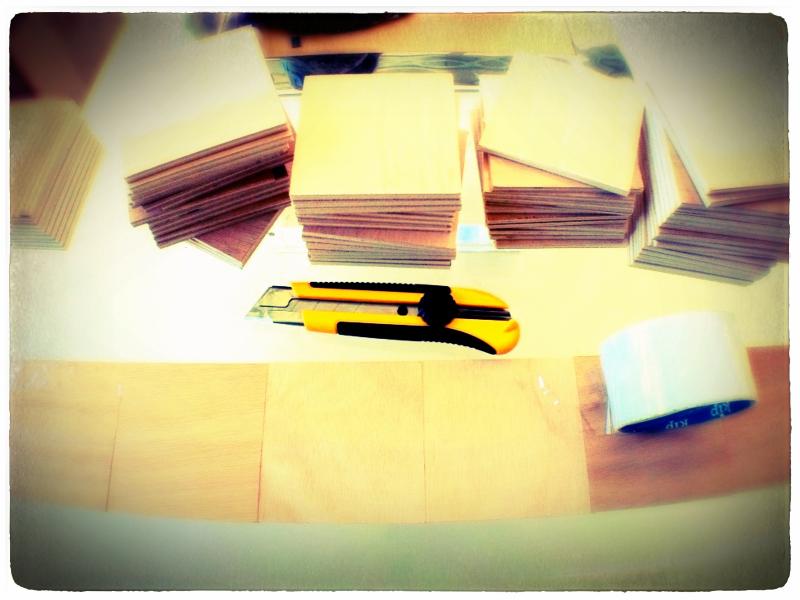
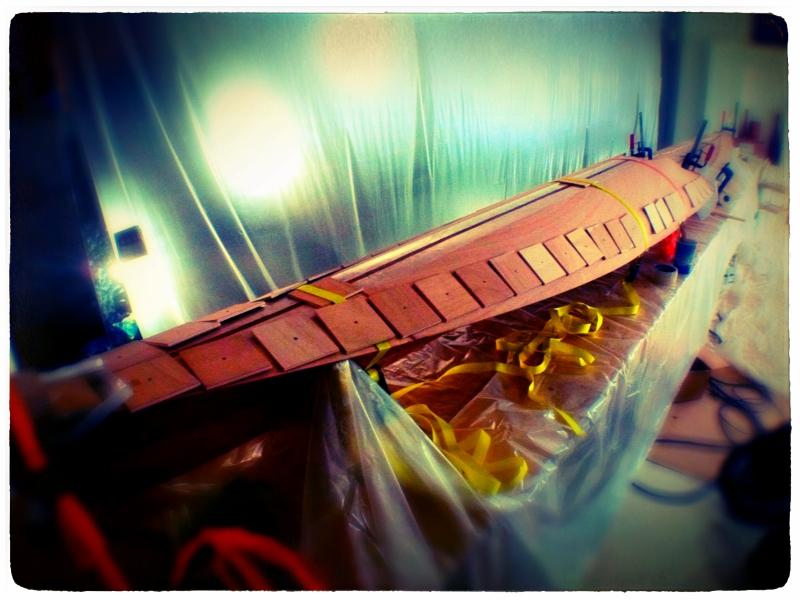
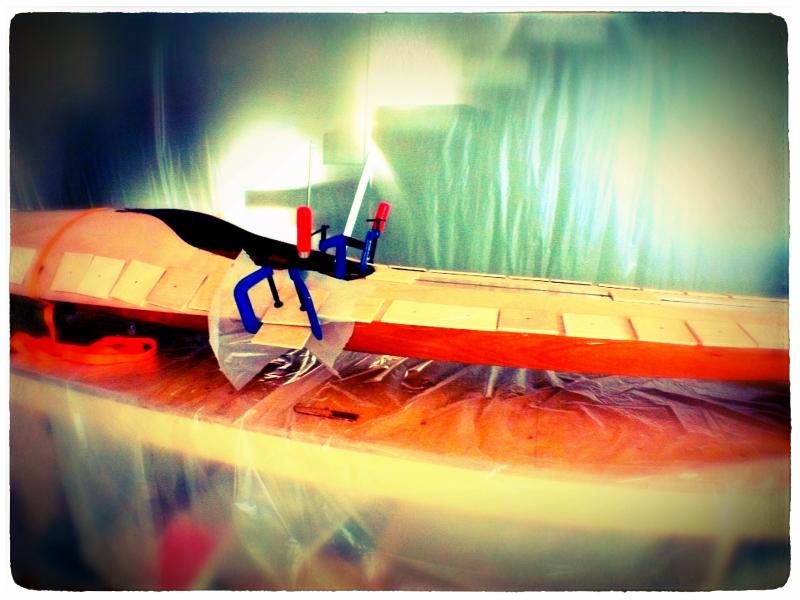
...the following photos were made this afternoon and evening, like preparing wooden tabs to screw onto the deck with packaging tape so they hopefully are not glued onto the deck:
...as i deviated a little from the instructions and made the kingplank stop short of the boats end and inserting a piece of deck-wood there, i had to find a method to glue the very far end of the boats deck:
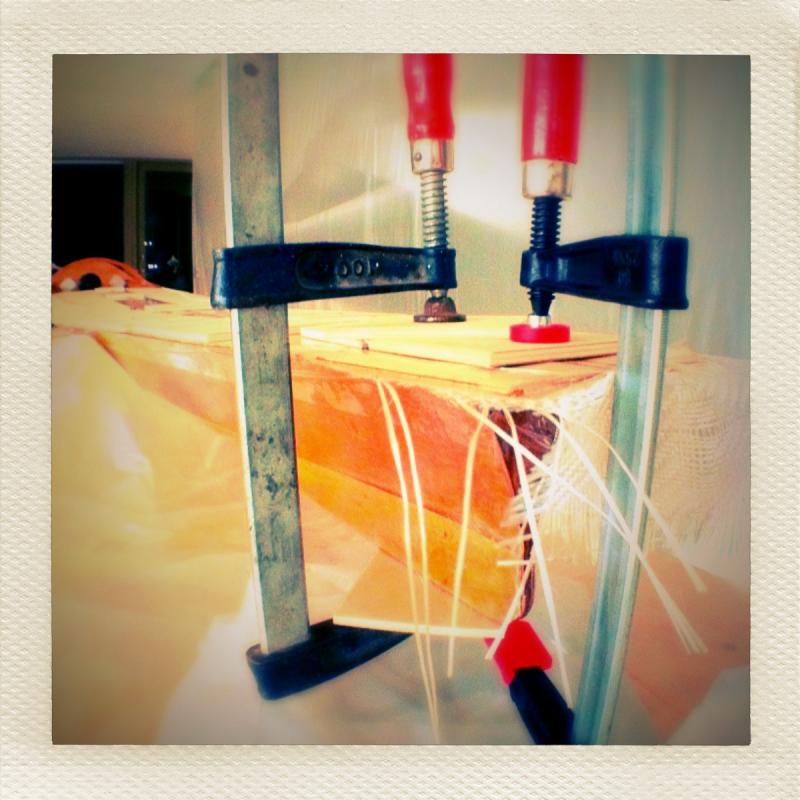
...finished glueing the rear deck:
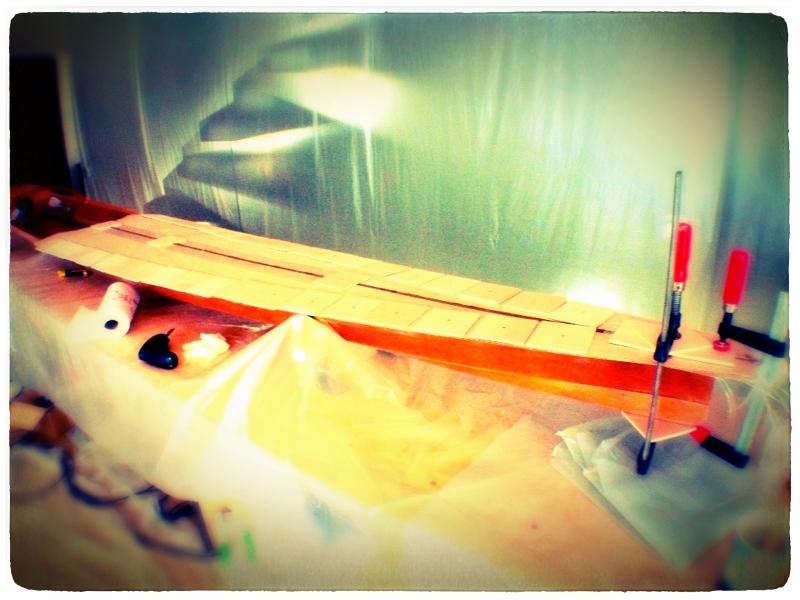
...finished glueing the forward deck:
...the just built cockpit-area:
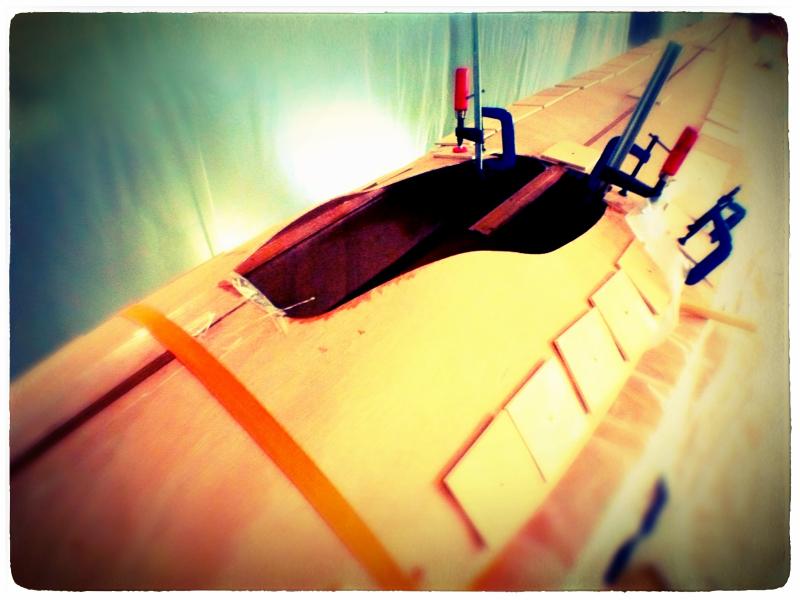
...a side view onto the current status:
'...so, how many kayaks do you really need?...' - '...one more!...'
Offline
#14 15 Aug 2011 3:18 pm
- fairplay
- Member
- Registered: 16 Jun 2011
- Posts: 109
Re: ...current status pics [Pax 18]...
...somehow i did not make any photos during the process of preparing and coating the outer hull ![]() ...then i had again some time without any further progress until today, when i forced myself to finally start glueing the rim...
...then i had again some time without any further progress until today, when i forced myself to finally start glueing the rim...
...i'll do this in two steps as i plan to sand the lower part of the rim a little, before attaching the top...
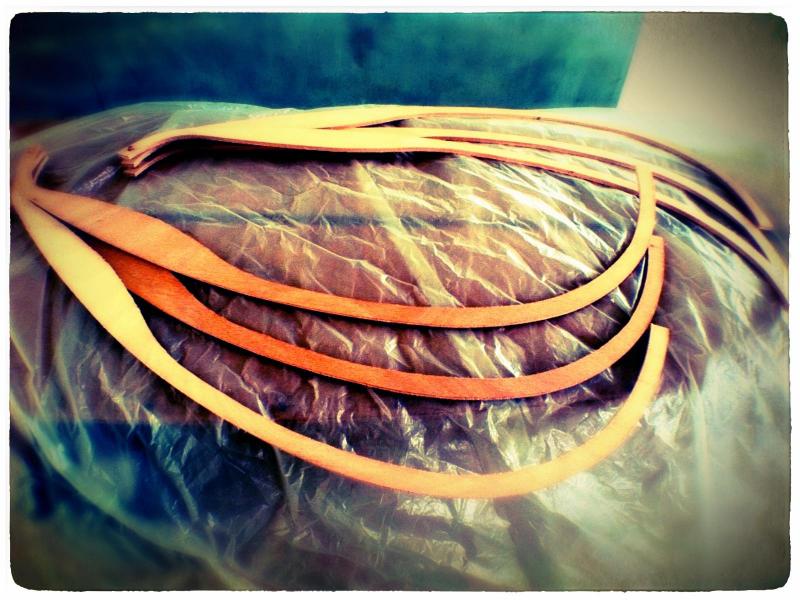
...preparing to glue:
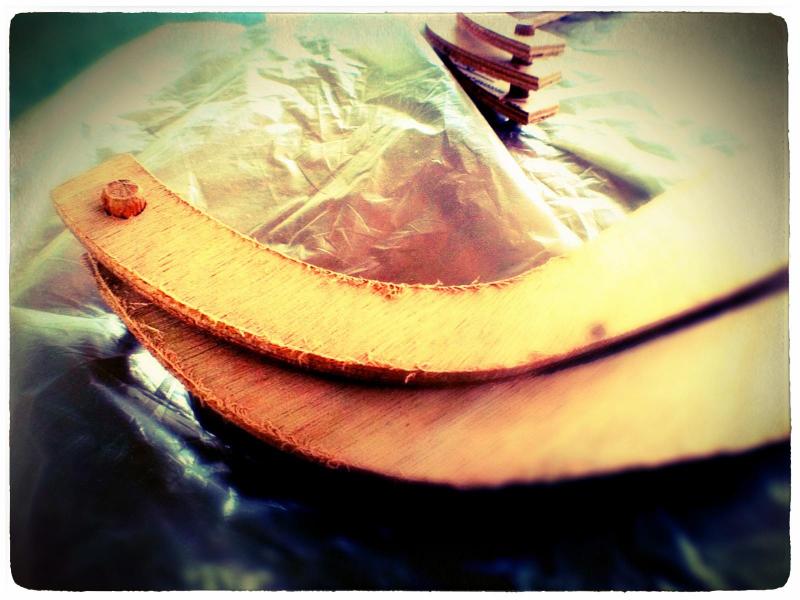
...i opted to keep the parts aligned by inserting wooden plugs that also go through the hull:
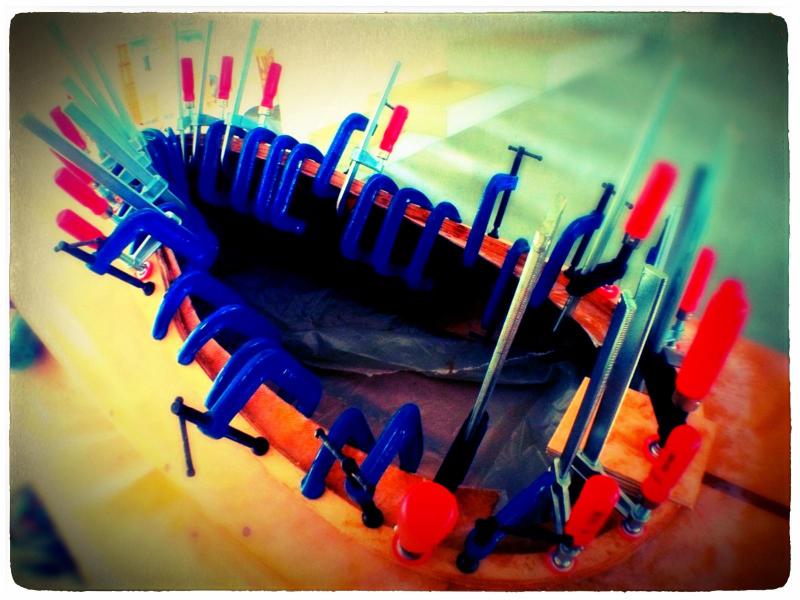
...glueing the rim requires one and the other clamp:
'...so, how many kayaks do you really need?...' - '...one more!...'
Offline
#15 17 Aug 2011 5:24 pm
- Mikey
- Member
- Registered: 10 Jun 2011
- Posts: 20
Re: ...current status pics [Pax 18]...
Hi Fairplay,
It's still looking really great! I've just caught up on your posts and it looks like you have a boat and cannot be too far off finishing? Thank you for sharing your project as I relaly appreciate being able to follow. It's really cool and wish I could take her for a spin!
Mikey
Offline
#16 22 Aug 2011 8:51 am
- fairplay
- Member
- Registered: 16 Jun 2011
- Posts: 109
Re: ...current status pics [Pax 18]...
...hi Mikey,
thank you for the kind words ![]() ...
...
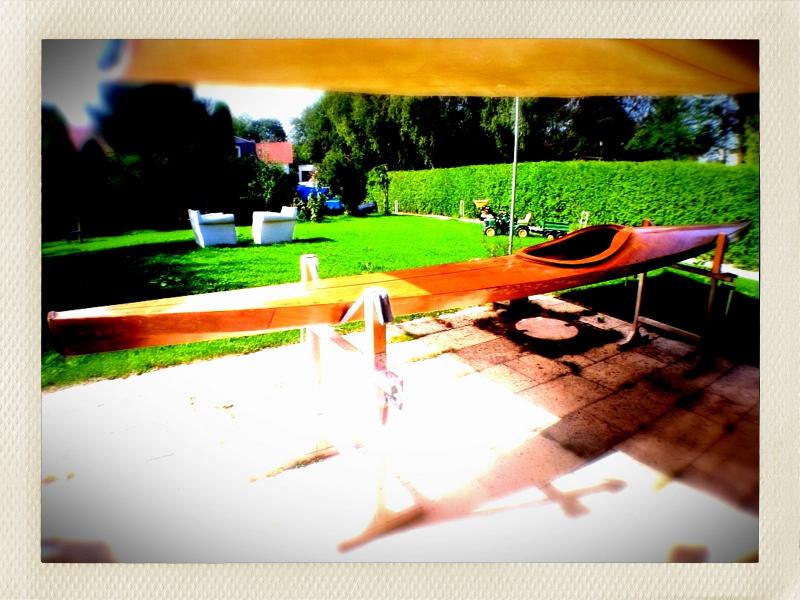
...i really hope to finish the boat this week - today i'll start the 'big sanding adventure'...i have just set up the boat outside and will dive into that next adventure shortly:
'...so, how many kayaks do you really need?...' - '...one more!...'
Offline
#17 25 Aug 2011 8:11 pm
- Mikey
- Member
- Registered: 10 Jun 2011
- Posts: 20
Re: ...current status pics [Pax 18]...
Hi Fairplay,
Is it varnished? Are you on the water? How was it? How does it handle? Is it as quick as they say?
Mikey
Mikey
Offline
#18 25 Aug 2011 9:53 pm
- fairplay
- Member
- Registered: 16 Jun 2011
- Posts: 109
Re: ...current status pics [Pax 18]...
... ![]() ...
...
...hi Mikey,
i am still sanding...first there was the rim and coaming to finish; i learned a lesson there: install the rim first, then sand it, thereafter install the coaming, sand again...thereby you get it really neat and clean looking...and the outside rim is very good visible on the finished boat, so it is worth the extra work...
...the next step was to sand the whole boat with 100grit - which took about a net of 4 hours, split in two sessions on two days, and today another run over the whole boat with 320grit...
...i just finished putting epoxy on the rim, coaming, forward and end cap, so i will have to sand those (by hand) tomorrow again...
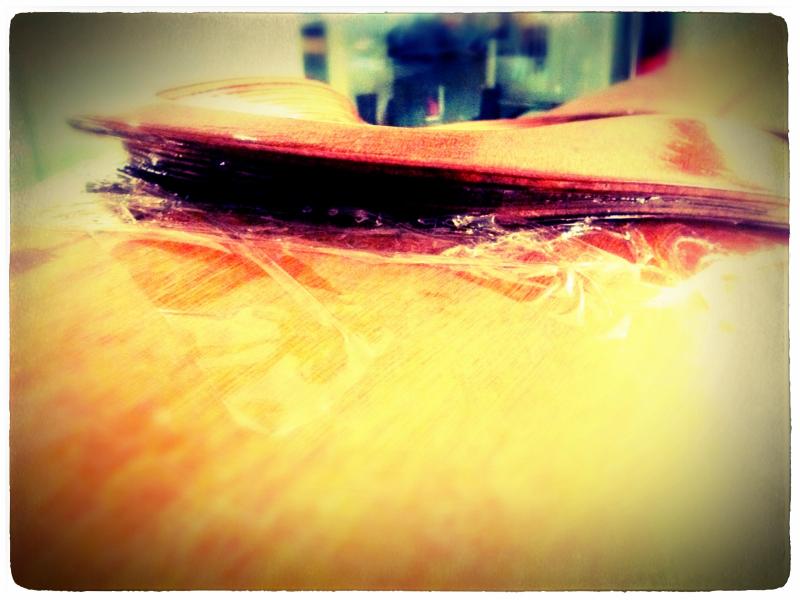
...i will not be able to work on the boat for another week - but as the sanding is finished i plan to varnish the boat beginning on september 1st; at this time i intent to put on a total of five layers of varnish, and i must be finished on september 8th latest...absolutely! - completely ![]() ...
...
...as this will be my wifes boat i might not be able to tell you firsthand how the first experience is/was, but i'll let you know what i observed...
Last edited by fairplay (25 Aug 2011 9:55 pm)
'...so, how many kayaks do you really need?...' - '...one more!...'
Offline
#19 28 Aug 2011 8:13 pm
- Mikey
- Member
- Registered: 10 Jun 2011
- Posts: 20
Re: ...current status pics [Pax 18]...
Hey Fairplay, Fairplay! ![]() Thanks for thetip on the coamiing. I hope your wife enjoys the fruits of your labour and totaly loves the boat... Still keen to know how she handles.
Thanks for thetip on the coamiing. I hope your wife enjoys the fruits of your labour and totaly loves the boat... Still keen to know how she handles.
Mikey
Mikey
Offline
#20 4 Sep 2011 9:39 am
- fairplay
- Member
- Registered: 16 Jun 2011
- Posts: 109
Re: ...current status pics [Pax 18]...
...it is probably obvious, but i am learning another lesson: patience ![]() ...i have put on the first layer of varnish only yesterday...
...i have put on the first layer of varnish only yesterday...
...i was pretty sure i wantd to make wholes for easier carrying of the boat - nevertheless actually drilling those holes was an adventure in itself:
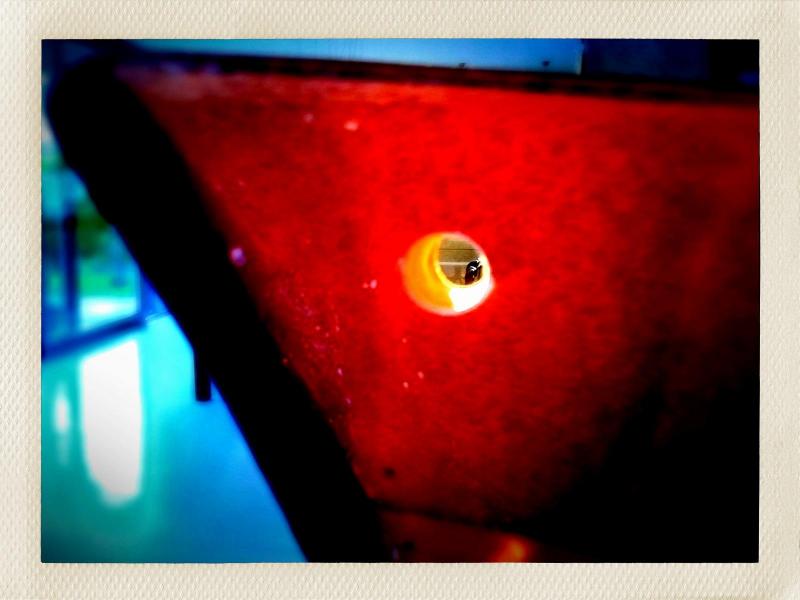
...thorough pre-un-dusting took place here with lots of water:
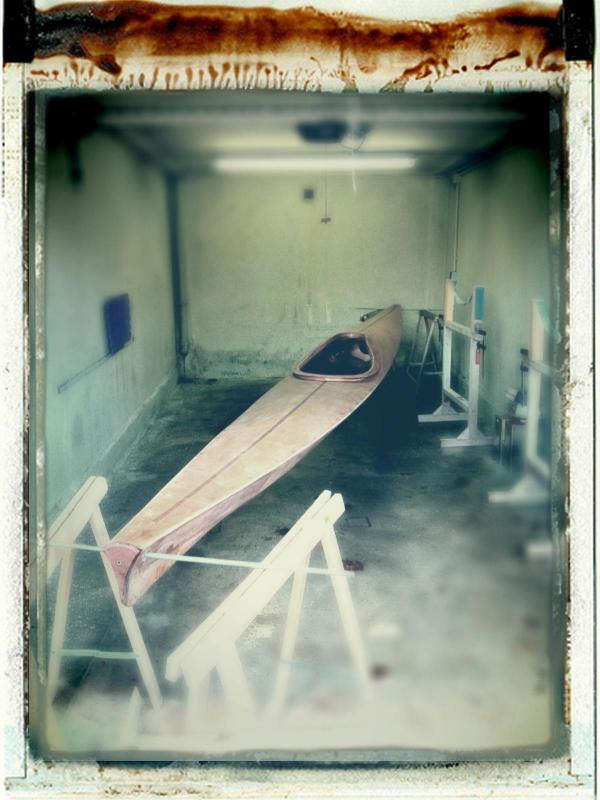
...the first layer of varnish after 12 hours drying:
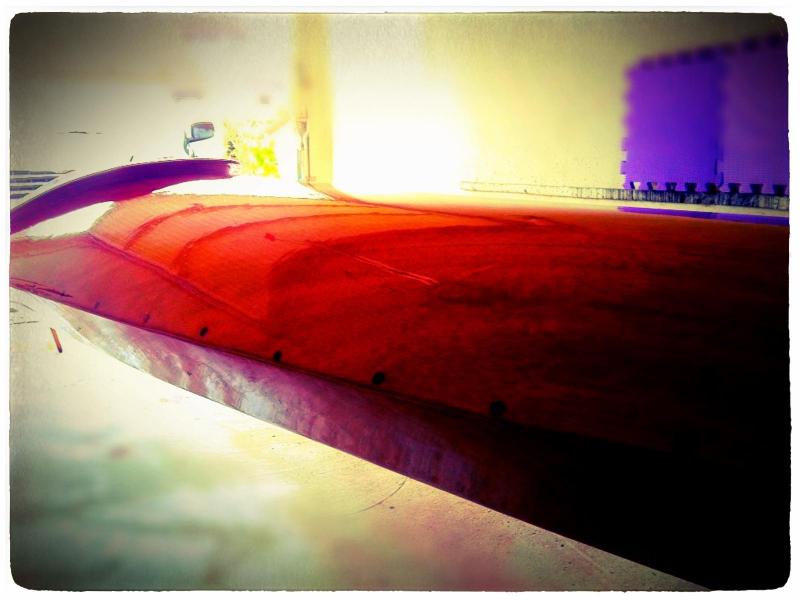
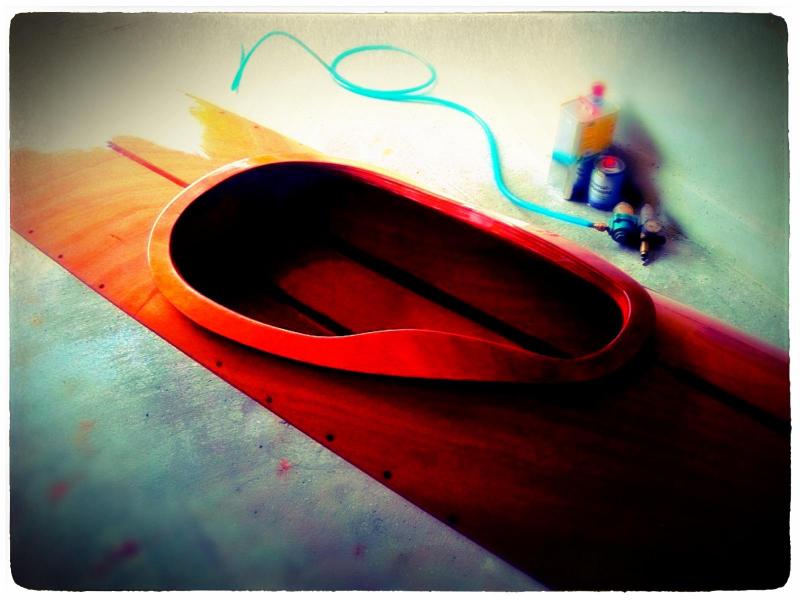
'...so, how many kayaks do you really need?...' - '...one more!...'
Offline
#21 8 Sep 2011 2:49 pm
- fairplay
- Member
- Registered: 16 Jun 2011
- Posts: 109
Re: ...current status pics [Pax 18]...
...first time on the water today!...
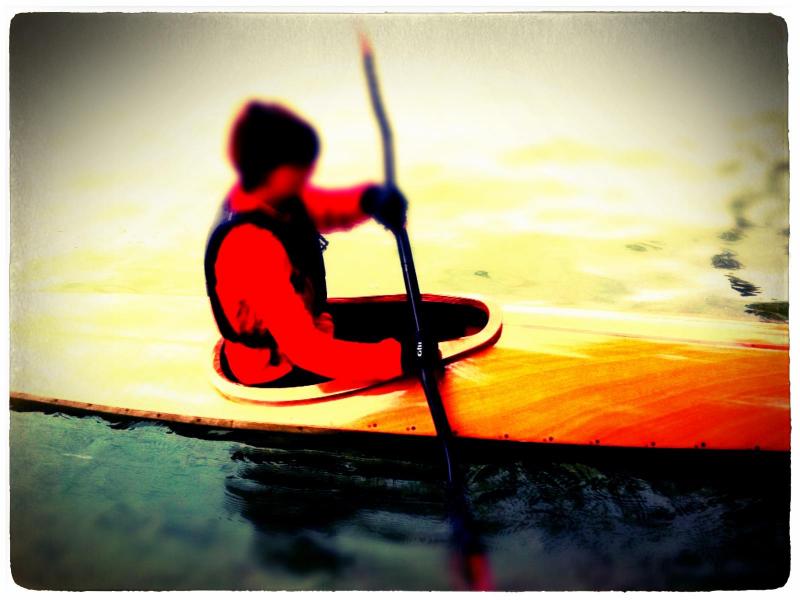
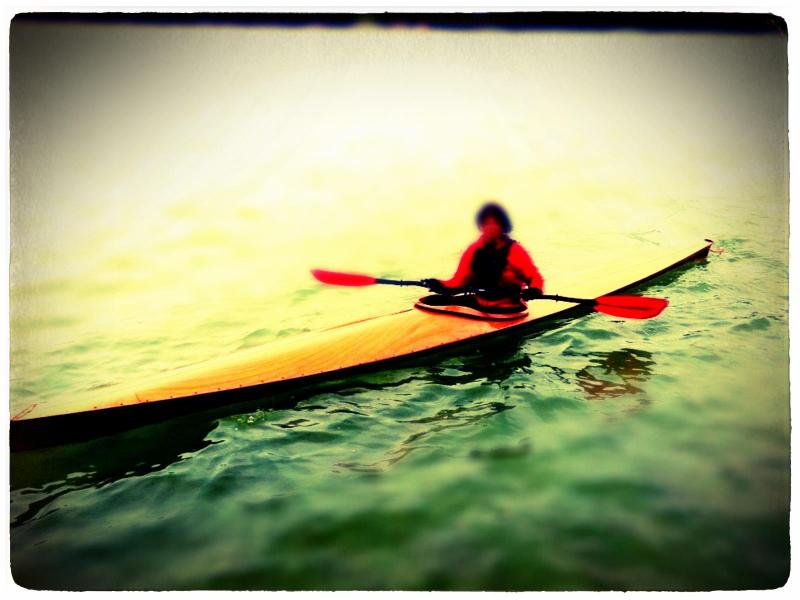
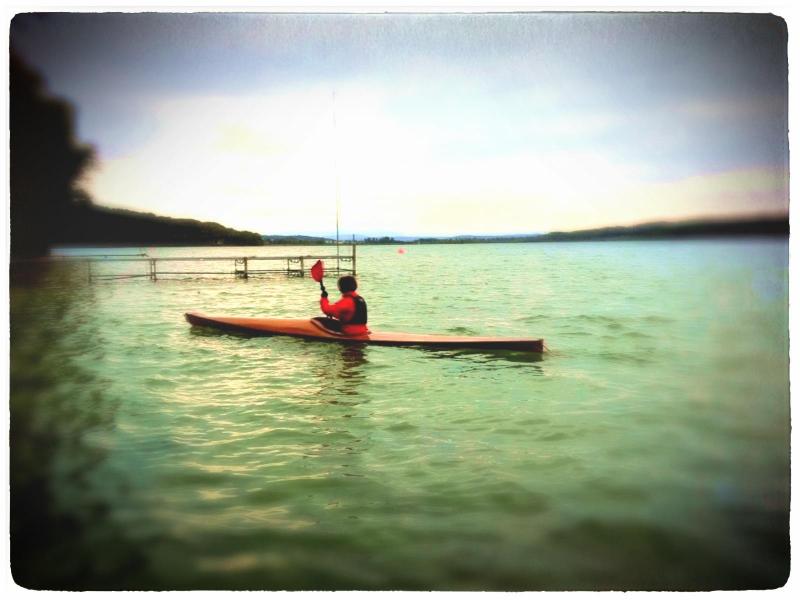
...uhm, did i mention that the next Pax 18-kit is on the way already ![]() ...
...
'...so, how many kayaks do you really need?...' - '...one more!...'
Offline
#22 14 Sep 2011 1:58 pm
- fairplay
- Member
- Registered: 16 Jun 2011
- Posts: 109
Re: ...current status pics [Pax 18]...
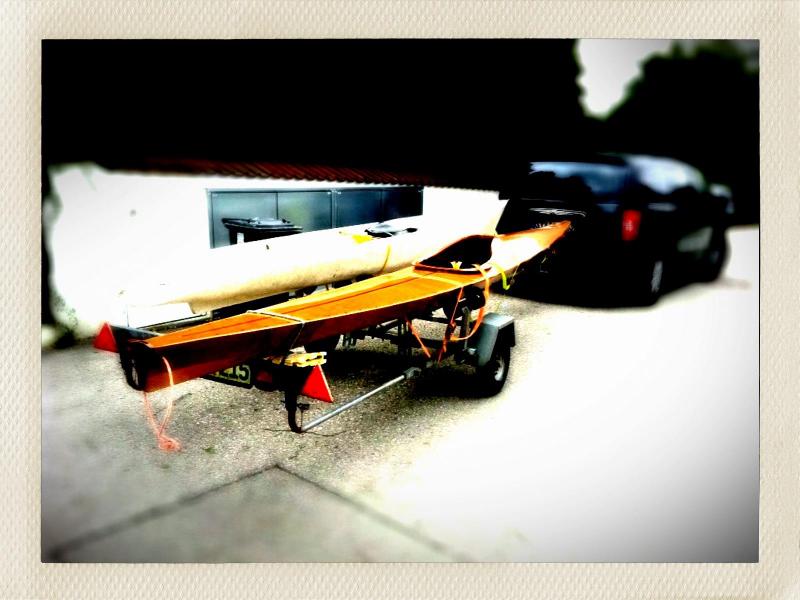
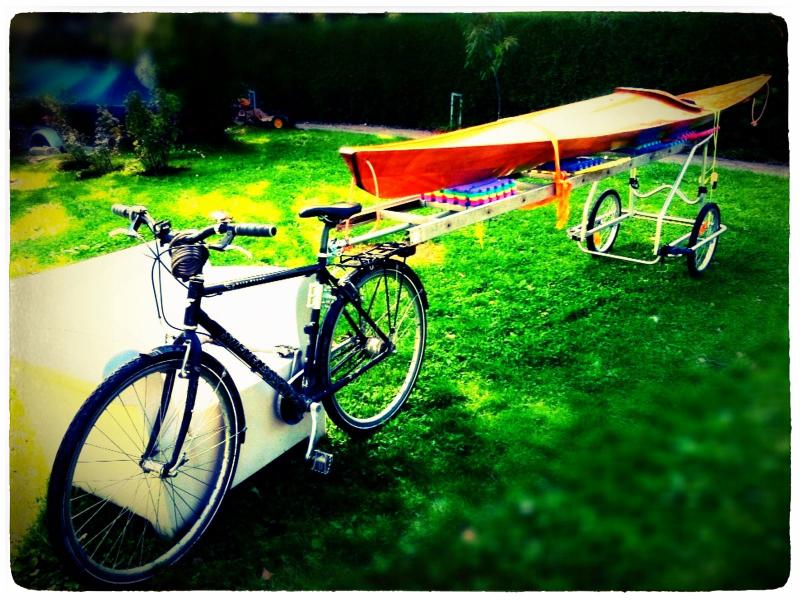
...as the next Pax-kit has not yet arrived i used the time to build a special trailer using an old ladder, a kids trailer and a few threaded rods ![]() :
:
Last edited by fairplay (14 Sep 2011 1:58 pm)
'...so, how many kayaks do you really need?...' - '...one more!...'
Offline
#23 14 Sep 2011 5:18 pm
- fairplay
- Member
- Registered: 16 Jun 2011
- Posts: 109
Re: ...current status pics [Pax 18]...
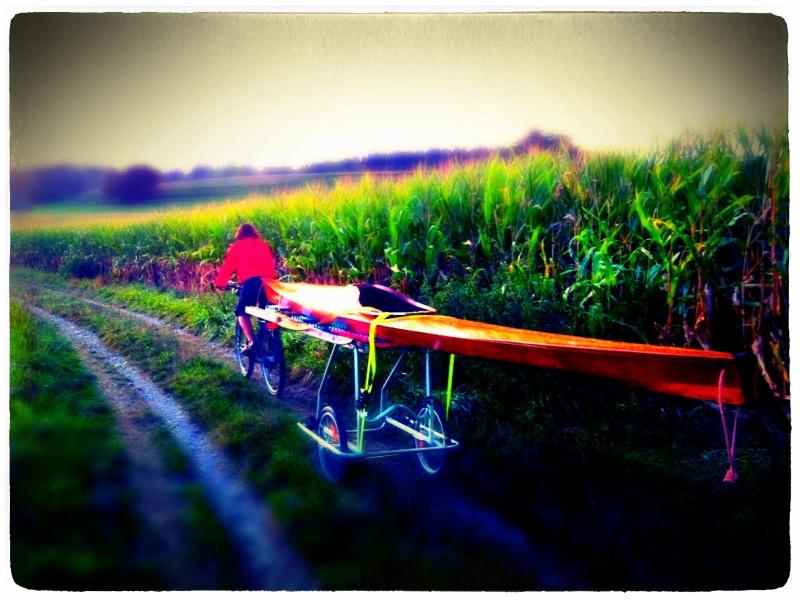
...ha! - it does actually work...we went all the way to the lake like this:
'...so, how many kayaks do you really need?...' - '...one more!...'
Offline
#24 22 Sep 2011 1:08 pm
- oak_roberts
- Member
- From: Lancaster
- Registered: 22 Sep 2011
- Posts: 9
Re: ...current status pics [Pax 18]...
Great thread Fairplay! I'm looking at building a Pax myself, talked to Fyne today and they mentioned this thread. As i understand you put a layer of fiber glass cloth on both the inside and outside, I'm thinking about that too as a glass-wood-glass composite makes a lot of sense. My biggest hurdle is cost, so I would need to know in advance how much epoxy I needed as I suspect that is what will cost the most. How many kg did you use?
Thanks, and congrats on a great looking kayak ![]() .
.
Offline
#25 22 Sep 2011 8:21 pm
- fairplay
- Member
- Registered: 16 Jun 2011
- Posts: 109
Re: ...current status pics [Pax 18]...
...hi oak_roberts,
thank you for the compliments...
...my guess is that i actually 'used' less than 50% more than what is included into the kit already...but - rather - BUT: i made a few easily avoidable mistakes and wasted unfortunately a lot of expoxy unused...so you might be able to manage with the epoxy that is included into the kit (or very little more than that) to do the additional cloth inside also...
- just try to think ahead
- and mix small batches only
- as well as remember to apply thin coats only
...i had mixed consideralbe amounts of epoxy that unfortunately went unused into the trash-bin as i did not plan ahead far enough; and i did apply too much epoxy - especially on the inside...
...on the next boat - that i hope to be able to start soon as the wood for it has arrived this week - i will use much less expoy and try keep the waste very low...
...so, asked for a recommendation i'd suggest you start building the boat and see how far you get with what is included into the kit; i guess you'll be able to finish the boat. In case you really do not have enough epoxy in the end, i am sure you can get away with the smallest unit Fyne does sell...
...hope to read about your build here soon!...
Last edited by fairplay (22 Sep 2011 8:22 pm)
'...so, how many kayaks do you really need?...' - '...one more!...'
Offline
