A forum for discussing wooden boats and boat building
You are not logged in.
- Topics: Active | Unanswered
Pages: 1
#1 26 Mar 2023 11:45 am
- NeddyTheNed
- Member
- Registered: 23 Sep 2022
- Posts: 3
Messy first puzzle joints
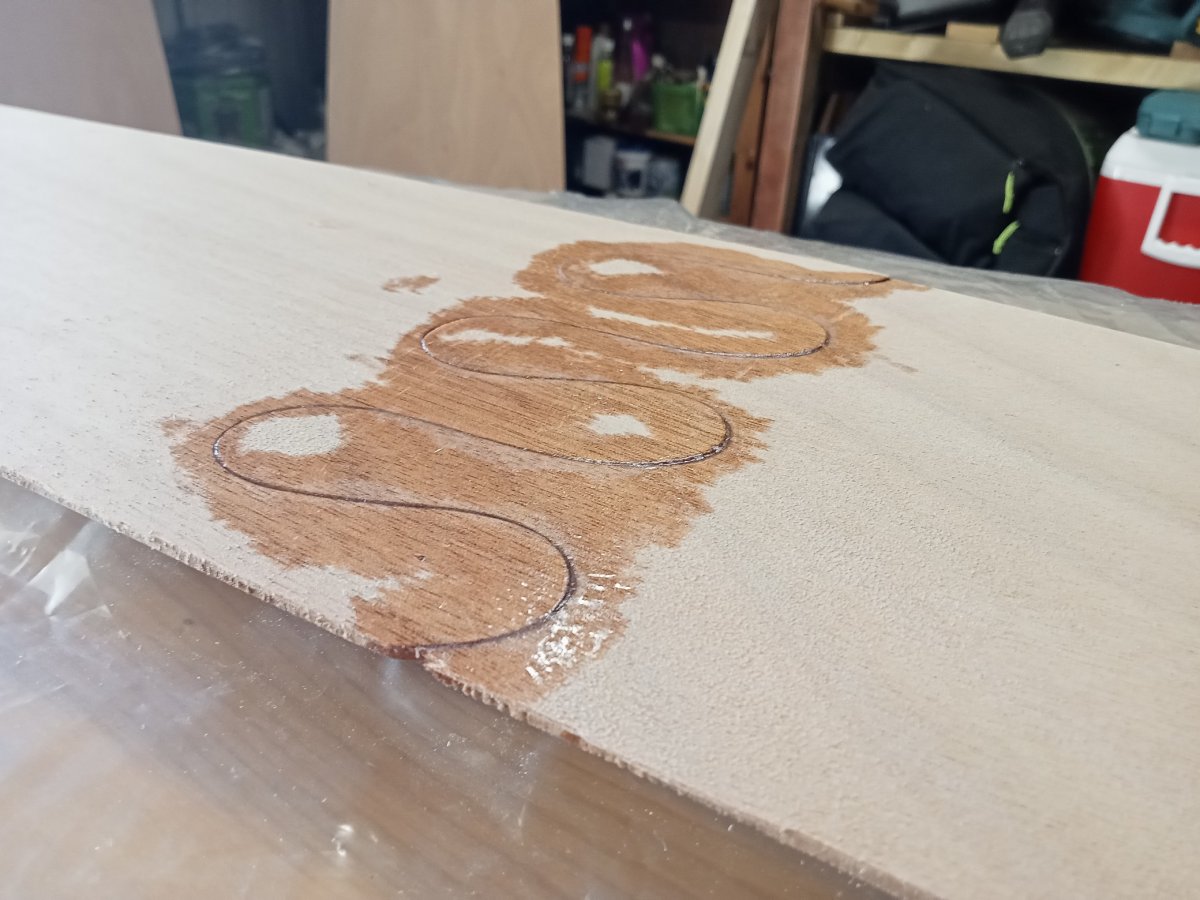
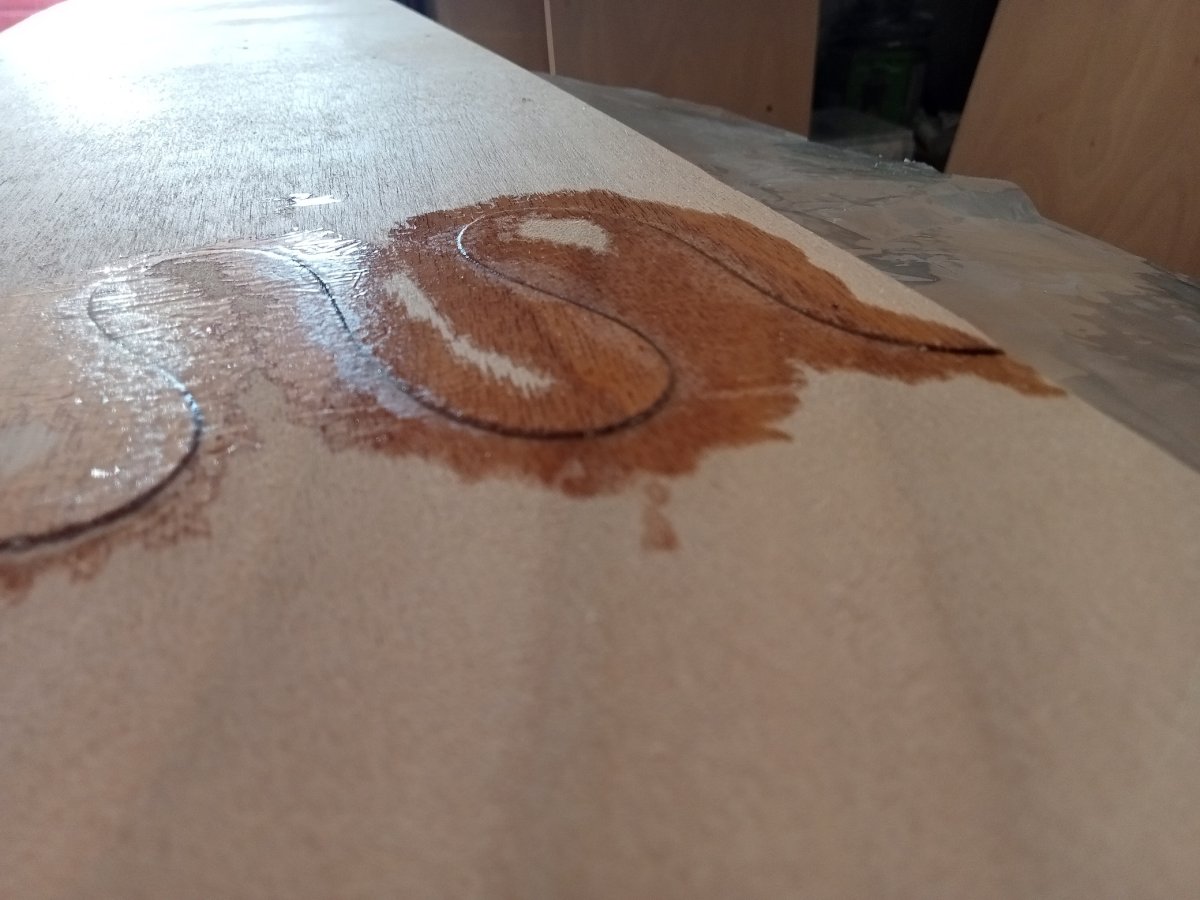
My first attempt at epoxying the puzzle joints on planks 1 of my Passagemaker is a bit of a mess! A lack of clarity with regards to the amount of microfibres to add to get to a "gravy" consistency (I like runny gravy rather than gravy you can stand your spoon up in) has left the puzzle joints gappy where it has oozed out and puddley where it has run out, not soaked in and "congealed". One lobe of a puzzle joint is also standing slightly proud on one side. This isn't how it looks in the manual!
What is the best way to recover? I am within 24 hours and while it is set it is still a little too soft to sand. Should I wait, sand and back fill with a stiffer gravy mix? Is there another option?
Thanks
Ned
Offline
#2 26 Mar 2023 1:51 pm
- MartinC
- Member
- Registered: 3 Apr 2020
- Posts: 341
Re: Messy first puzzle joints
Wait for someone (more experienced than me) at FBK to reply, but I would wait for it to dry fully and then sand down and use runny epoxy to fill any 'holes'. Clamping the puzzle joins using polythene to prevent gluing to the clamps is important to get them to set flat.
Don't worry! We have all been there and epoxy is pretty easy to sand flat and repair any mistakes.
Offline
#3 26 Mar 2023 6:55 pm
- NeddyTheNed
- Member
- Registered: 23 Sep 2022
- Posts: 3
Re: Messy first puzzle joints
Thanks Martin - I couldn't wait and spotted a link elsewhere on the forum to the heatgun & scraper method of epoxy cleanup... that worked well and I mixed up another batch for the no.2 planks that was a bit stiffer. I also used that to backfill on the no.1 planks. I had used Polythene but had used heavy things to press them flat (obv not heavy enough!), this time I used the screw down clamp method so hopefully they will turn out better than the no. 1s. My only concern now is that because of the unevenness of the joins the no.1s will end up thicker, weaker and uglier than they should be.
Offline
#4 27 Mar 2023 8:13 am
- Paul
- Employee

- From: Gatebeck Cumbria
- Registered: 4 Aug 2011
- Posts: 130
Re: Messy first puzzle joints
As MartinC mentions correcting mistakes when using epoxy is fairly easy.
It is unlikely that you have compromised the strength of the joint but fabric can be applied to either side of the joint if you think that it has. If you plan on painting the panel you can sand off the parts that are sticking up and fill the dips on the other side but sanding and filling will show if you are varnishing. In the very unlikely event that it cannot be repaired we can always supply replacement parts.
I imagine that if you did nothing no-one would notice the mistake on the finished boat but you, of course, would always look straight at it.
We can give you better advice if you telephone Fyne Boat Kits and email some pictures (or put them on the forum).
Please be careful how you pick up the long lengths of ply because they are delicate until they are attached together. Rotate the panels so that the edge is uppermost when carrying them. An assistant is very useful at this stage in the build.
Offline
#5 27 Mar 2023 5:04 pm
- NeddyTheNed
- Member
- Registered: 23 Sep 2022
- Posts: 3
Re: Messy first puzzle joints
Thanks Paul yes I will probably paint the inside and outside at that level so it shouldn't be a problem.
Good advice with handling...
Ned
Offline
#6 28 Mar 2023 7:53 am
- Paul
- Employee
- From: Gatebeck Cumbria
- Registered: 4 Aug 2011
- Posts: 130
Re: Messy first puzzle joints
Don’t worry it does not look too bad and you should be able to repair this or at least hide it.
Since you are going to paint both sides of the panel the job is considerably easier although it will involve more work for you and hold up the build for a few days. With luck your other joints are much better.
The panels look to be standing proud by about half of the thickness of the wood: this will have to be sanded down and feathered in. Please note that if the epoxy has not been on very long it will be difficult to sand and clog the sandpaper in which case a scraper will be an easier way to get down to the plywood before sanding.
On the other side you should give the epoxy a light sand to make it matte and then fill the dips with thickened epoxy. Use both of the fillers supplied in the kit to make the epoxy so thick it stands up on the mixing stick and slides only very slowly. Fill to the level of the other panel. Later you will have to sand this back so don’t make it stand too proud.
It is easier to do the sanding when the panel is flat but a fairer line is obtained if it is done in situ. I would scrape back the epoxy on the proud side before stitching but do the filling and sanding of the wood in situ. To ensure that the joint has as much strength as possible I would consider applying off-cuts of glass fabric, after filling and sanding, over the joint on both sides: this can be done at the same time as the fabric is applied to the rest of the boat using the same technique as described in the manual. This may not be necessary.
Handling the panel with this weak joint will be difficult. You must find some way of protecting the joint and stopping it flexing too much until it is stitched to the rest of the boat. If you sandwich the joint between two pieces of ply or any other scrap wood using clamps the strain will be taken off the joint but, unless you pick the panel up by the joint the weight may cause the panel to break elsewhere. The best way to deal with it is not to move it and never do so without help. Do not worry I think that is is unlikely to break – I have seen worse joints which have held.
Since you will be sanding epoxy before you get to that stage in the build please look at the safety precautions that you should take. There is some information in the manual but if you click this link you will go to the Safety Precautions page on our website where it can be found quickly:
Using Epoxy
Offline
Pages: 1