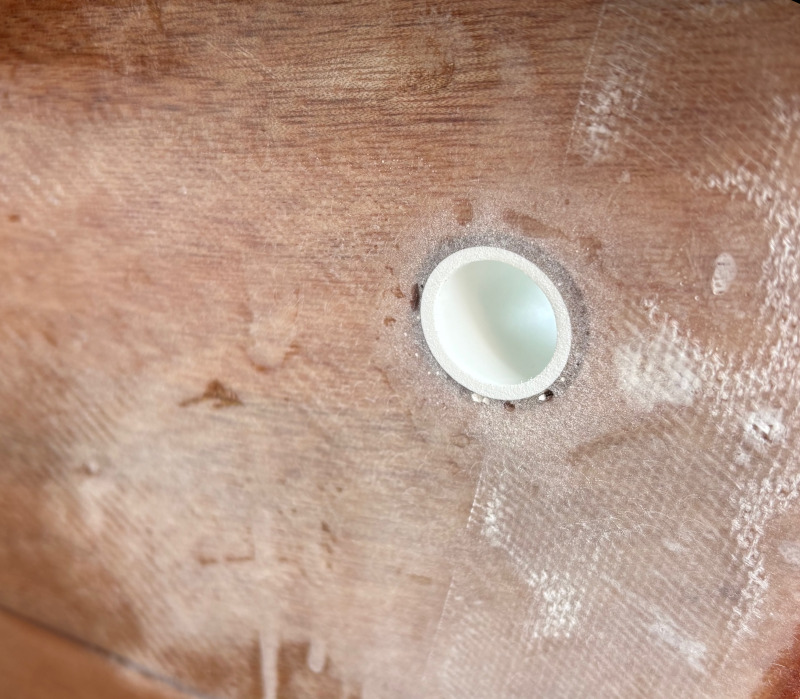
One thing I have finished is attachments for the bow and stern painters (mooring ropes). I need these to be very sturdy as they're responsible for stopping the canoe see-saw-ing when transporting on a roof-rack. After some reading around and consulting FBK support I decided to go with holes drilled through the bow/stern. To keep the end tanks waterproof I added grommets made from some 20mm plastic electrical conduit I had lying around. First I drilled the holes out with a 22mm hole-saw (a very cheap one which went through the fibreglass and epoxy no problem). I sanded the conduit a little (for epoxy grip/adhesion) then glued it in place with a lot of thickened epoxy and some glass inside for good measure.
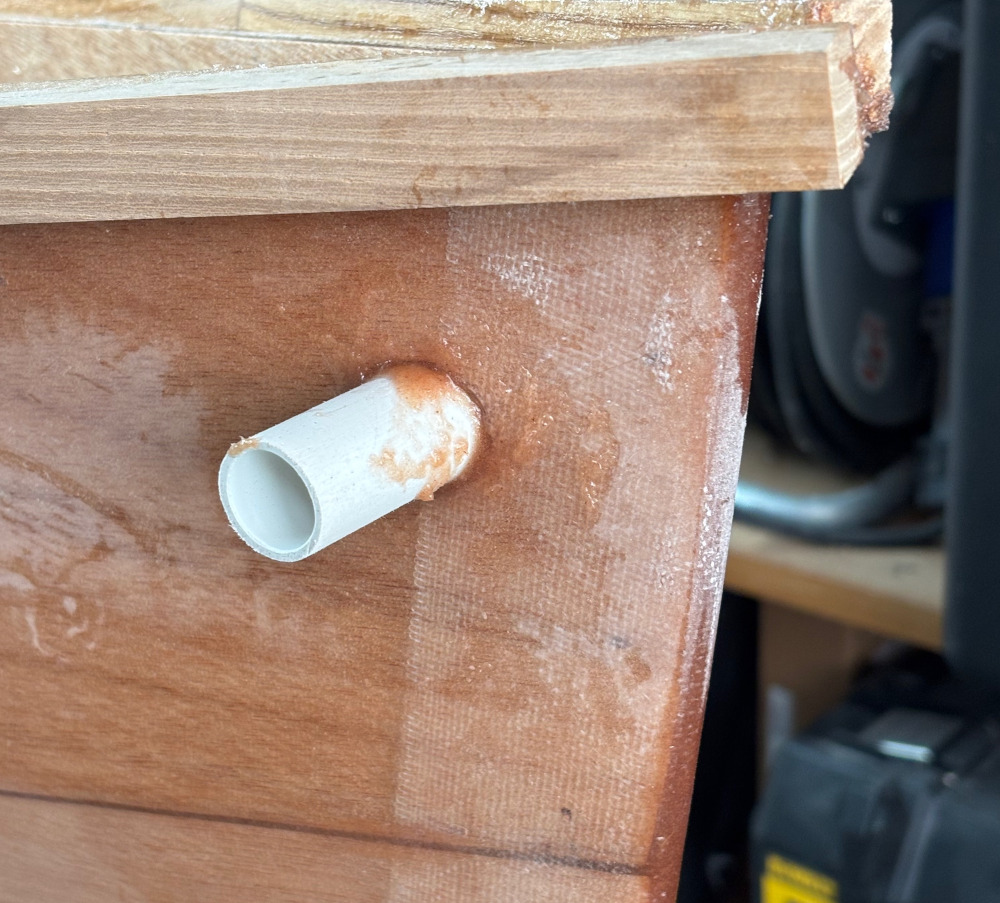
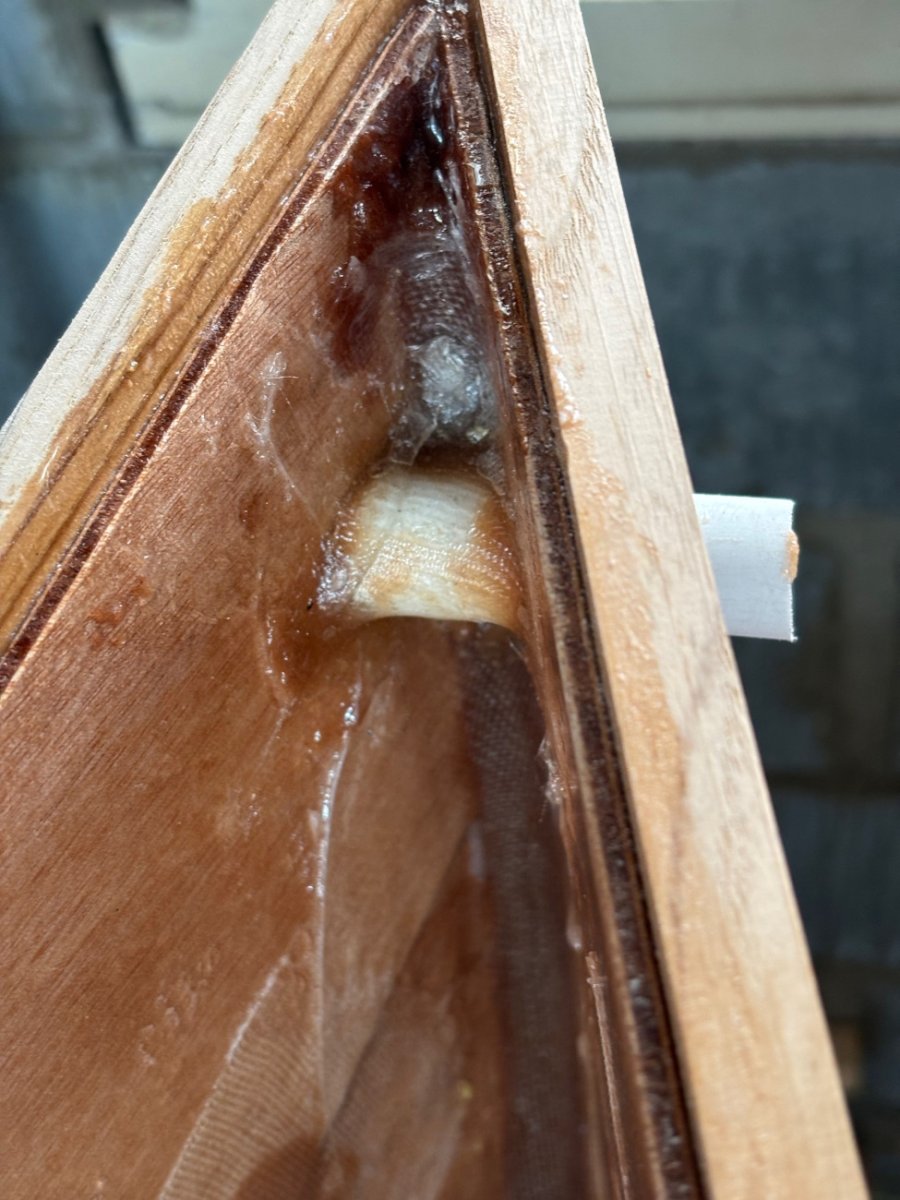
Then once all that had fully cured I cut off most of the excess conduit with a hacksaw (one of those mini ones where the blade points out like a jabsaw) and sanded it smooth. A few bits still need some more epoxy but I think the end result will look great once the outside is painted.