I'm afraid the skeg is a kayaksport one, I'm planning on trying Uncle Nick's design on my next build
]]>Did you make the retractable skeg from scratch too?
]]>
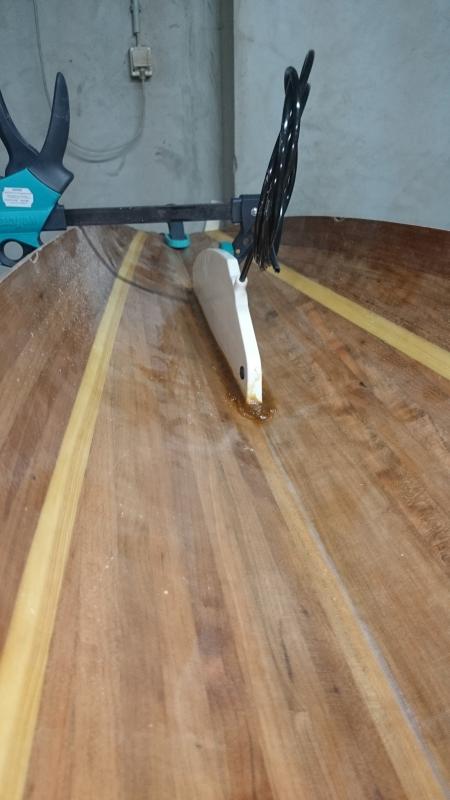
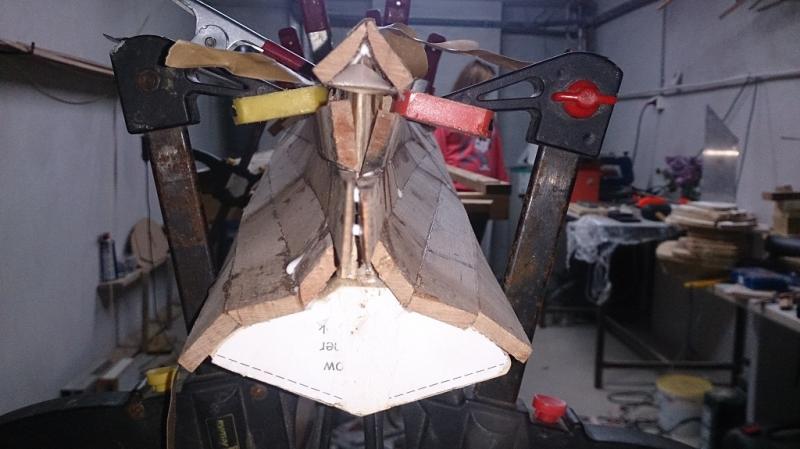
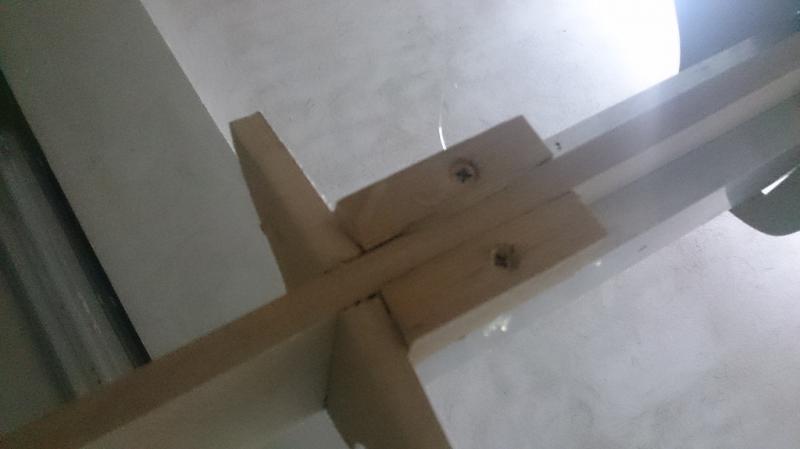
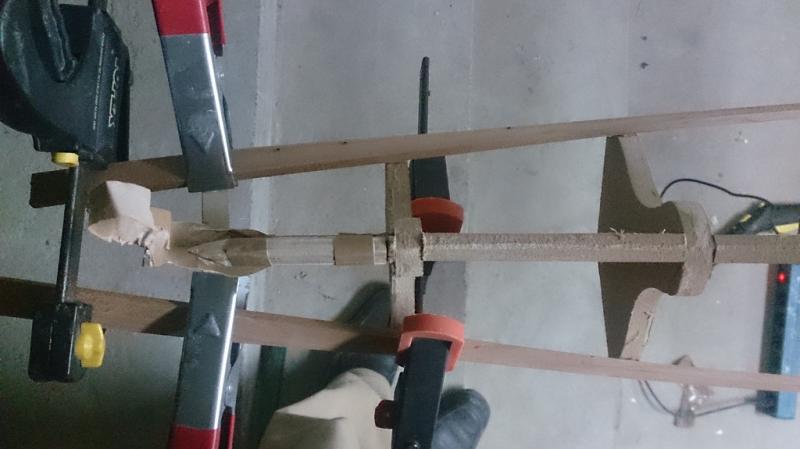
First I put a couple of tiny ones in at the stern, this would not normally be necessary, but the design of this boat is really unique
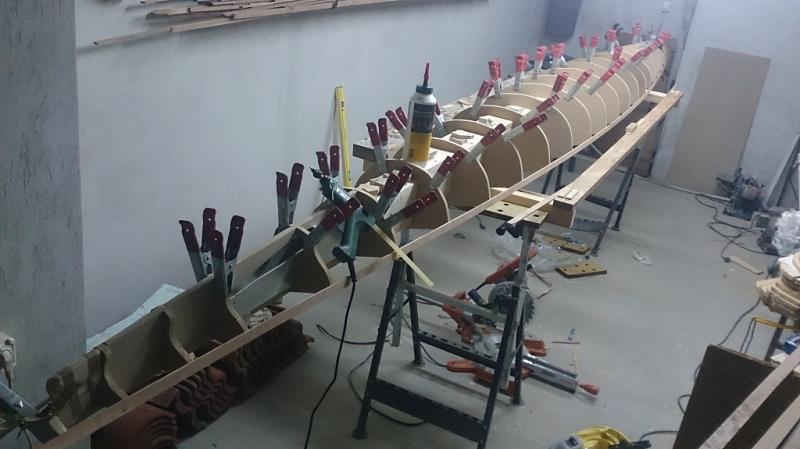
Then I added sheer-clamps from the last Maroske fitting to the stern
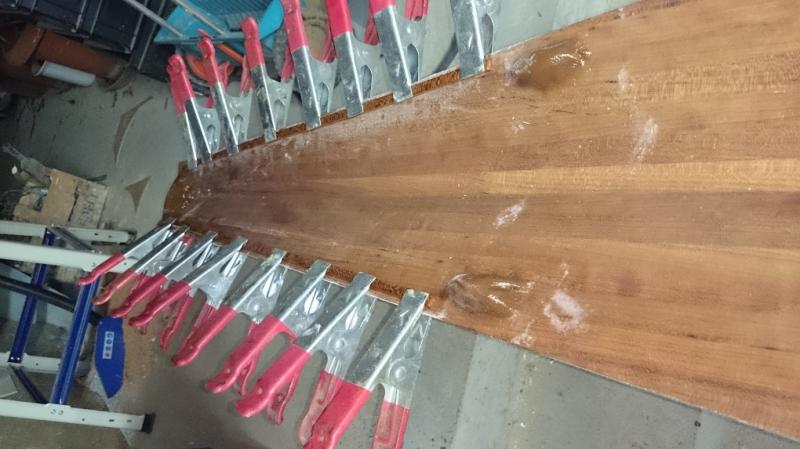
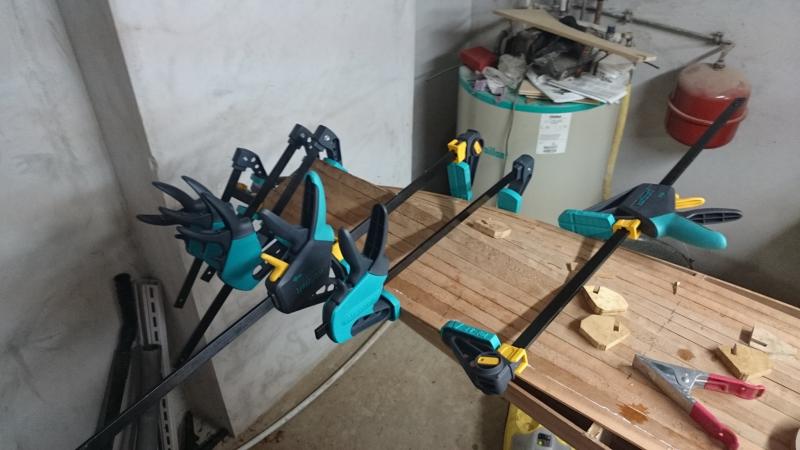
and the bow. You can never have too many clamps!
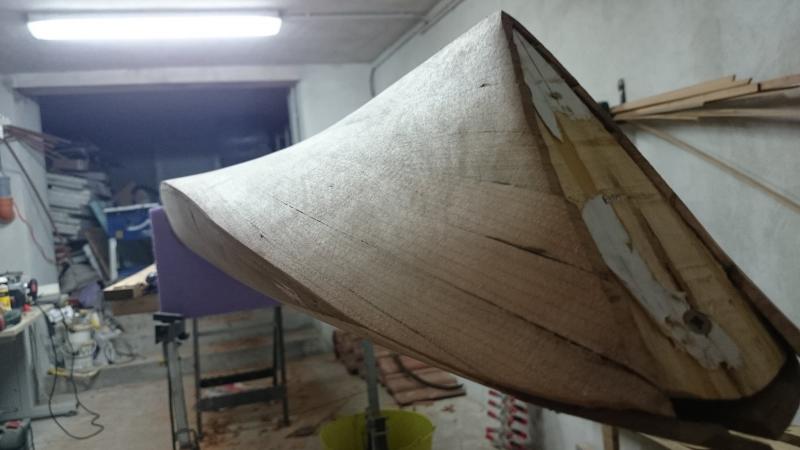
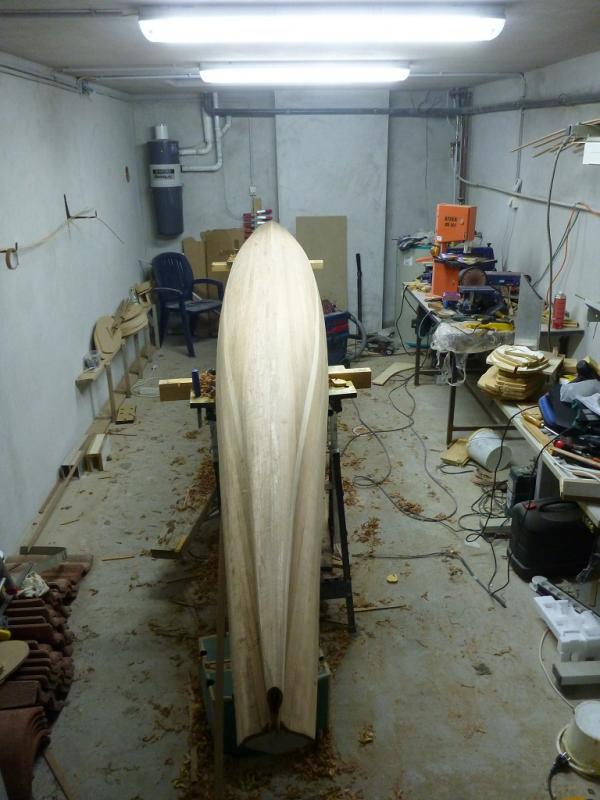
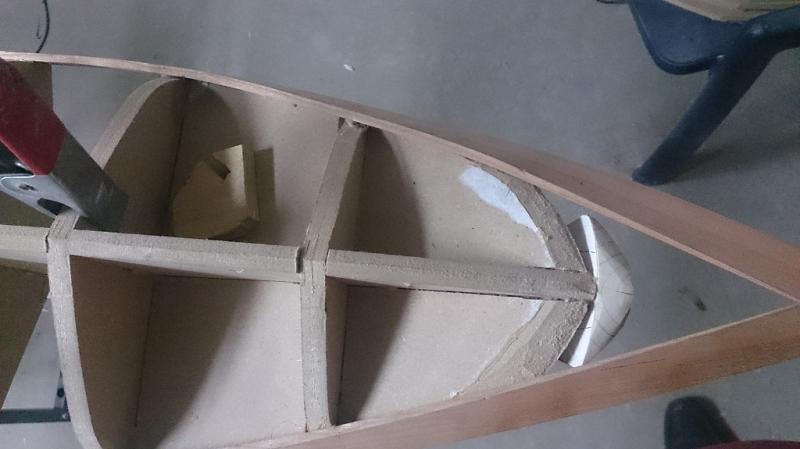
Once the epoxy had hardened I spread a bit of thickened epoxy on the sheer-clamps, wrestled the deck into position and clamped it
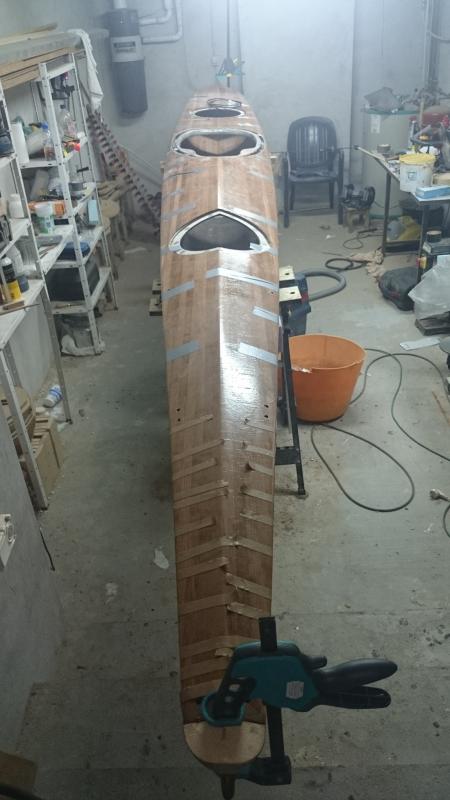
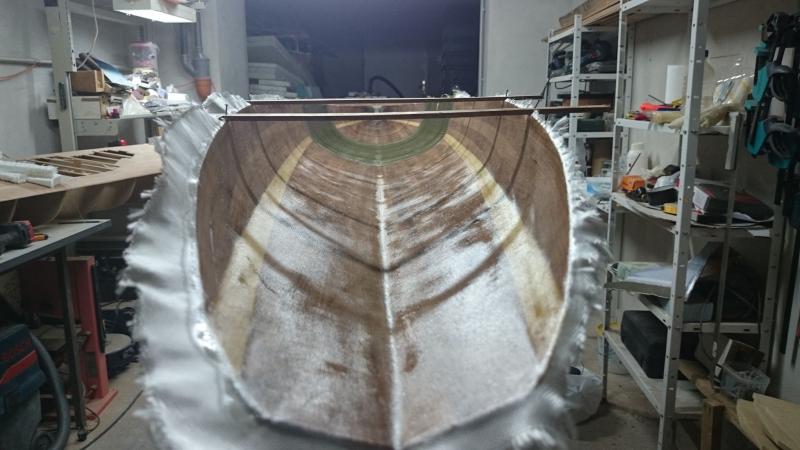
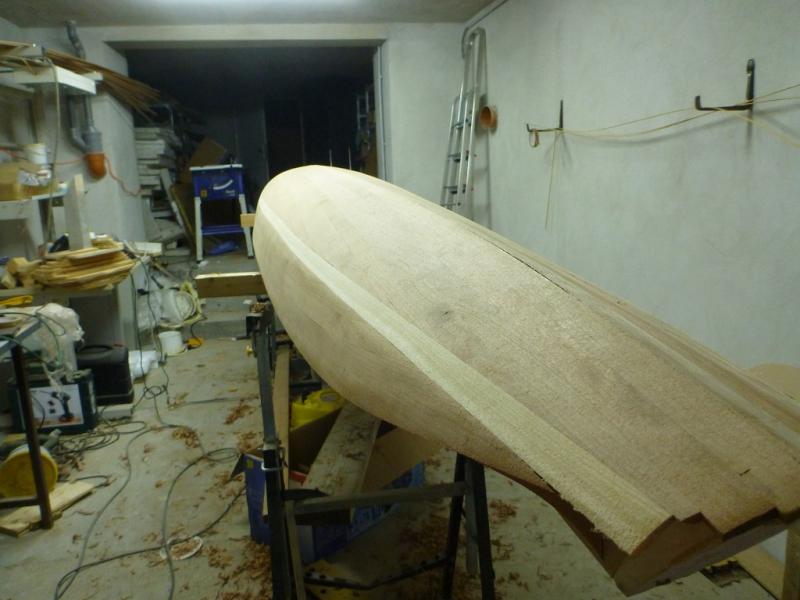
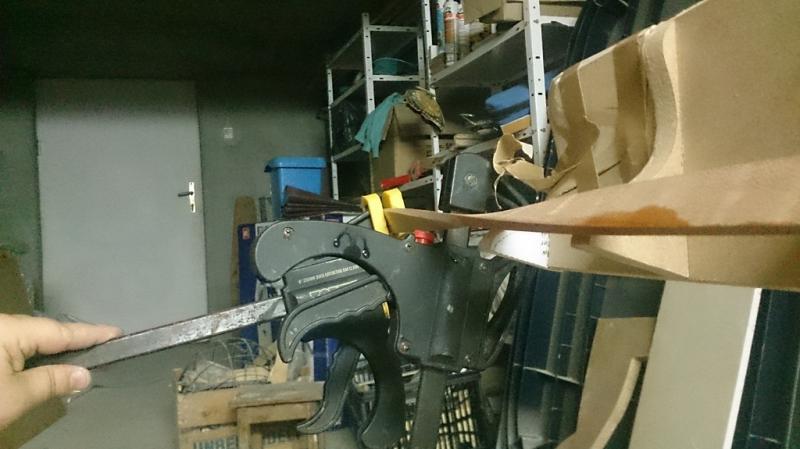
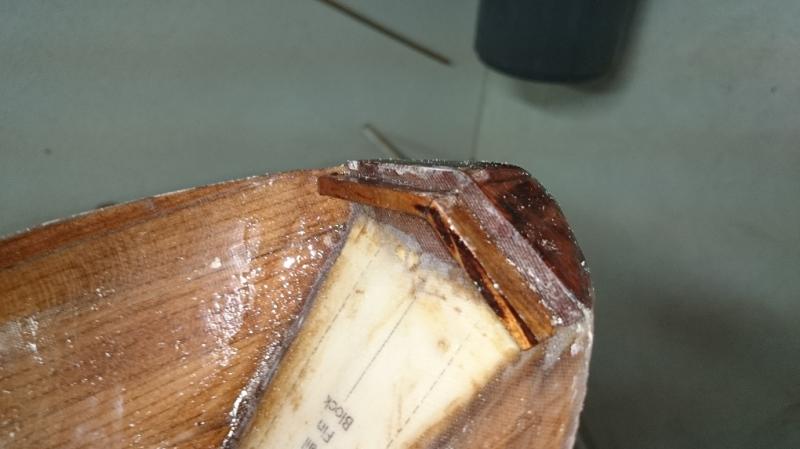
Again I waited until the epoxy hardened, then tipped the boat on its side and used duct-tape to fix the deck to the hull. The hull was a pretty good fit, since I took care to put spreader sticks on the hull while I was fibre-glassing it and making the deck.
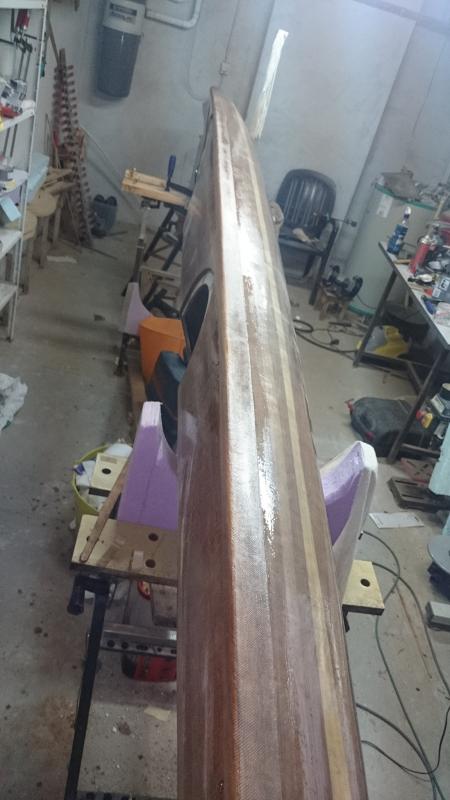
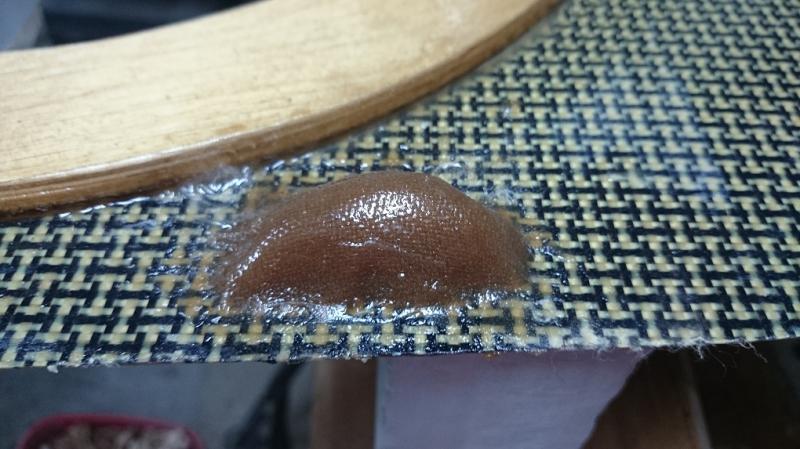
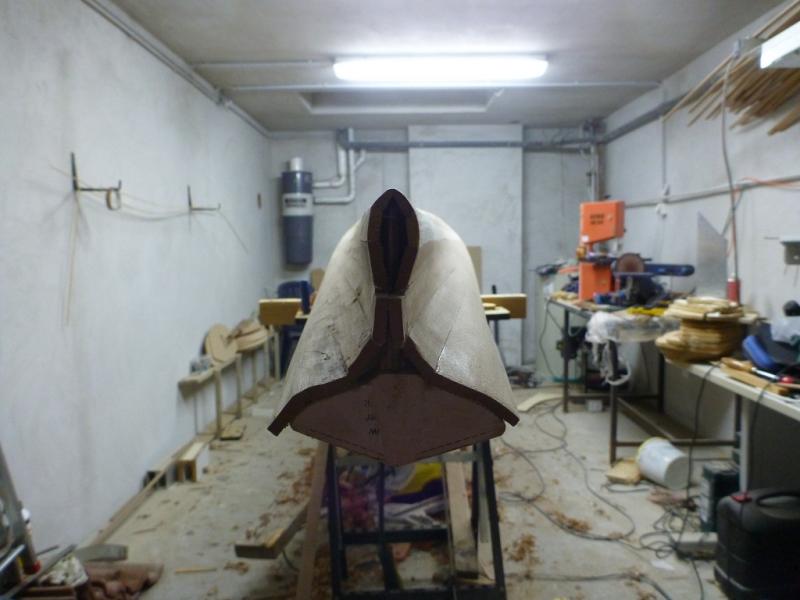
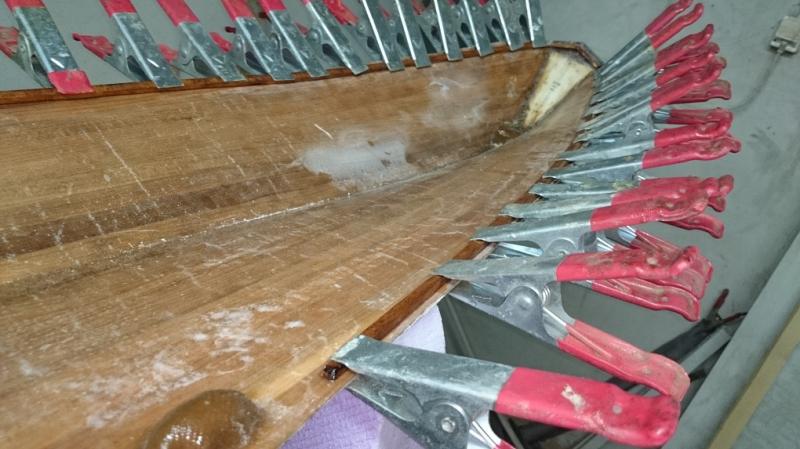
Then I taped the seam inside and out (I also added a fillet of thickened epoxy to the inside seam) and that is where I am today!
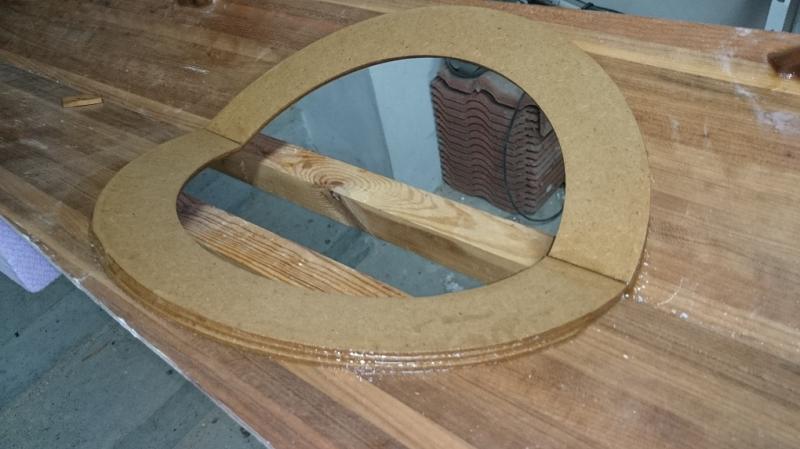
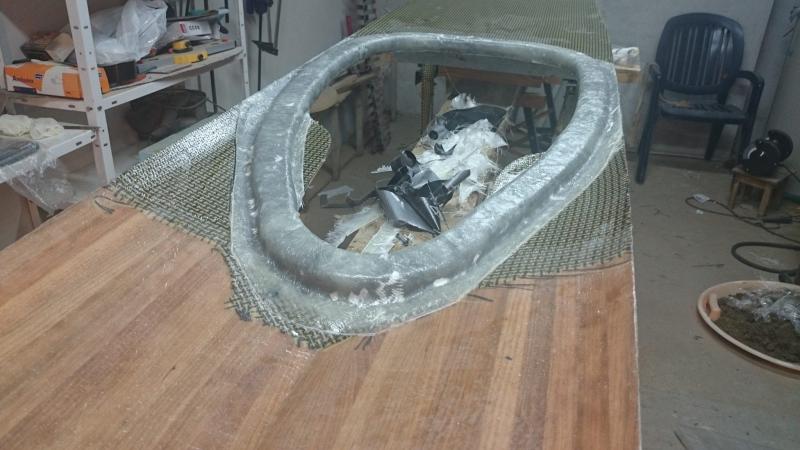
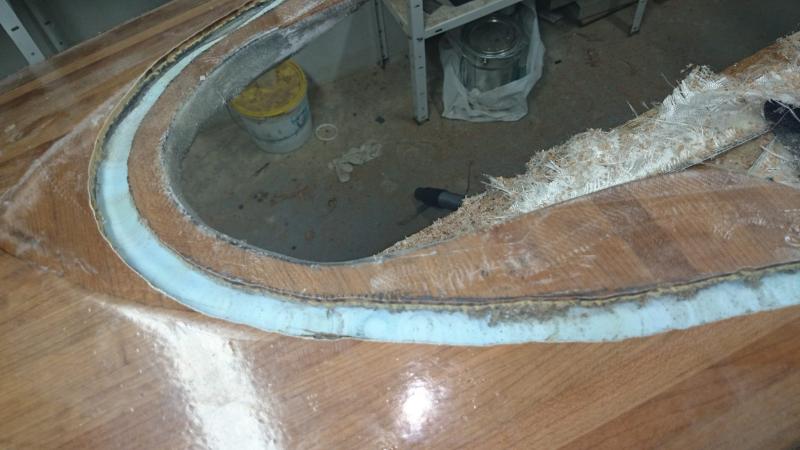
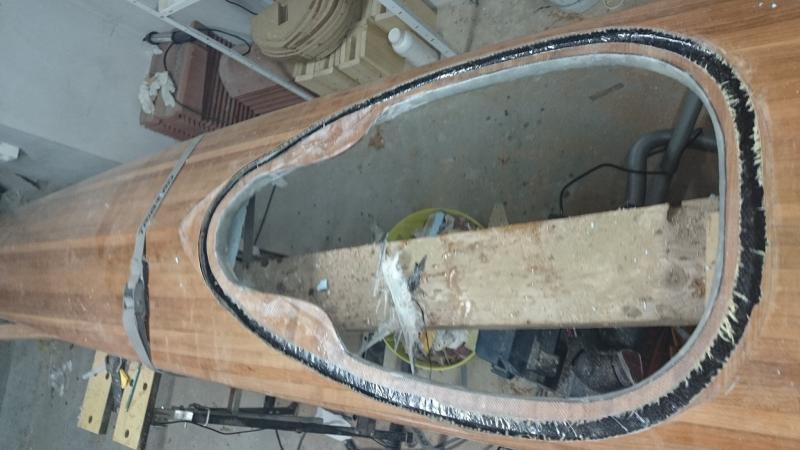
Just a bit of fibre-glassing around the cockpit and the bulkheads still to do.
]]>
The end of the hull is really very shallow, the skeg will only fit because of the ridge in the deck
I cut the slot for the skeg with my trusty router, and glued the skeg in with thickened epoxy, it was a quick and easy job.
I first drilled over-sized holes and filled them with thickened epoxy.
After the epoxy fully hardened the final size holes were drilled. This ensures that water cannot get to the wood around the holes.
The proper way is then to use fibreglass tubing to make a little sleeve around some nylon or plastic tubing, then soak it in epoxy and pull out the plastic tube. However I saw an easier way, which is to simply make a little mound of thickened epoxy over the tube, then put a square of fibreglass over that
It worked beautifully. I managed to get hold of latex tubing, and it came out once the epoxy was dry with just a little tug.
This time I used 3mm thick HDF board, and it was a much more relaxed process
This shows how it goes on the cover
Glued on. I put a single layer of 4oz cloth over the upper face, to protect the HDF and hold the magnets
I glued a thin strip of wood around the edge, protruding 2mm, which will be the sealing surface against the gasket - hopefully this will give a better seal than a wider area with proportionately less force
All looking quite smart, really.
To hold the hatch covers I put two spacer rings of HDF and a base ring, thin plywood for the stern hatch, HDF for the bow hatch.
The stern hatch can get a lot of abuse during rescues etc, so I though the plywood would be stronger
The bow hatch is not flat, and is less likely to have someone sit on it, so I used the easier to cut and cheaper HDF
I made up a blank for the recess out of foam covered with packing tape, fixed it to the underside of the deck with double-sided tape, and prepared all the cloth I would need.
The lay-up was a layer of 4-ounce cloth, a layer of carbon fibre cloth (for bling and to make the whole thing opaque) and then ten more layers of 4-ounce cloth!
This is where more professional builders would attach the vacuum bag, switch on the vacuum and then go and have a relaxed cup of tea, but I don't have a vacuum pump, so I used the poor man's equivalent
Wet Sand!
It actually came out reasonably well, with only a couple of voids - good enough for me!
Then came the really nail-biting bit, where I had to cut out the recess for the spray-deck, praying that I was cutting in the right place
As you can see, the cut is through the deck into the foam blank below, I did this with a router and sweat!
I then cleaned out the foam from the recess, and went and had a celebratory beer. The only real problem I had was the carbon-kevlar cloth I used to re-inforce the deck around the cockpit, which incredibly even a router won't cut cleanly
The deck was generally very easy to build, except the stern, where it swoops down to the waterline at the sides, and has a ridge in the middle.
Once again every strip had to be steam-bent, and some creative clamping was needed:
The end result was quite good, though I says it myself. There will be a hard-wood block for the very end
I then separated the hull and deck from the forms, splitting the deck near the bow in the process!, but it glued back together no problem, and then fibre-glassed inside and out.
There is a very strange shape at the bow end of the hull, and when I started fibreglassing the inside I decided that it would be nearly impossible to do a good job, so I filled the whole space
I added polystyrene foam to the epoxy fill, to make it as light as possible
The bow
Unusual, but stunningly beautiful lines
The stern.
Definitely enjoying this build, and not (quite) as hard as I feared.
]]>I like unusual-looking kayaks (I own a Point65 XP18, and adore it's looks) but I am both a bit fat and rather inexperienced, so the Aleutesque may be too much for me. Although the Petrel is an absolute joy, and actually feels far more stable than the XP18.
Progress has been very slow recently, mainly because I only have time at the weekends for building, and I have been kayaking for the last three weekends.
Also I don't want to fill this up with hundreds of "more infinitesimal progress" posts!
]]>How is the building going?
]]>I decided to change tactics a little on the stern, and cut off the strips in a straight line on the DWL
The bow is also coming along nicely, although I give daily thanks to the goddess of luck, who made me do this boat in easily-bendable cherry.
Hopefully once I get past the waterline it should be much more plain sailing.
]]>Cutting the tabs of the forms:
Fixing the endforms. I had a bit of trouble, as so far on the boats I built I left the centre portion of the endform intact, and just cut a 3mm slot for the strongback, then used spacers and screwed through the whole thing.
But the CNC-cut forms have the portion inside the strongback cut out, so I ended with an horrible bodge, but it seems to work:
The great advantage of buying CNC-cut forms on an internal strongback is that setting up is easy, so a few minutes later I could start hot-gluing the sheer strip, and soon had the hint of the beginnings of what might one day be a boat!
The amount of twist at the ends is horrendous, but one advantage of building in cherry is that with a little steam assistance you can make bends like this:
The two ends are both horrendous, the stern is in fact impossible to make with the sheer strip, more on that later.
Any comments welcome!
Justin
]]>Pictures to follow....
]]>