Tips and things, that I would consider if doing it againSellotape used to hold boards together and stickers used to identify them, pulled fibres from the boards on removal, however much as this looked bad initially, after the first coat of resin, it was not noticeable.
Resin problems:
• Applying to thick a coat, is a disaster, it orange peels, bubbles and takes and eternity to sand off and if your are not careful you can ruin your project right at the very start. Temperature of resin is critical, it must be warm. I think moist environments affect the resin curing. If you use a garage and you live in the north of the UK, you will need to heat your garage to above 13 degrees unless you are happy with a 3 day cure of the resin. Once the resin is dry, you get a sort of a tacky film on it, this needs to be removed with a bit of scotch bright before you sand, if you don’t do this you will block your sandpaper in minutes.
• Only ever apply the very smallest amount for resin/filler if you are filling holes etc, pick the application stick to allow you to keep it to a minimum, don't be tempted to put it on with a wide spatula.
• Sanding, orbital sanding is good, but it is not the answer for all surfaces, at certain points on the boat, the size of the strakes are such orbital sanders catch other parts that you don’t want to sand and if not careful, you will cause damage. I didn’t try with a belt sander, but I could see there may be times it would be ok to use one ?
The times that had a little job, with just one pump of resin, I pumped it into a plastic cup and before stirring, I microwaved the contents for 7 seconds, this warmed it enough, I immediately stirred it and then it was ready for use. Don’t know if this is detrimental to the quality of the resin, it didn’t seem to react any differently for me and once cured, was the same as everything else. You have to be careful as a few seconds more, it got too hot.
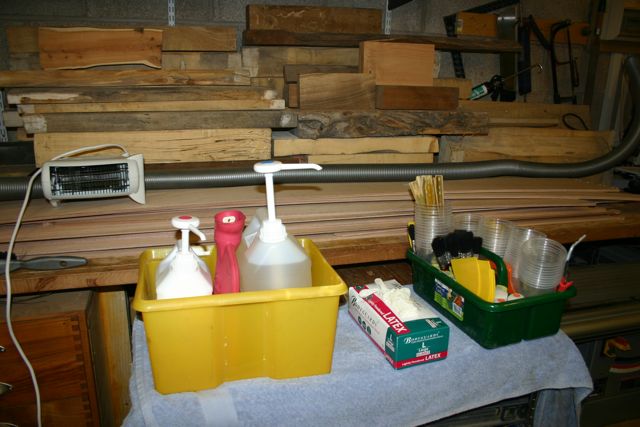
Consumable for the job:
• Box of latex surgical gloves, with powder, these can be bought from the chemist.
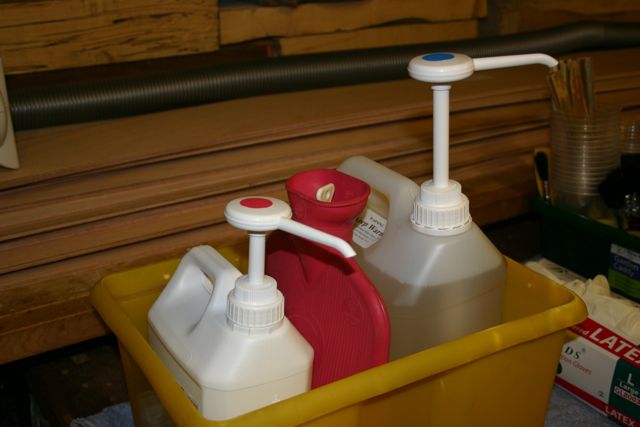
• Mixing was done in plastic beer glasses from Asda, there were 250ml or 500ml, when you buy them make sure you look at the base as some of them have a raised middle section that tends to prevent all of the resin from being mixed together as some of it gets held up in the gully around the edge.
• With respect to the spreaders, spatulas, squeezes, I bought it all from Wilkinsons store, they were usually in the tiling section, or decorating section, were very cheap and to a large extent disposable items.
• I also bought my masking tape, small block plane and mini rollers from the same place.
• Wilkinson also has a handy little tool for putting curves or chamfers onto your fillets, it is a little red thing that has different profiles either 45 degrees or curves of different diameters.

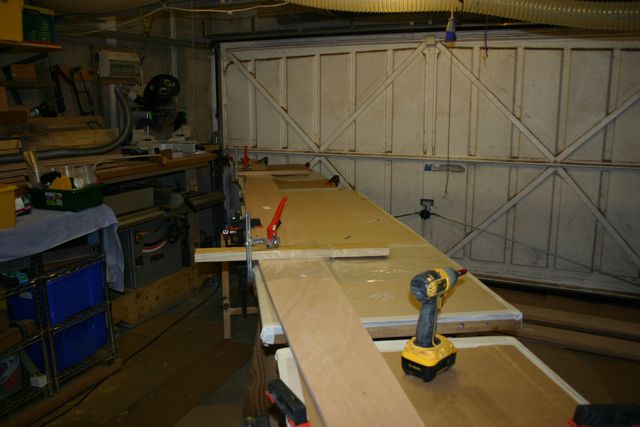
Initially for the joining of the large boards, I set up a series of tables to work on, I covered them with a cardboard top to keep spills of resin off the wood. Would I use this method again, probably not as it took quite a bit of effort to arrange them and you were limited to how many bits of wood you could deal with at any one time as you were limited by the width of the table. I would probably clean the garage floor and lay a bit of plastic sheet at the points the joints are going to be and make do with this. You would not be limited to how many boards you could do.
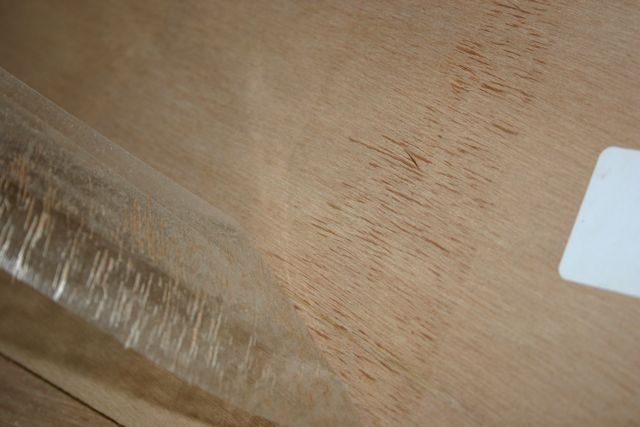
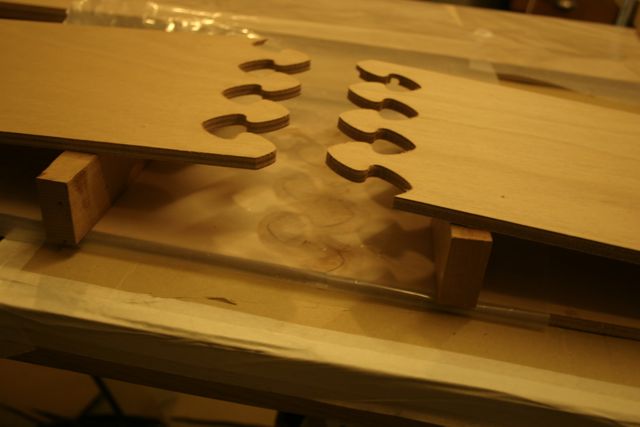
I came across and interesting find with regards to the finger joints. As my table had a cardboard top, I found that when I applied a clamping force to the pad that sat over the top of the joint, th
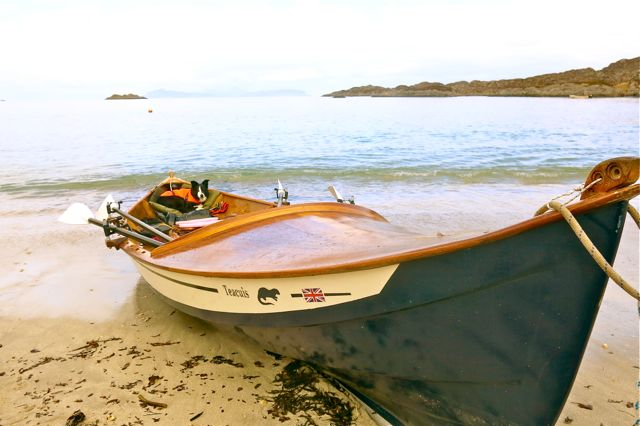
e cardboard underneath would compress and in effect cause the fingers of the joints to slightly collapse inwards. The surfaces of the male and female fingers faces were at very slightly different levels, this gave you a problem when you sanded and if you tried to sand them down to make one side match the other, you could go into the second laminate of the ply wood and cause the joint to have a dark appearance on one side. If you look at my photos you will see a couple of joints heading this way.
when I was doing a day of resin work I would set up my little heating station, I would also drape a towel over the whole tub, it worked a bit like a tea cosy. Cleaning up as you go is essential, put things in the bin as soon as you have finished with them. I also used a fan heater to raise the temp in the garage before I started to resin. As soon as I started to resin, I turned the heat off as Fyne told me that the resin needs to cured on a falling temperature.
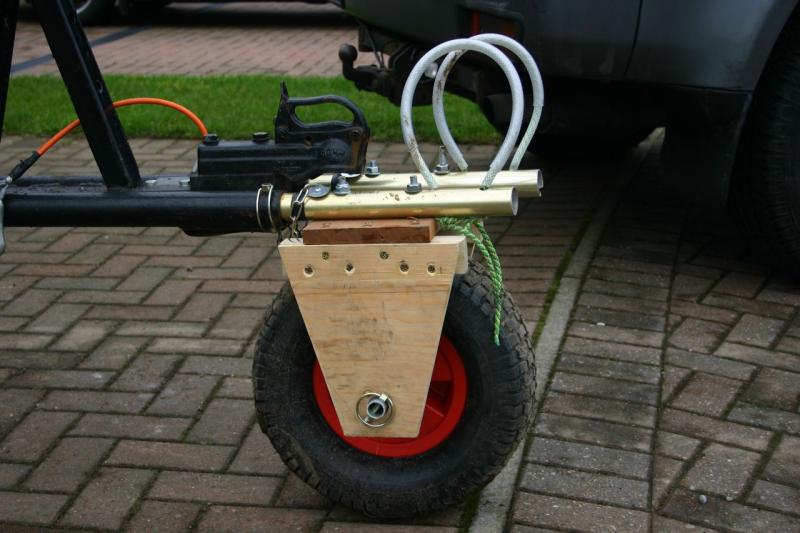
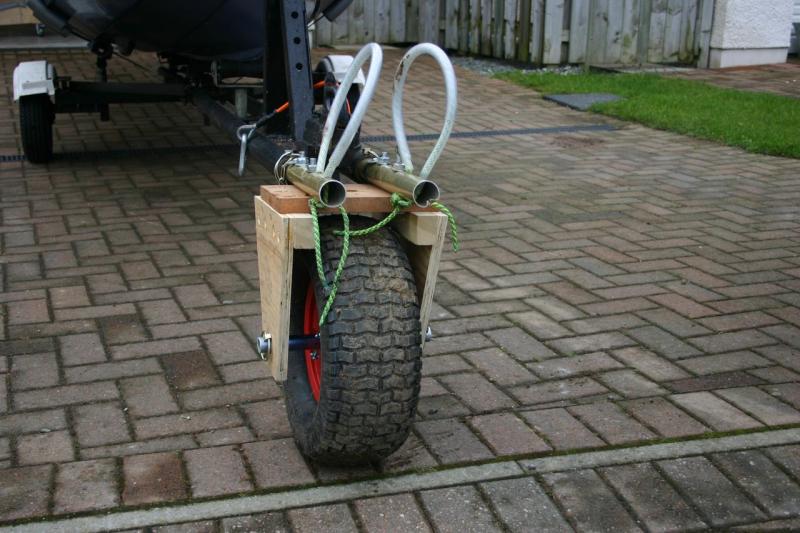
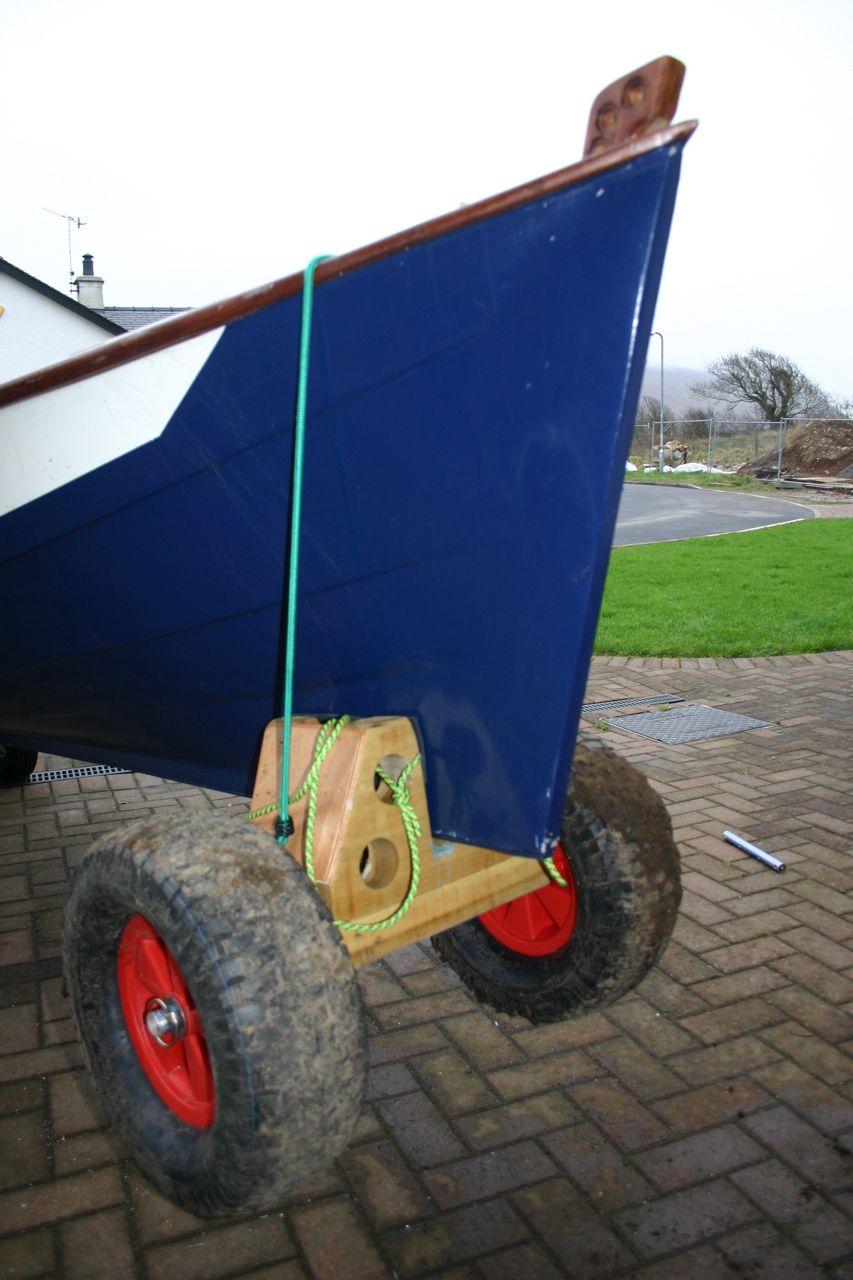
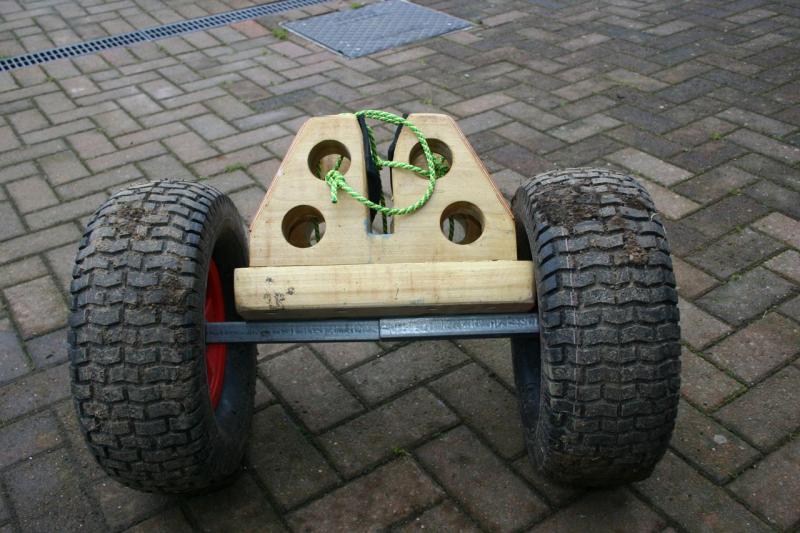
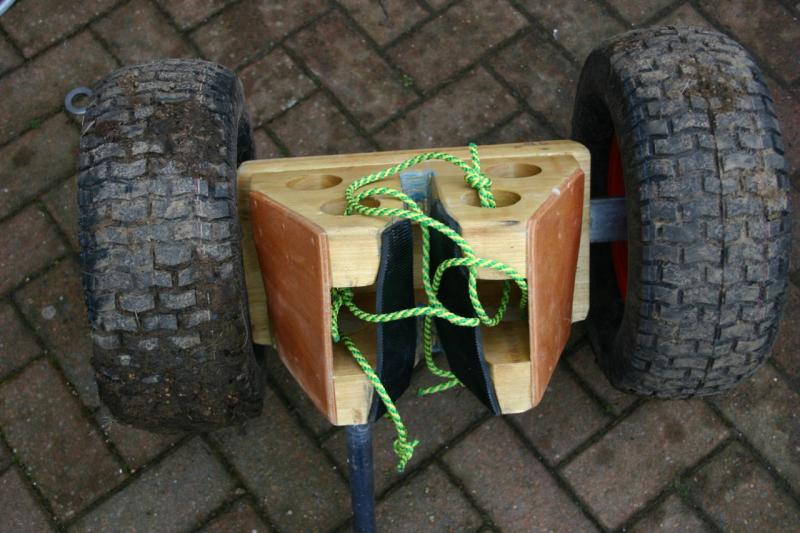
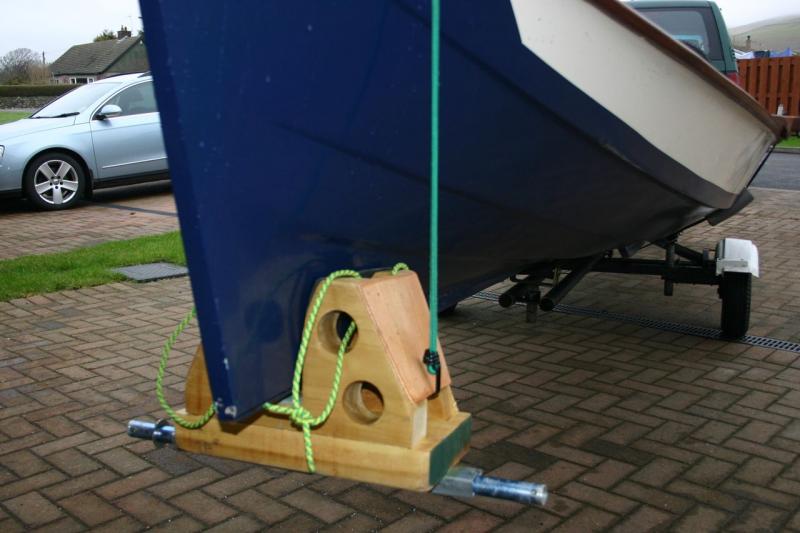
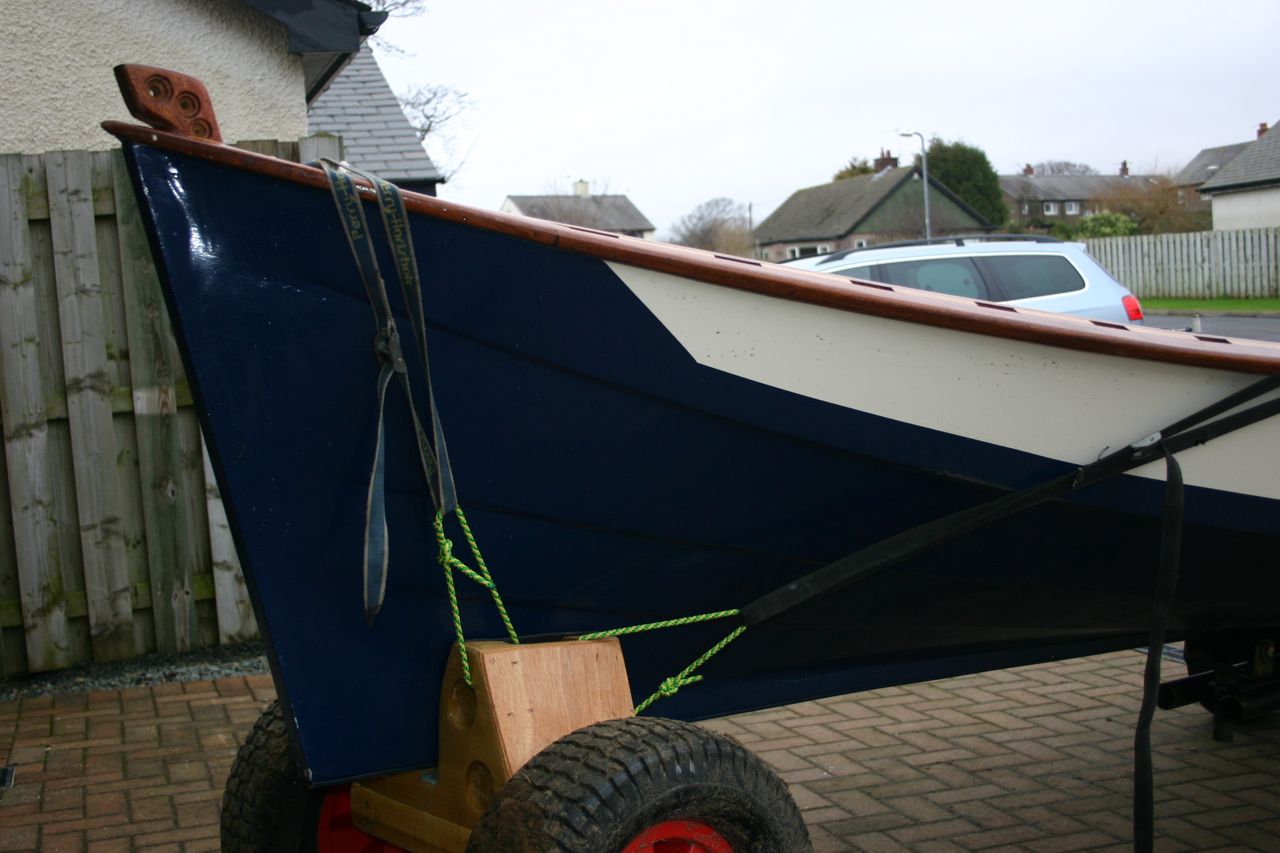
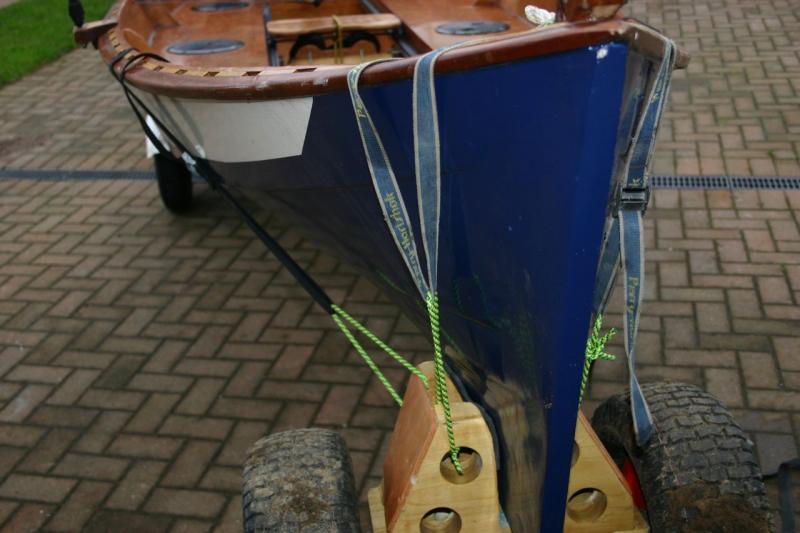
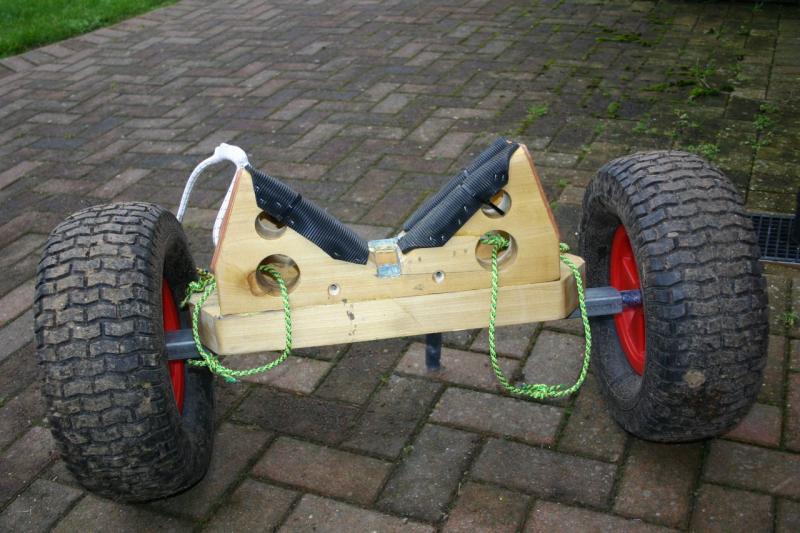
I made a boggy to move my boat in and out of the garage, the leaning point was....I should have made it right at the start not half way into the project.

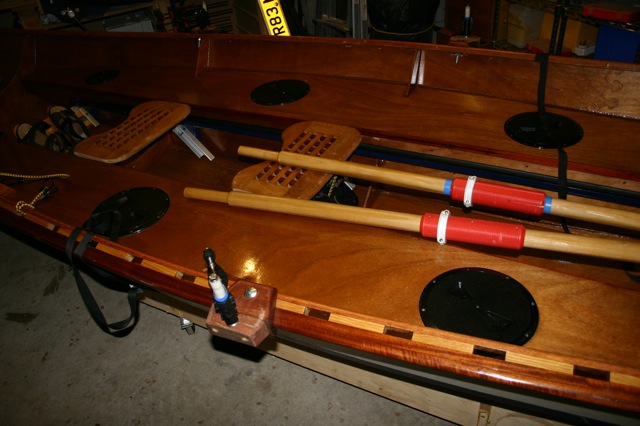
Applying the paint was pretty easy. I applied several thinner coats opposed to fewer thicker coats. Ultimately I used the soft sponge rollers for application. I did not attempt to clean rollers, I just threw them away after I had completed that coat. With respect to the paint, I applied it with a roller then smoothed it off with a 'guaranteed no hair loss' dry brush it worked very well.
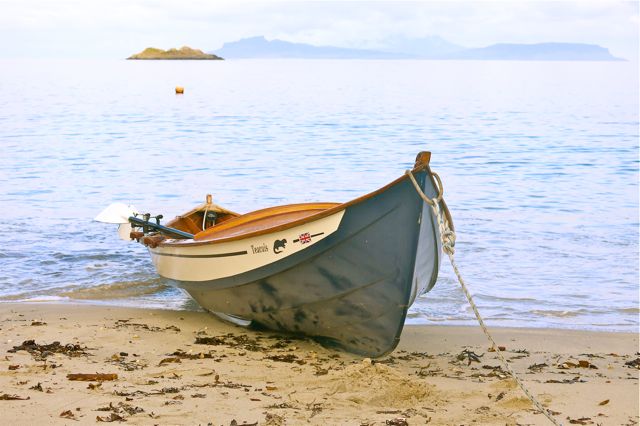
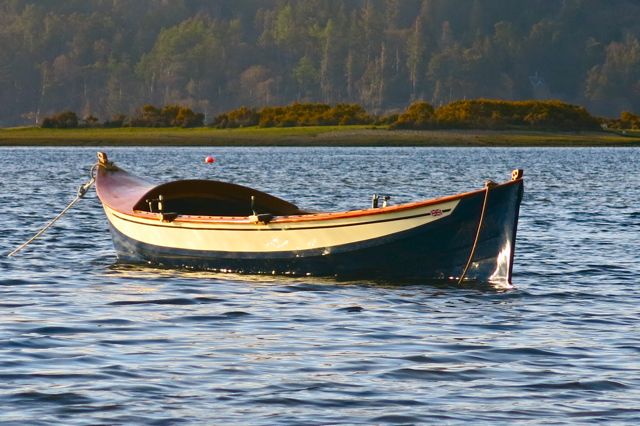
Finally was I happy with the output from the project. On the whole yes, I have learnt a huge amount, I have built my confidence and would certainly want to build another boat or kayak. As this was the first boat of this type in the UK and there were no specific build manuals, I learnt a lot, and perhaps the best part of the project was having to sit back and think things through before I did them. I cant recommend Fyne boats highly enough, they have provided help and advice throughout, I will be buying my next boat from them, There are competitors out there but none of them come near to the deal you get from fyne.
That’s the end of the of this build log. I have just been back through a couple of my previous posts.....and found a load of typos, sorry about them, some of the logs were completed late at night when I should have been asleep in bed so I wasn’t that switched on !
]]>
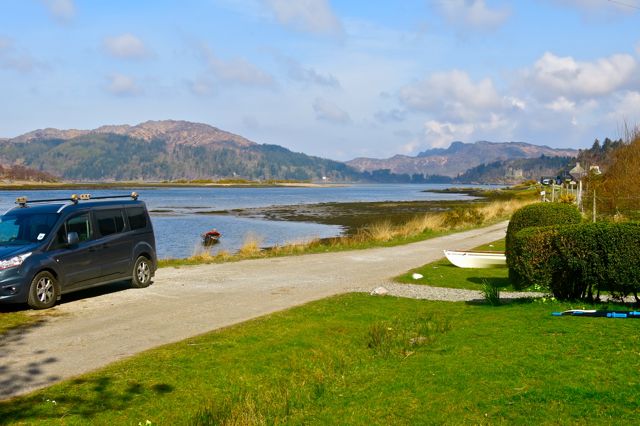
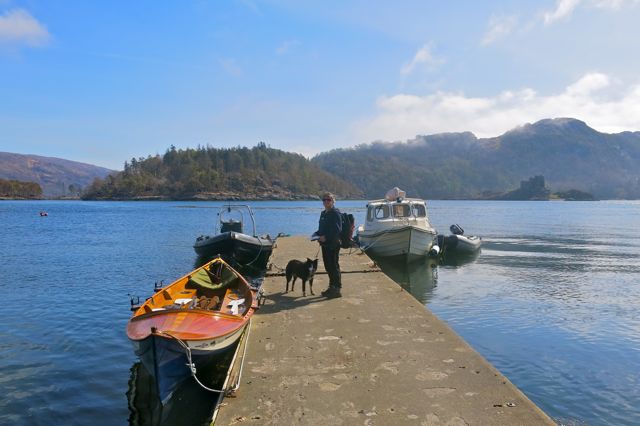
 a fantastic place, the boat right outside the house, private road, and sheltered